Disclosure: This post may contain affiliate links. I earn a small commission when you click a link and make a purchase. Thanks for supporting SewingSociety.com!
If you want to sew anything with your sewing machine, you need to know all the different types of stitches and seam finishes you can use. In this post, I will go through the most common sewing machine stitches and the best seam finishes to use if you don’t have a serger.
Sewing Machine Stitches
Most modern sewing machines have an overwhelming number of built-in stitches. However, the vast majority of your sewing will be done with a straight stitch or a zigzag stitch. The other stitches on your sewing machine are typically used for decoration.
Below, I will go through the top 5 basic sewing machine stitches you should know how to use. With just these 5 stitches, you can sew almost anything!
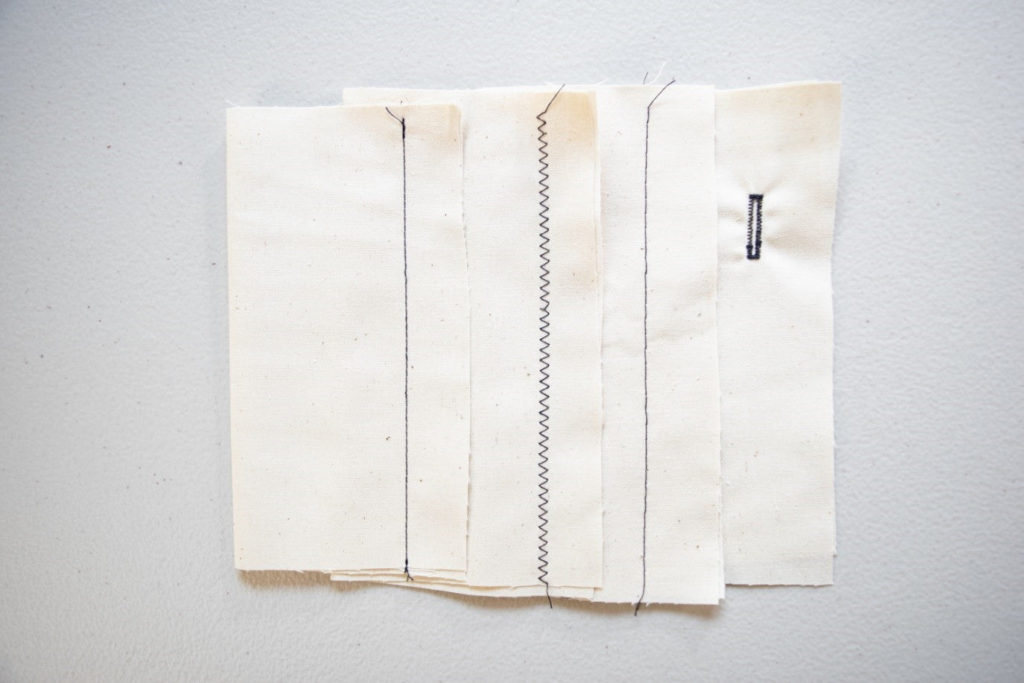
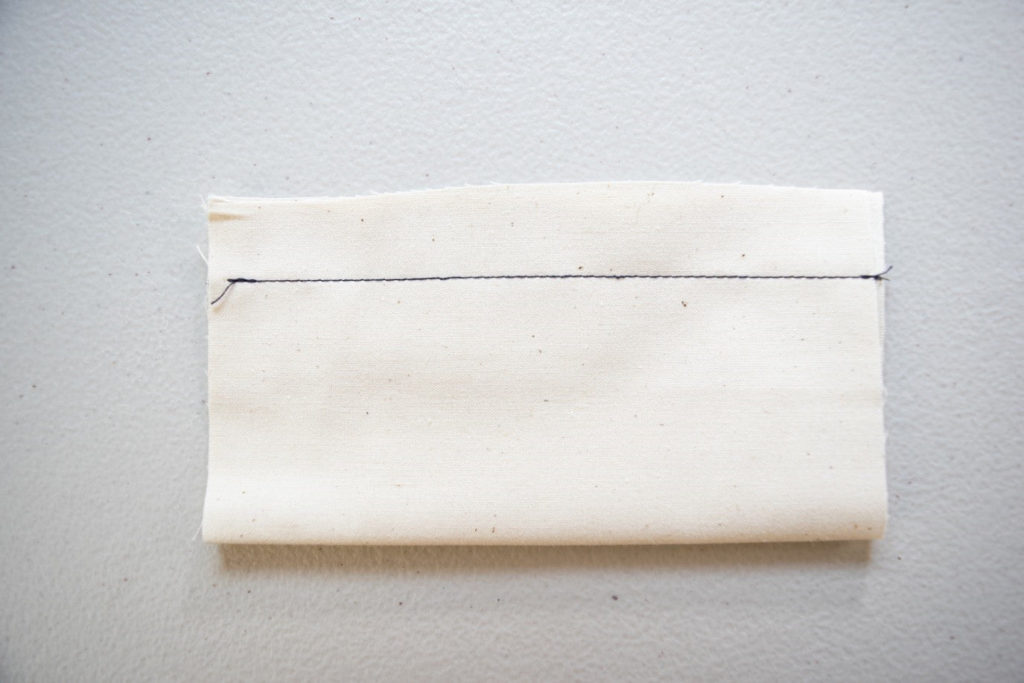
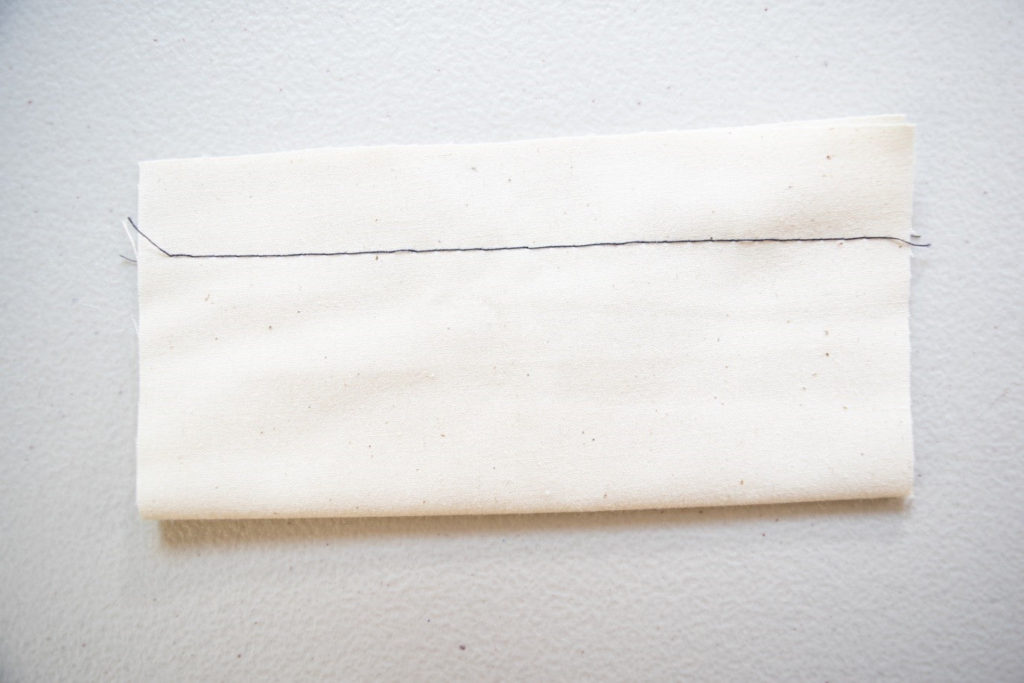
1. Straight Stitch
Just like its name suggests, the straight stitch forms a straight line across your fabric. A straight stitch is perfect for sewing seams in non-stretch fabrics and for topstitching.
You can adjust the length of your straight stitch, but typically you will want to sew with a stitch length of around 2.5 mm.
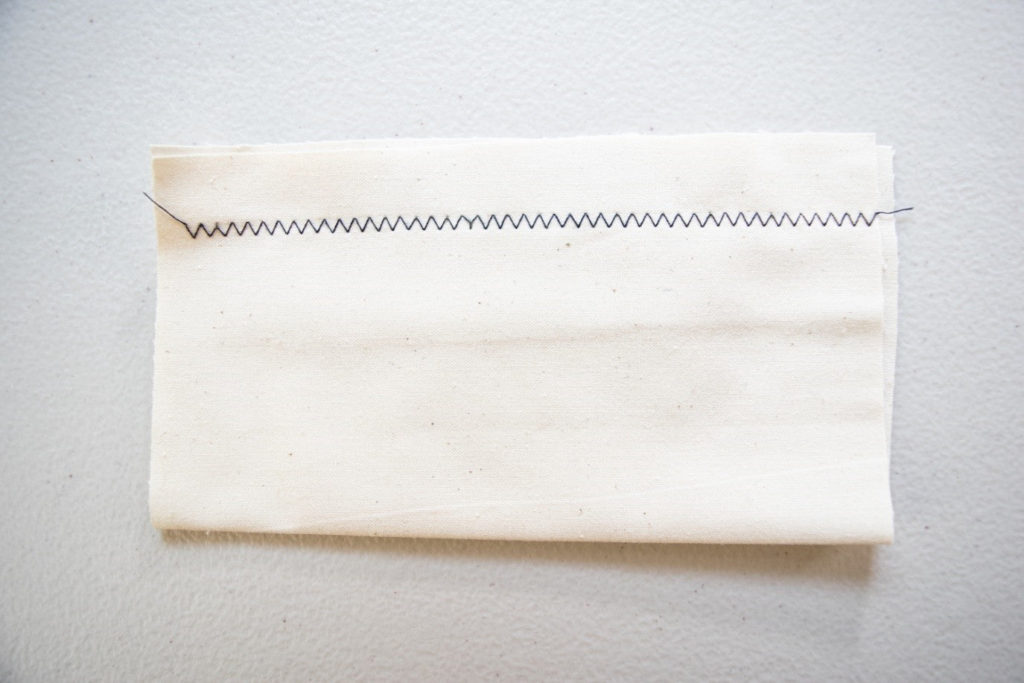
2. Zigzag Stitch
The zigzag stitch forms a back-and-forth pattern across your fabric as you sew. It is necessary when you’re sewing stretchy fabrics because the zigzag has some give that allows your seam to stretch even after it’s sewn. This is not the case with a straight stitch — you may pop a seam!
You can adjust the width and length of your zigzag stitch. Try experimenting with different settings on scrap pieces of your fabric before starting your project to find the perfect stitch size.
3. Reverse Stitch (Backstitch)
The reverse (or back) stitch is a very important type of stitch. It is used to secure your threads so your seams do not come undone. Simply sew 2 or 3 reverse stitches at the beginning and end of each seam to lock your stitches in. Your sewing machine will have a backstitch button or lever that you can hold to sew in reverse.
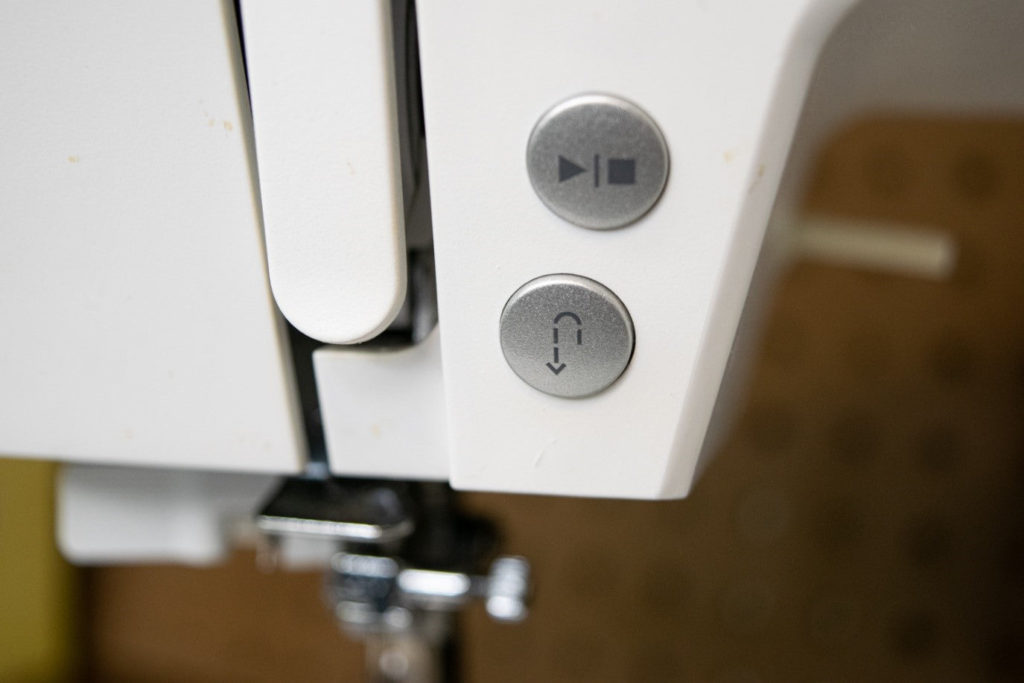
If you have a fancy sewing machine, like the Bernette b79, look for a button that will tie a knot on the backside of your fabric for you. I love modern sewing technology!
4. Basting Stitch
The basting stitch is a variation of the straight stitch where the stitch length is very long. It is used when you need to make a non-permanent seam because the long stitches are easy to remove. To set your sewing machine for basting, select a straight stitch and then increase the stitch length to somewhere between 4 and 5 mm.
You’ll want to use a basting stitch when sewing tricky areas, such as inserting a zipper, because you can sew the seam and make sure everything looks good before sewing it with a permanent stitch.
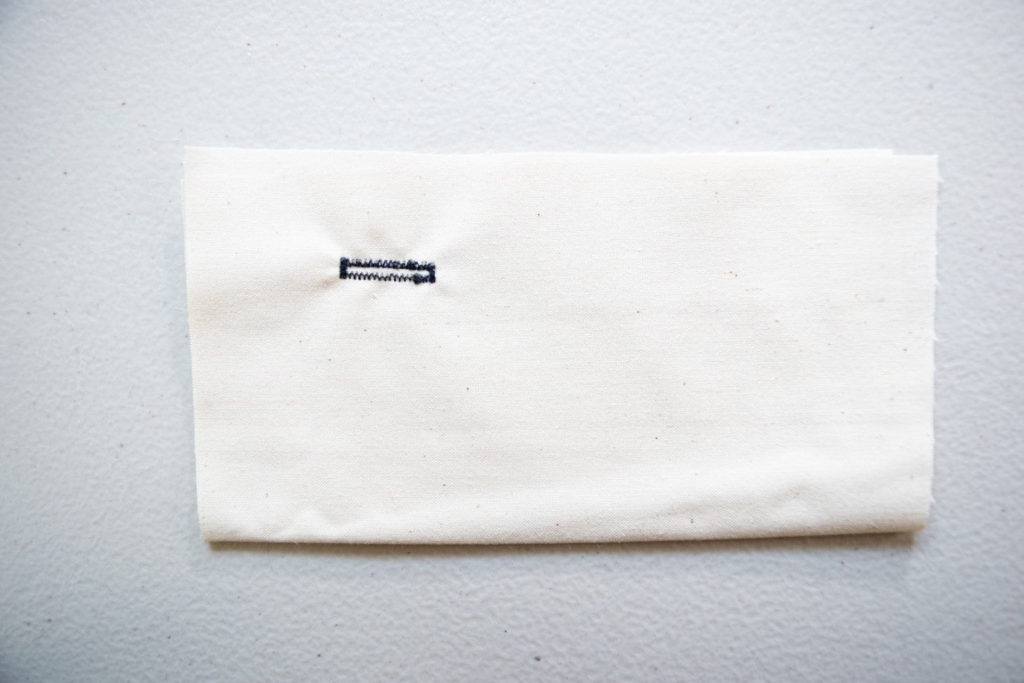
5. Buttonhole Stitch
The final basic sewing machine stitch that you need to know how to use is the buttonhole stitch! Most modern sewing machines come with a buttonhole foot and a pre-set buttonhole stitch to easily sew buttonholes on your projects.
It may seem intimidating to sew buttonholes, but they are actually quite easy, especially if you have an automatic buttonhole stitch. If you do, simply insert your button into the back of your buttonhole foot and attach it to your machine. Then, select the buttonhole stitch on your sewing machine and lower the buttonhole lever. Next, put your fabric in place, lower the presser foot, and start to sew. Your sewing machine will create the entire buttonhole for you!
When sewing buttonholes, just remember that your sewing machine will start sewing in reverse first, so line up your fabric accordingly.
Also Read: How to Make Better Buttonholes on Your Sewing Machine
Types of Seam Finishes
Seam finishes are important because they are how you get a professional, polished look. Without them, the inside of your projects will fray with each wash.
If you plan to sew a lot of garments, we suggest you buy a serger to help you create professional and polished seam finishes. However, there are several seam finishes you can create with a sewing machine.
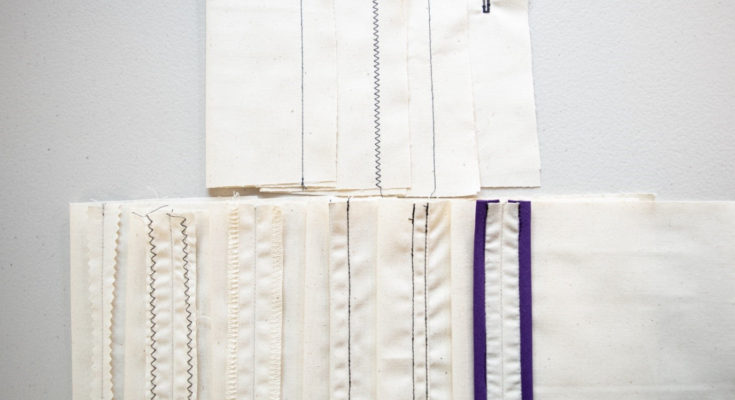
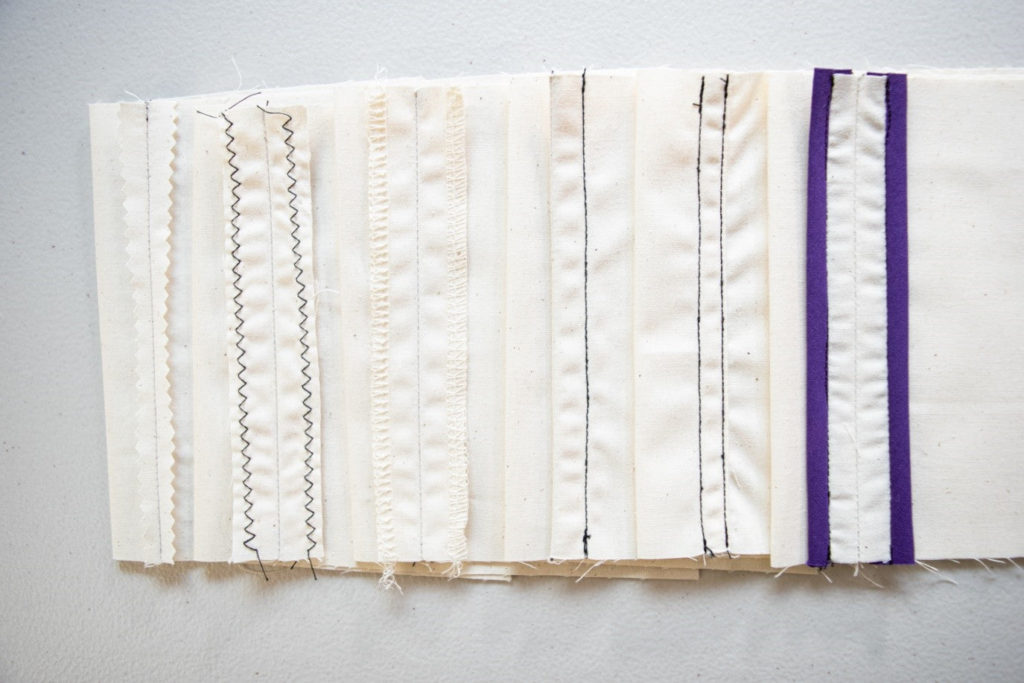
Here are 6 seam finishes you can use to finish the raw edges of your fabric:
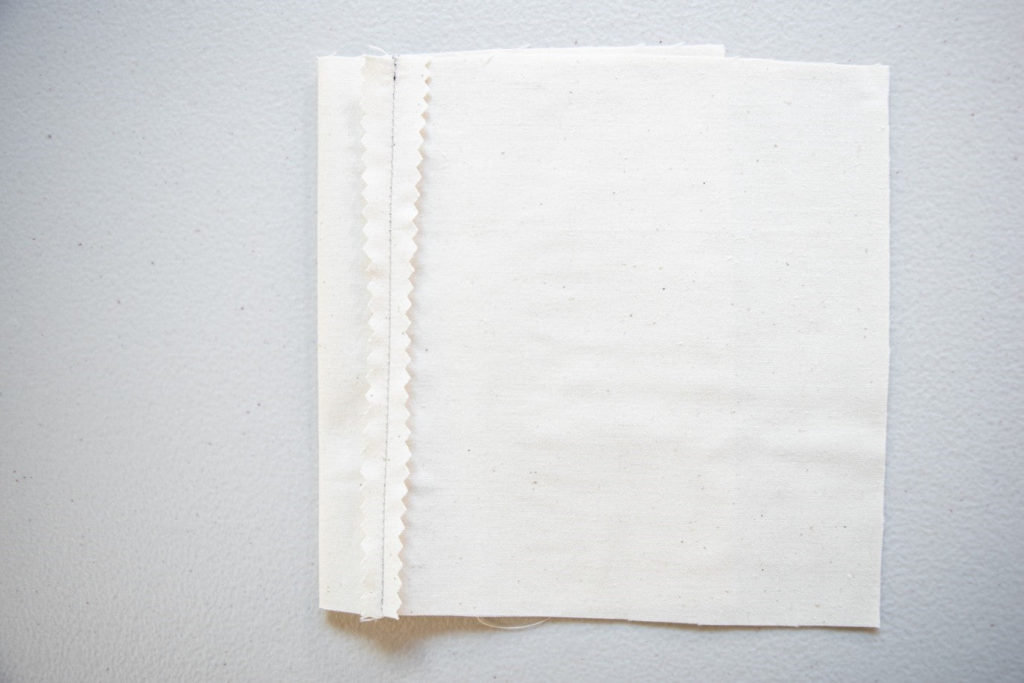
1. Pinking Shears
Besides using a serger, pinking shears are the easiest and quickest way to finish a seam. Pinking shears are simply a pair of scissors that cut in a zigzag pattern.
Fabric doesn’t fray as much on the bias (diagonally), so this zigzag cut minimizes unraveling threads. However, it won’t eliminate fraying completely, so it’s best for fabrics that tend to stay relatively intact.
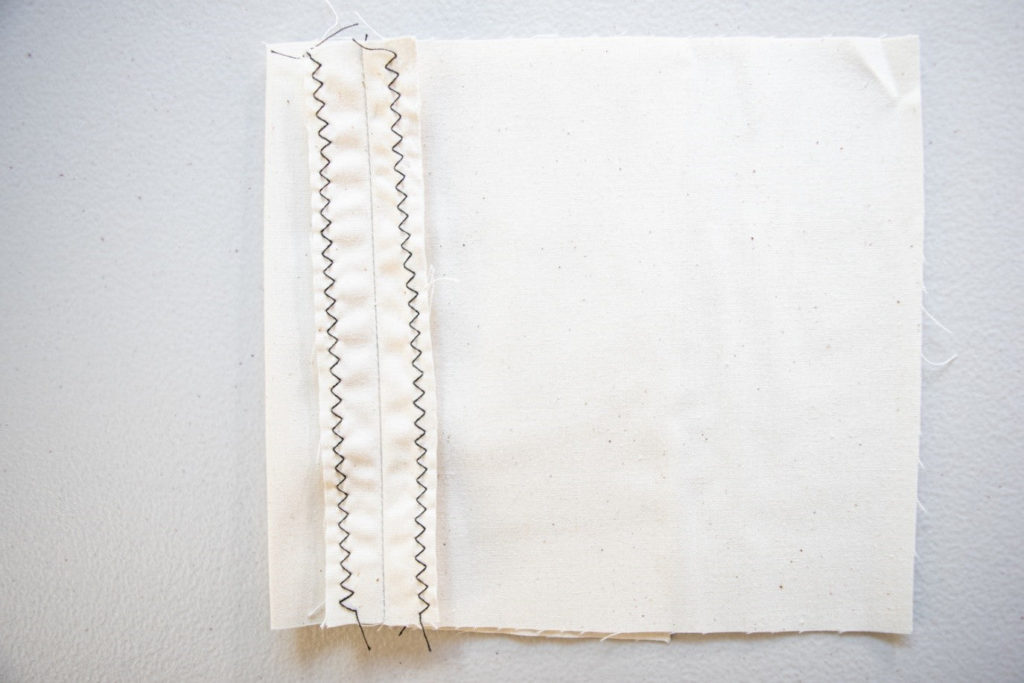
2. Zigzag Stitch
If you want to stay basic with your seam finishes, but need a little more security than pinking shears, try a zigzag stitch.
You can simply sew along each raw edge with a zigzag stitch on your regular sewing machine. This will reinforce the edges and help prevent fraying even more than pinking shears. However, for very fray-prone fabrics, this is still not a great option.
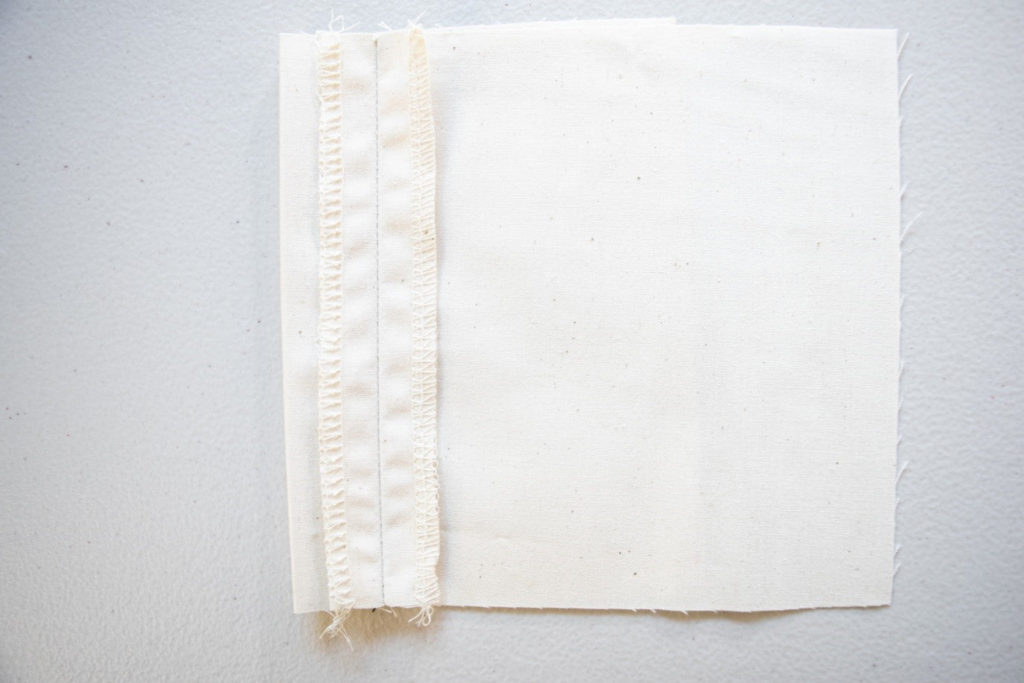
3. Overlock Stitch
One of the best seam finishes for all garments is the overlock stitch. This is typically done with a serger, but many sewing machines do have an overlock stitch that mimics the look and feel of a serged seam. The downside is that your sewing machine will take a long time to stitch out all the necessary stitches because it only has two threads to work with instead of 4+. You may also run into trouble if you sew off of your fabric.
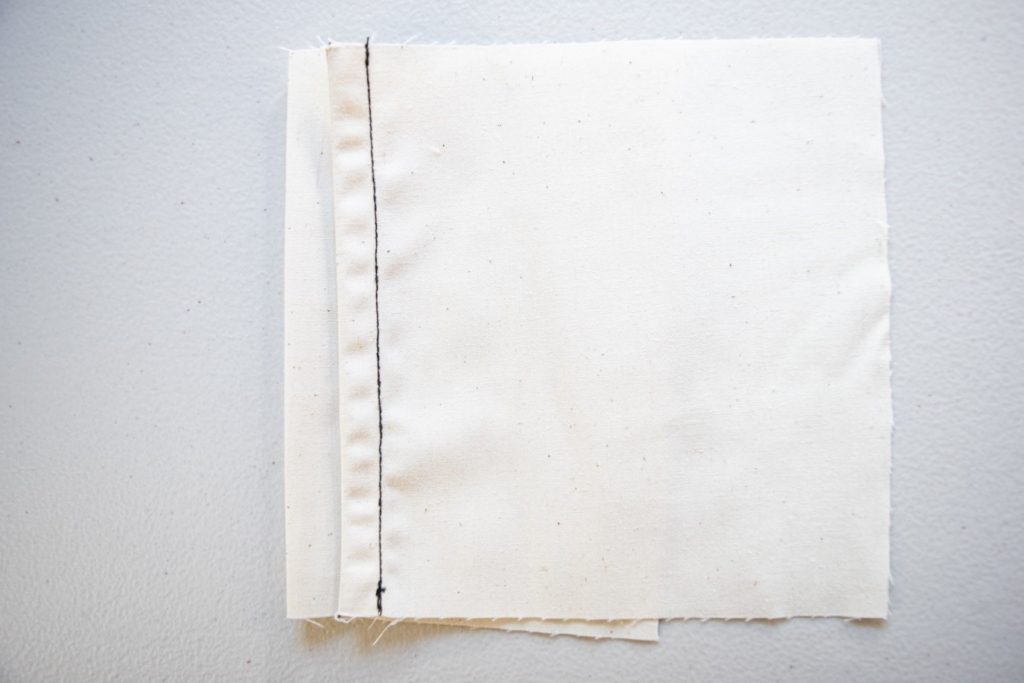
4. French Seam
If you don’t have a serger, but still want a nicer and less fray-prone seam, a French seam could be a great choice. This seam finish encloses all the raw edges inside of the seam, so that they are hidden from view and reinforced with a double row of stitching.
A French seam is created by first sewing your seam with wrong sides together, taking a ¼ inch seam allowance. Then, you trim the seam allowances down to ⅛ inch, flip your fabric so that it’s right sides together, and then sew the rest of your seam allowance to enclose all the raw edges.
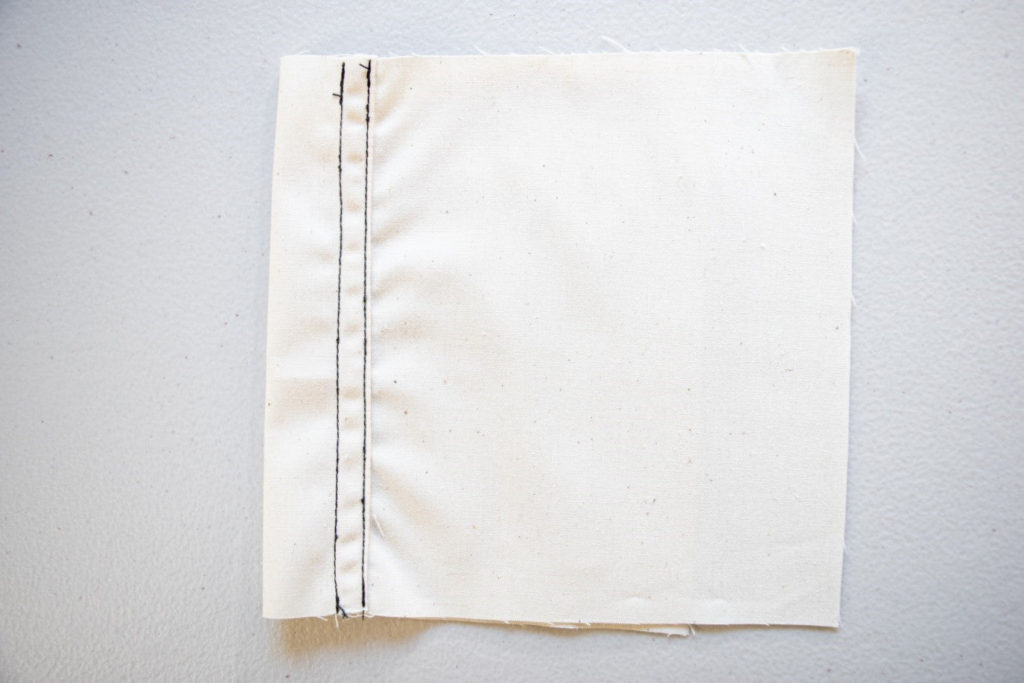
5. Flat-Felled Seam
A flat felled seam is another finish that encloses the raw edges inside, but this one is great for thicker fabrics or heavier-duty projects that will get lots of wear and tear.
To sew a flat-felled seam, first sew your seam with wrong sides together, taking your entire seam allowance. Next, trim one side of the seam allowance down by half. Fold the longer side of the seam allowance up and over the shorter side, then iron and pin it in place. Next, topstitch along the folded edge to secure your flat-felled seam.
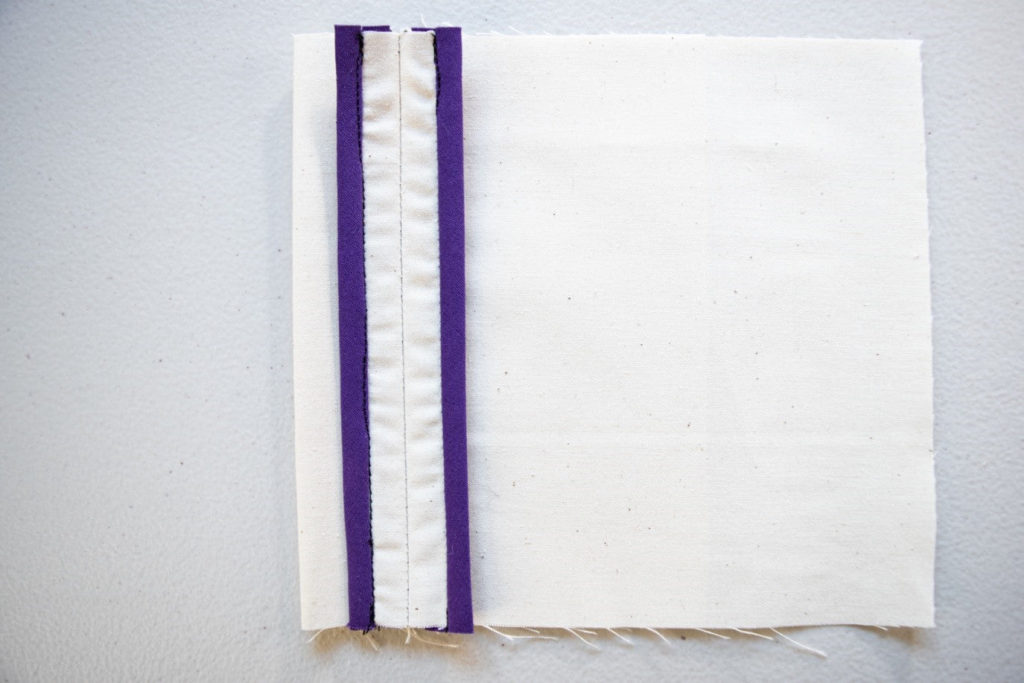
6. Hong Kong Seam
The final seam finish we will go over is also the most complicated (and the most beautiful!).
A Hong Kong seam encloses the raw edges of your seam allowance in a beautiful strip of bias tape, often in a contrasting color. This is great for garments that are worn open, like a coat, because you will be able to see flashes of the contrasting bias tape.
To sew a Hong Kong seam, sew your seam as normal, then press the seam allowances open. Next, sew a strip of bias tape right sides together to one side of your seam allowance. Fold the bias tape up and over the edge of the seam allowance, iron and pin it in place. Stitch in the ditch right along the seam, attaching the bias tape to the main fabric. Next, repeat this process for the other side of the seam allowance.
We know, it sounds complicated – and it is much more time consuming than the other seam finishes – however, Hong Kong seams are perfect for those extra-special projects that need a unique touch.
Need a Serger?
A serger remains one of the best ways to create a professional seam finish. If you’re in the market for a serger, we recommend the Brother 1034D. It’s an entry-level serger, but it has all the features you need! It’s an amazing machine to add to your sewing room.
Share this post on Pinterest!

