Disclosure: This post may contain affiliate links. I earn a small commission when you click a link and make a purchase. Thanks for supporting SewingSociety.com!
When my husband started working from home, he took over my sewing room for his office. I was temporarily moved to the kitchen table.
I know… not fun. (sigh)
Now, I do A LOT of sewing, so obviously, the kitchen table is not a good permanent space for my hobby. It’s a pain to constantly set things up and take them down when I want to sew.
After some creative thinking and planning, I decided to turn our tiny laundry room into my new sewing space.
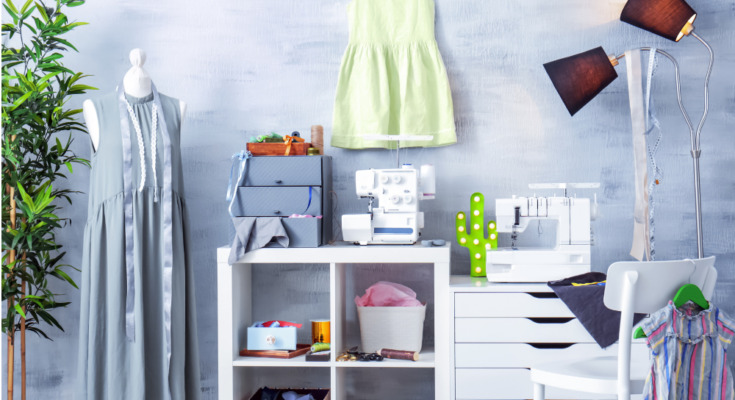
Having a well-organized and functional sewing room is key to getting more sewing projects done. If you have a small sewing space, like me, and you’re looking for organization ideas, this post walks you through five tips for setting up your sewing room for maximum productivity.
1. Provide Proper Lighting
No matter where you sew, you need good lighting to be productive. Dark spaces can strain your eyes and make it more difficult to read pattern instructions, thread needles, and do other sewing tasks. When setting up your sewing room, be sure to place extra task lighting by your sewing table.
I hope to have a huge, bright sewing room someday. Maybe I can even convince my husband to build me one of those trendy she sheds that’s flooded with natural light. Until then, I’ll have to be content with sewing in my small laundry room. I do have a desk lamp on my sewing table to help me see things better.
2. Choose a Good Sewing Chair
Buying a nice, ergonomic sewing chair is one of the best investments you can make in your sewing room to avoid fatigue and encourage productivity. Poor posture makes your neck, back, and shoulders sore. You won’t be able to sew long if you’re sitting on a hard chair that is not the right height. I use a standard computer desk chair.
When choosing a chair for your sewing room, get one that has an adjustable height with lumbar support. I prefer a swivel chair on casters. Then, adjust your sewing chair so that you can sit all the way back on it with your feet on the ground. Your knees should be bent in a comfortable position and you should not be hunched over when sewing.
3. Place Your Cutting Table at Counter Height
If possible, buy a counter-height cutting table for your sewing room. I use a Sew Ready Studio Designs cutting table. I like that it folds up and rolls away for easy storage. You spend a lot of time cutting when working on sewing projects, so a counter-height cutting table can prevent you from hunching too much. Cutting fabric on a dining room table causes a lot of fatigue because you must bend over in an awkward position. This hurts your productivity.
4. Create a Pressing Station
Hunching while ironing and pressing also causes fatigue and hurts your productivity. Be sure to get an adjustable height ironing board when setting up your sewing room. In addition to a standard ironing board, I also have one of those magnetic ironing mats that I set up on top of my dryer. It’s the perfect pressing station and increases my productivity because I don’t have to pull out my big ironing board unless I want to press pants, dresses, or any sewing project with a lot of yardage.
5. Organize Your Sewing Supplies
There is no one right way to organize your sewing room, but you’ll be more productive if you take the time to do it. I use clear, Sterilite drawers for all of my notions so I can easily see what I have. They fit perfectly on a bookcase in my sewing room. I also have a portable toolbox for all of my commonly used sewing tools. Then, I store fabric in cabinets on the wall. If you’re trying to figure out how to store your fabric, read: Best Practices for Storing Fabric for an Indefinite Amount of Time.
Nobody likes to sew in a space that is cluttered, unorganized, and uncomfortable. I hope the tips in this post help you set up a more productive sewing room. Do you have any tips to share about setting up a sewing room and getting everything organized? Leave a comment below.
Share this post on Pinterest!


