Disclosure: This post may contain affiliate links. I earn a small commission when you click a link and make a purchase. Thanks for supporting SewingSociety.com!
If you’re like me, the thought of threading a serger brings dread to your mind. That machine is such a pain because if you have even one thread out of place, it will not work properly.
Can you relate?
That’s why I want to share a simple trick I learned way back in high school on how to change thread on a serger without rethreading your entire machine from the beginning. After seeing this shortcut you’ll never change the color on your serger the same way again.
Disclosure: This post contains affiliate links. I earn a small commission when you click a link and make a purchase. Thanks for supporting SewingSociety.com!
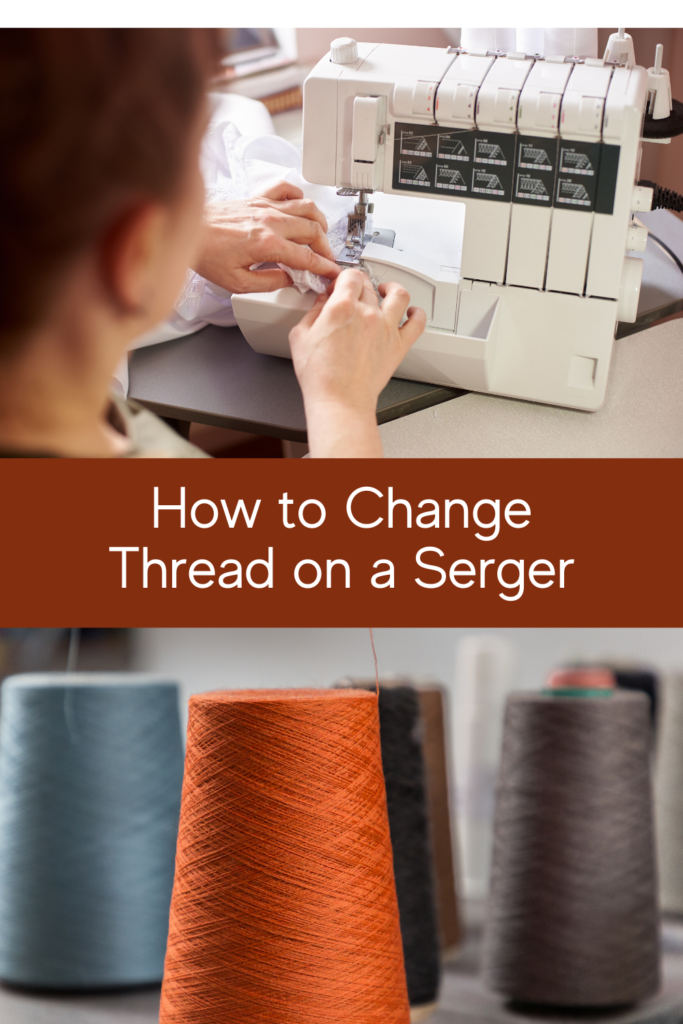
How to Change the Thread on a Serger
Did you know you can change the thread color on your serger without opening the door of your machine or looking at the threading instructions? Here are step-by-step instructions to complete this serger threading shortcut in three minutes or less:
- Step 1: Turn off the serger. (Safety first!)
- Step 2: Raise the presser foot and undo the thread chain that remains underneath.
- Step 3: Turn the handwheel until your needle is in its highest position.
- Step 4: Set your tension discs to zero.
- Step 5: Cut the current threads on your serger close to the cones. This ensures you leave long enough thread tails.
- Step 6: Remove the current serger thread cones and replace them with new ones.
- Step 7: Take the thread tail that corresponds with each of your new thread cones and tie the new thread to the old thread with a small knot (reef knot preferred).
- Step 8: Carefully pull each thread from under your presser foot. The new thread color should pass through the tension discs on your serger smoothly, but watch for snags and be extra careful when your knots go through the tension discs and when they reach your needles. You may need to cut and rethread the eye of each needle if your knot cannot pass through.
- Step 9: Turn the serger back on, set your tension discs back to normal, and perform a test.
Wasn’t that easy? I love this little trick for changing the thread color on your serger. It saves so much time!
Now, I know someone is going to say this serger threading shortcut can damage the tension discs on your serger… I’ve never had a problem as long as I set the tension discs to zero. However, you don’t have to do it this way. I’m just sharing a quick trick for changing the thread on a serger without all the hassle that’s usually involved.
Threading a serger gets quicker and easier the more you have to do it, but I still find this threading shortcut faster than starting from the beginning. You’re super lucky if you own one of those self-threading sergers. Too bad they’re so expensive.
Did you find this post helpful? Share it on Pinterest!


