Disclosure: This post may contain affiliate links. I earn a small commission when you click a link and make a purchase. Thanks for supporting SewingSociety.com!
Bias Tape is Amazing! Don’t you agree?
It has sooo… many uses:
- Binding quilts
- Finishing raw edges on necklines, armholes, bibs, and placemats
- Adding decoration and contrast to bags and garments
- Creating simple straps, ties, and drawstrings
- And more!
There’s just one problem…
It’s NOT EASY to find the exact color you need!
Most fabric shops carry a few colors and sizes of bias tape, but the color choices are limited, and they are expensive.
Fortunately, you can make your own bias tape. It’s a skill every sewist should learn!
Now, before you roll your eyes and say that sounds way too hard, we want to show you the EASY way to do it! With the right tools, you can be making yards of bias tape in no time at all!
Making your own bias tape is simple and opens up many more color and fabric options to you. Also, homemade bias tape tends to be more flexible and easier to work with around curves than the storebought kind. It’s a real win-win!
What is Bias Tape?
So, what is bias tape? It’s a strip of fabric cut on the bias (a 45-degree angle to the selvage) and then folded to hide the raw edges. Woven fabric has some give on the bias. This means that bias tape is slightly stretchy, making it perfect for binding curved edges with a beautiful pop of color.
There are two primary types of bias tape: single-fold bias tape and double-fold bias tape.
Single-Fold Bias Tape
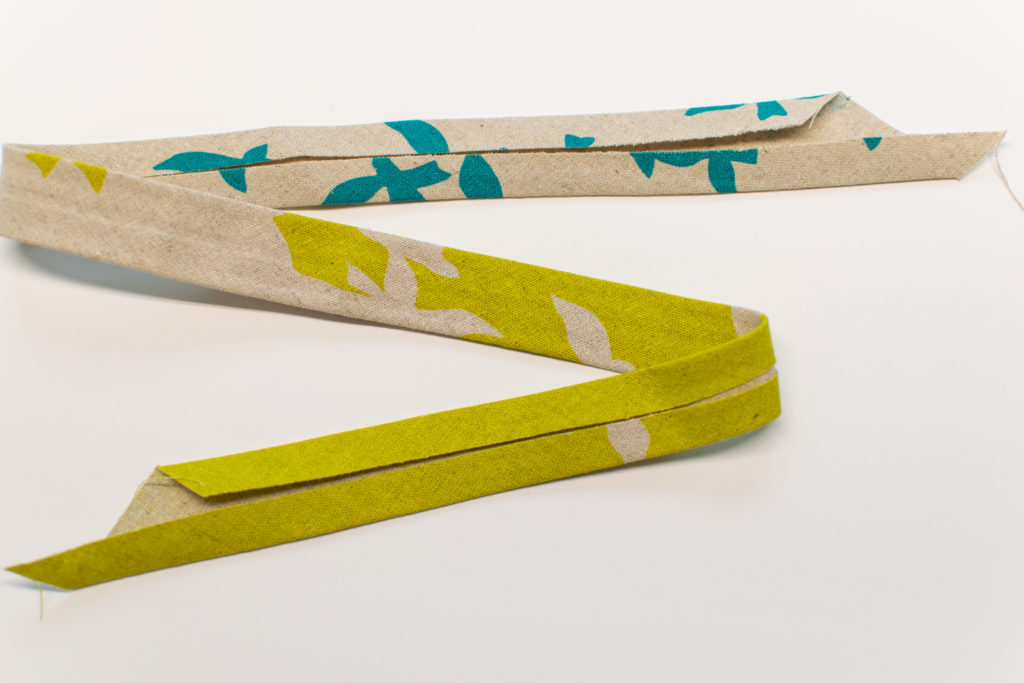
In single-fold bias tape, the outer long edges of the bias strips are both folded once towards the center of the strip. This type of bias tape is usually used to finish edges in a very similar way to a facing, where the bias tape is sewn to the edge, then flipped to the wrong side and topstitched down.
Double-Fold Bias Tape
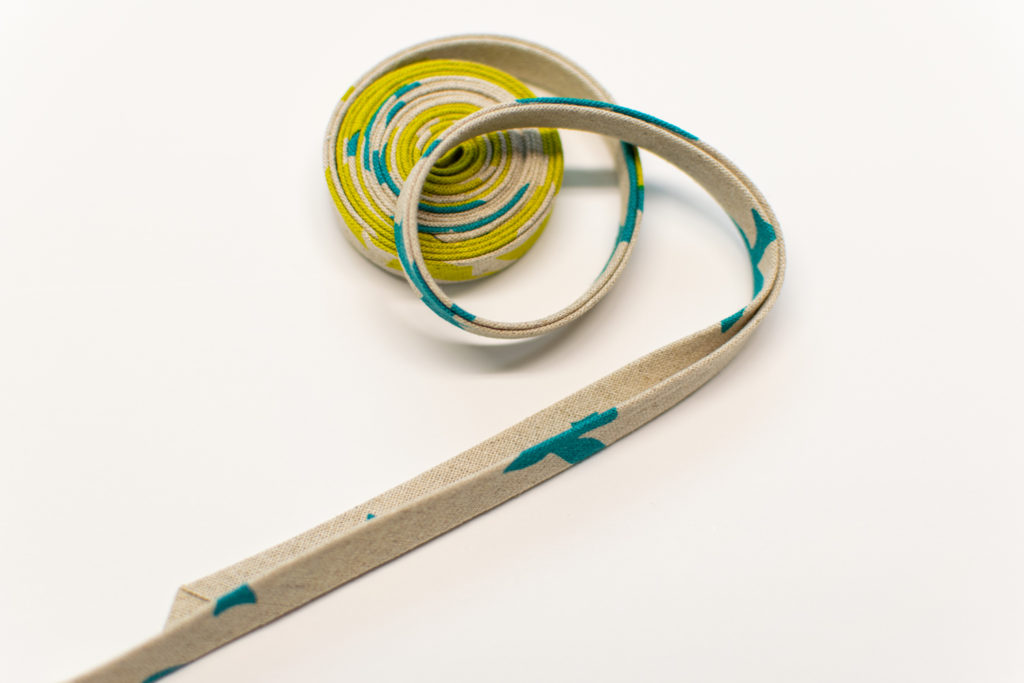
Double-fold bias tape is basically single-fold bias tape that has been folded in half lengthwise. This hides all the raw edges on the inside of the folded bias tape. Double-fold bias tape is usually used as a binding, rather than a facing, where the bias tape sandwiches the raw edge of your project.
What is a Bias Tape Maker?
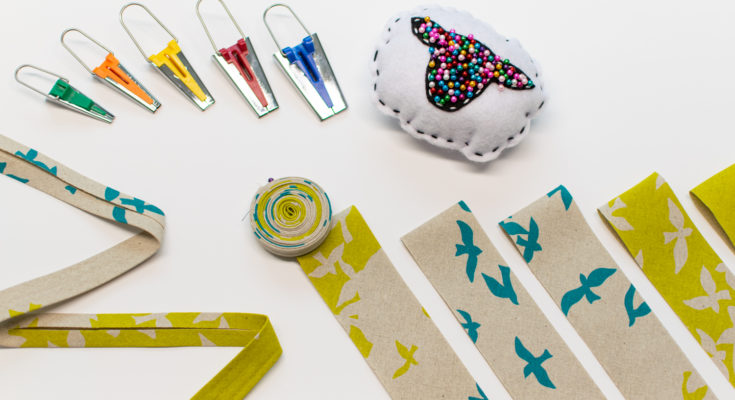
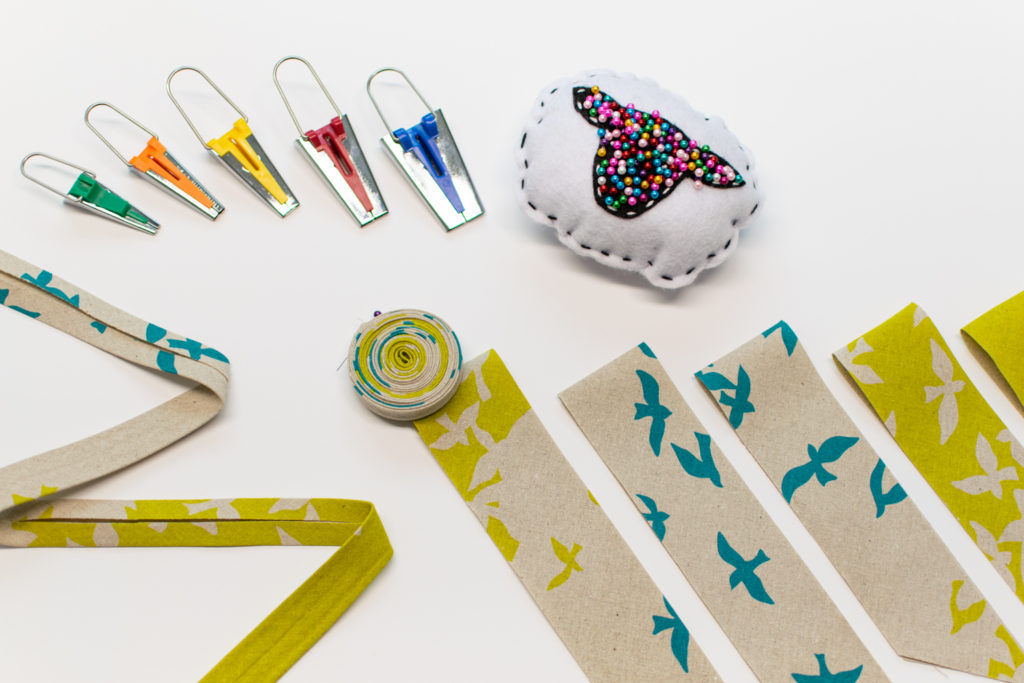
One of the best sewing tools you can add to your sewing room is a set of bias tape makers. These little metal gadgets make creating your own bias tape a simple and relatively quick process. Instead of painstakingly ironing each fold into your bias tape by hand, a bias tape maker creates the folds for you, allowing you to simply press the folds in place as you pull your strip of fabric through the bias tape maker.
Each set usually comes with several different sizes of bias tape makers, usually labeled in either inches or millimeters. The size of each maker corresponds to the width of finished single-fold bias tape that it will make.
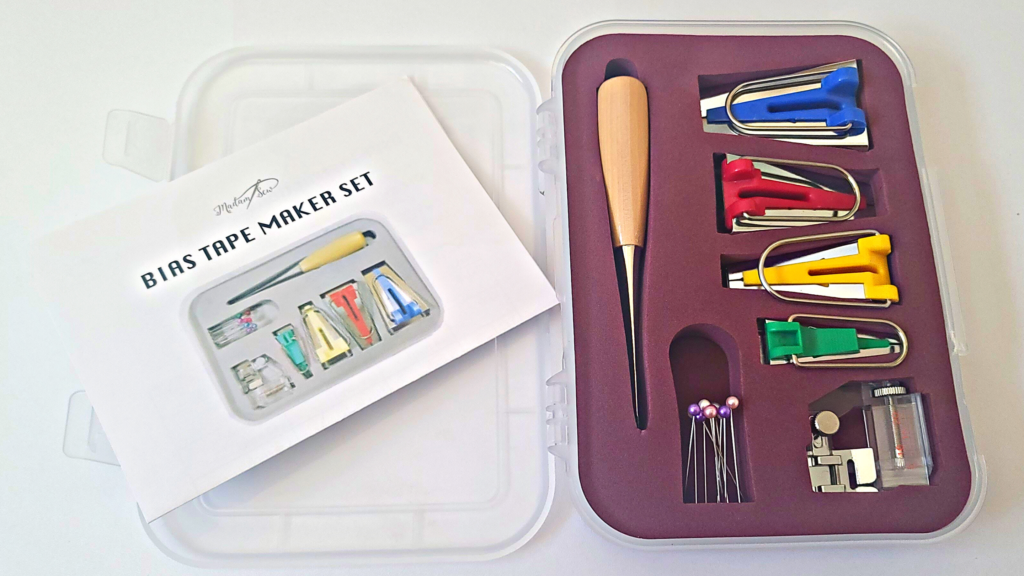
Madam Sew sells the best Bias Tape Maker Kit! It includes everything you need to make 4 different sizes of bias tape. In addition to the metal bias tape makers, it includes a wooden awl, some ball sewing pins, 1 storage case, 1 instruction manual, and 1 adjustable bias binding foot that is compatible with most low-shank sewing machines.
| Bias Tape Maker Size (in) | Bias Tape Maker Size (mm) | Single Fold Bias Tape Width | Double Fold Bias Tape Width |
| 1/4” | 6 mm | 1/4” | 1/2” |
| 1/2” | 12 mm | 1/2” | 1” |
| 3/4” | 18 mm | 3/4” | 1 1/2” |
| 1” | 25 mm | 1” | 2” |
Bias tape makers are a must-have sewing tool! There always seems to be some project that calls for bias tape!
Here’s what you can do with a bias tape maker:
- Make Custom Bias Tape from ANY Fabric! — Shopping for bias tape is frustrating… You can rarely find the exact color and size you need. Whether you want contrasting bias tape or an exact color match, these bias tape makers help you achieve the perfect look.
- Avoid Extra Trips to the Craft Store — It seems like you’re always forgetting to buy some notion or sewing tool for a project. When you have bias tape makers at home, you won’t have to go on the hunt for bias tape when you need it to finish a project. That saves you time and money.
- Make Perfect Single-Fold or Double-Fold Bias Tape with Ease — It’s nearly impossible to get perfectly straight and even bias tape when you try to do it without a bias tape maker. And why would you want to try?!?! Bias tape makers fold your fabric with no hassle.
How to Make Bias Tape with a Bias Tape Maker
It’s easy to make your own bias tape! Let’s get into the step-by-step details of how to do it with a set of bias tape makers.
Step 1: Cut Your Fabric Into Strips
The first step is to cut strips of fabric. You’ll want to cut your strips to double the width of the bias tape maker you plan to use. For example, I’ll be cutting my strips 2” wide to use my 1” bias tape maker.
A rotary cutter and self-healing cutting mat make the job easier.
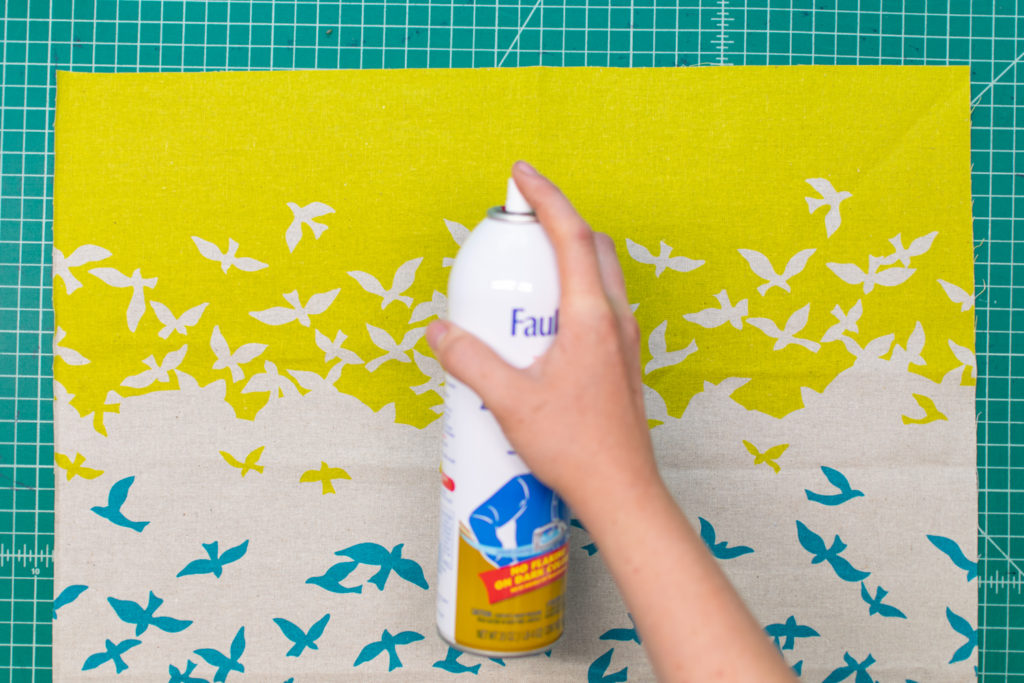
Press the wrinkles out of your rectangle of fabric and give it a spritz of spray starch, if you have some. The starch will help the fabric to hold its shape better as you cut and iron.
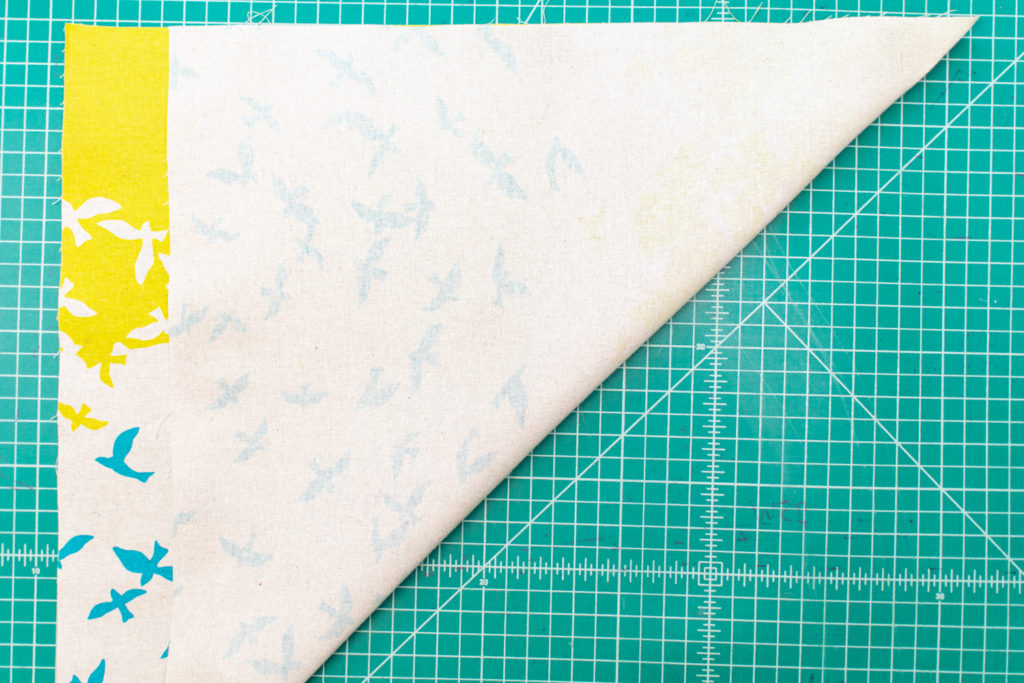
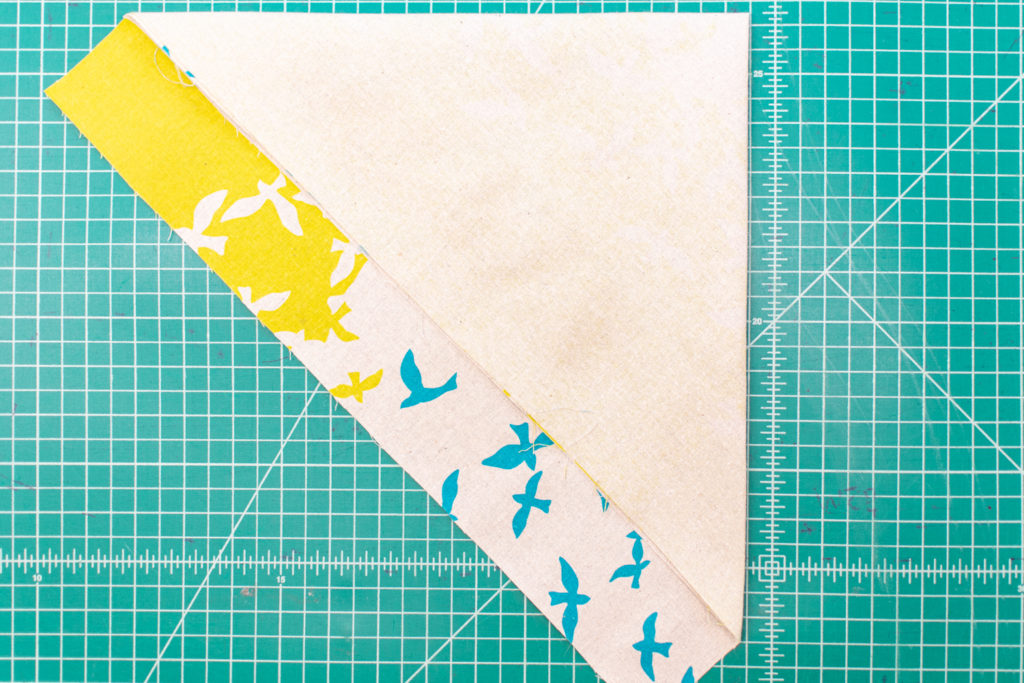
Then, lay your rectangle of fabric on your cutting mat and fold the lower right corner up so that it meets the top edge of the fabric.
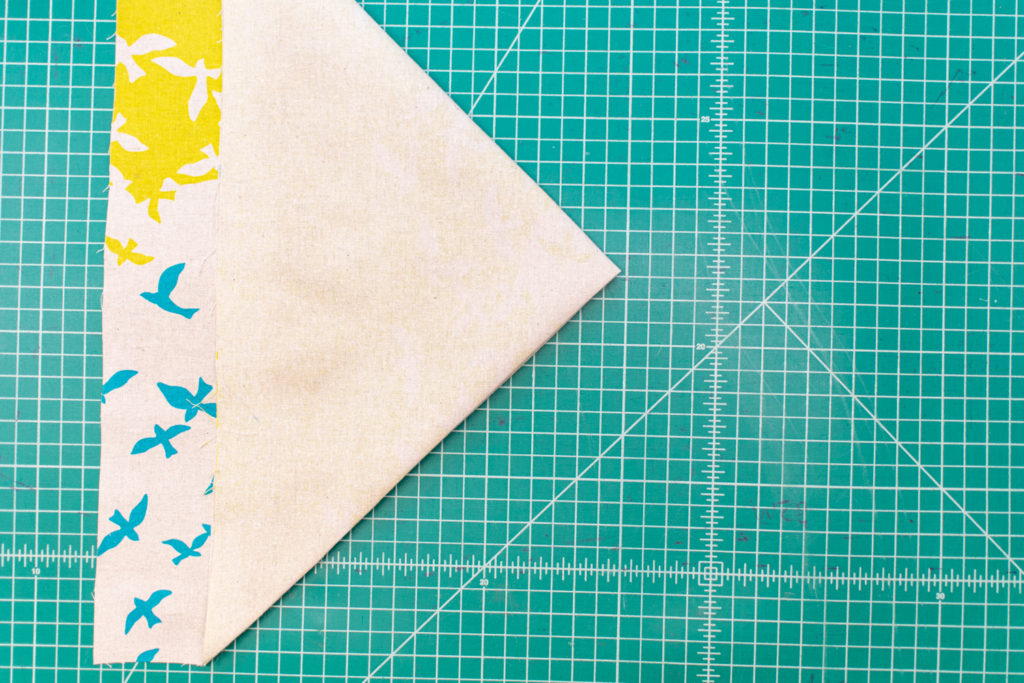
Next, fold the upper right corner down to match up with the lower corner along the fold line.
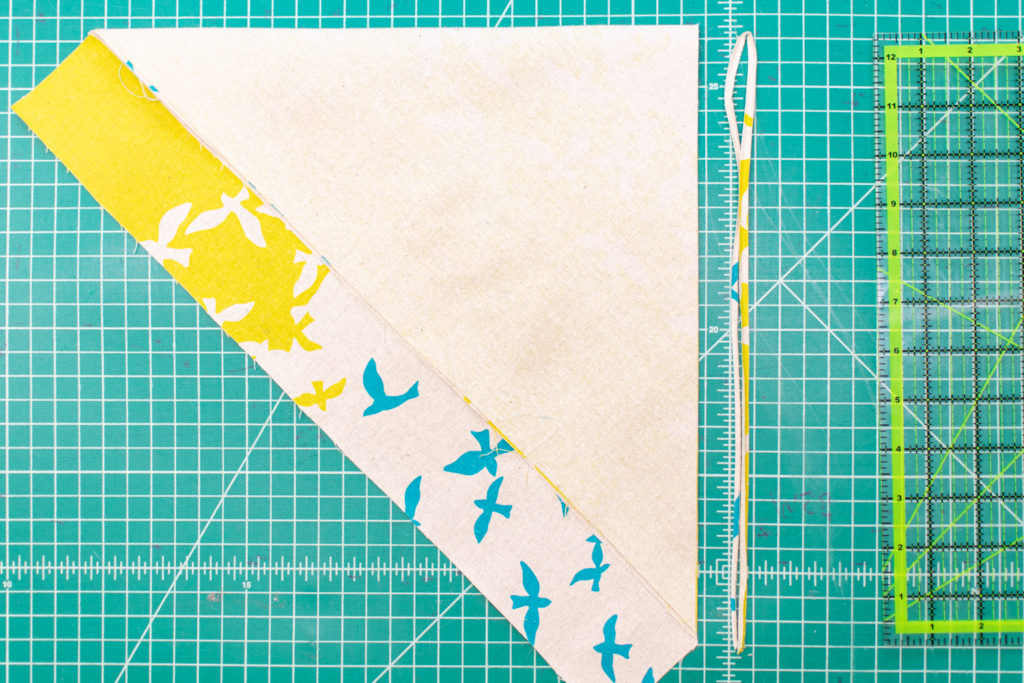
Rotate the fabric so that the matched up lower folded edges are vertical along the right-hand side.
Use your ruler to cut 1/8” away from the right-hand folded edges of the fabric. Make sure to get this cut as straight as possible.
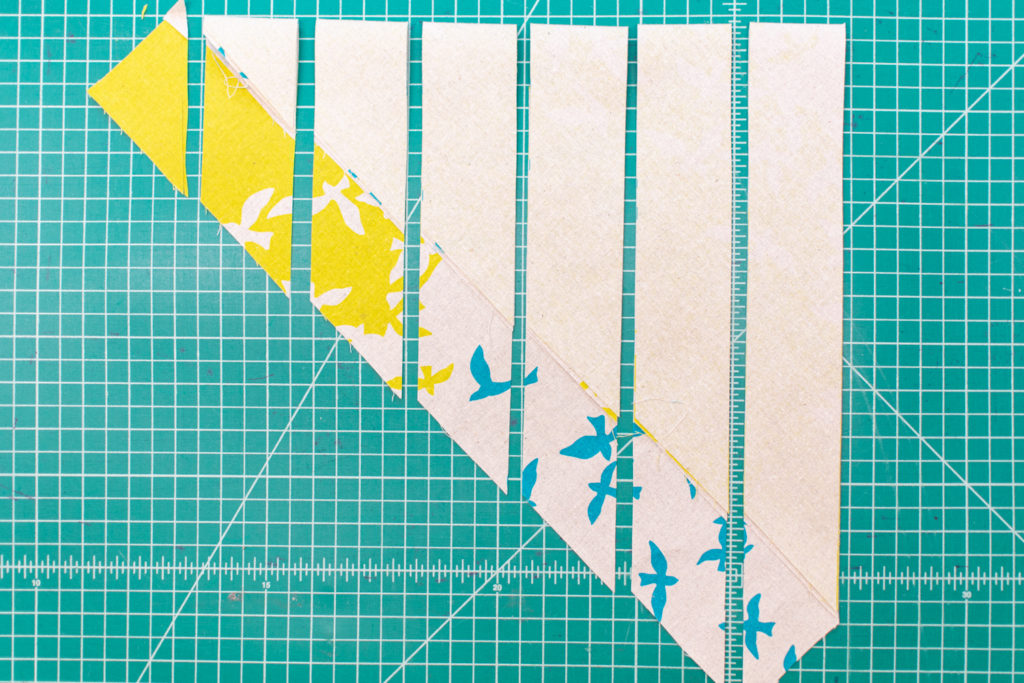
Finally, working your way over from the right side, cut strips in the width you need for your bias tape maker.
Seaming the Fabric Strips
You should now have a good stack of bias strips, but they’re not all attached! You now need to connect all the pieces to form one continuous bias strip.
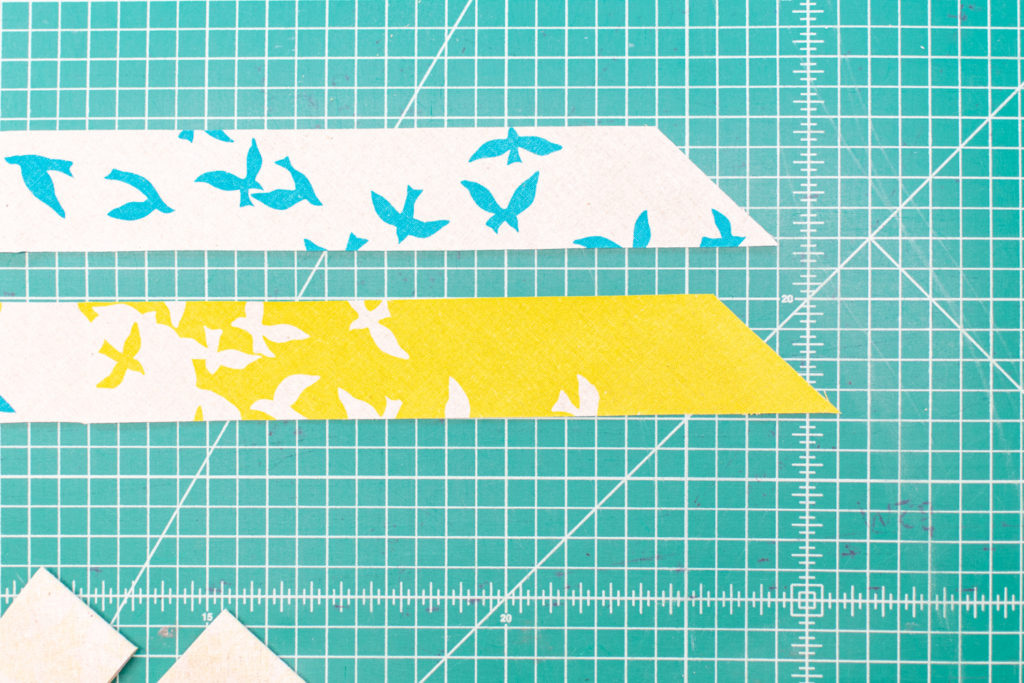
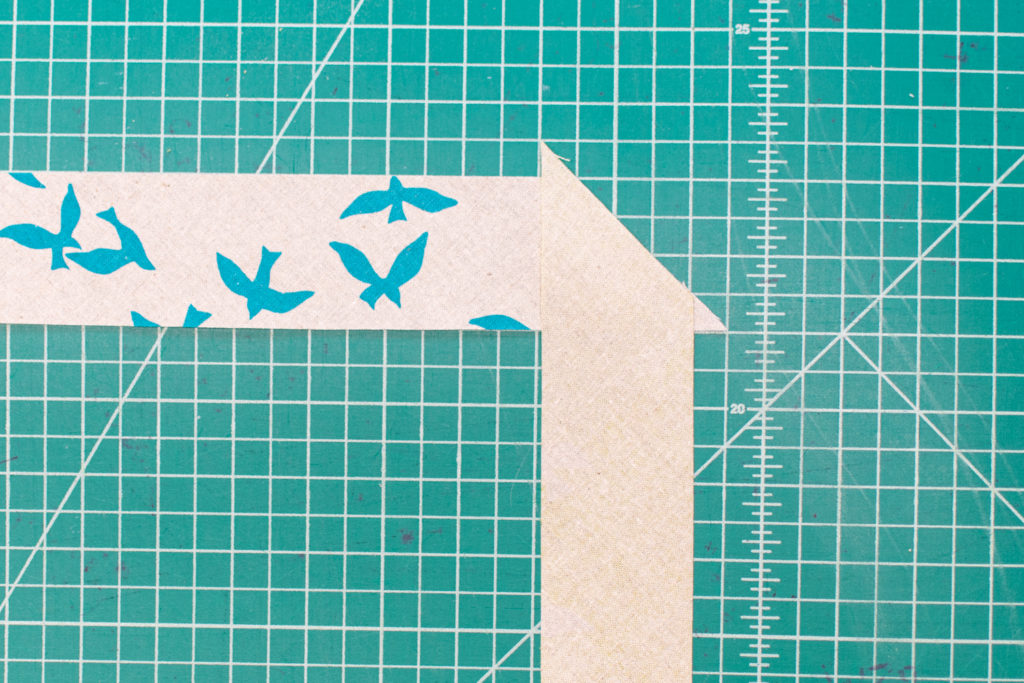
Start by finding two ends with the angle going in the same direction.
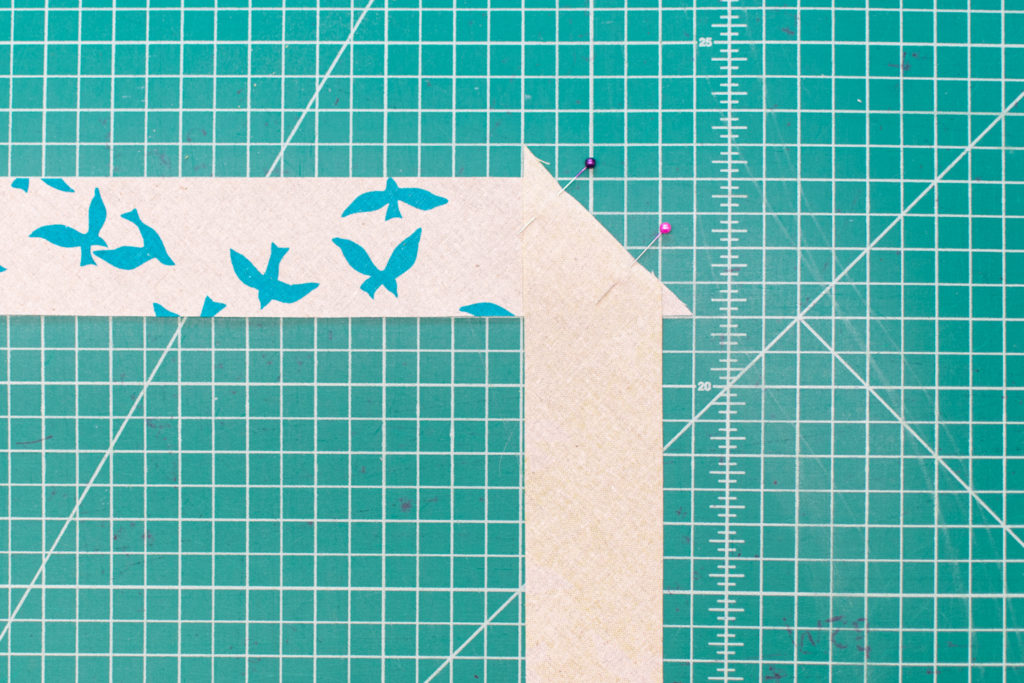
Flip one of the pieces over to place them right sides together, lining up the angled edges. Make sure that the pointed ends of each strip hang over the edges by about ¼”.
Pin the strip ends together.
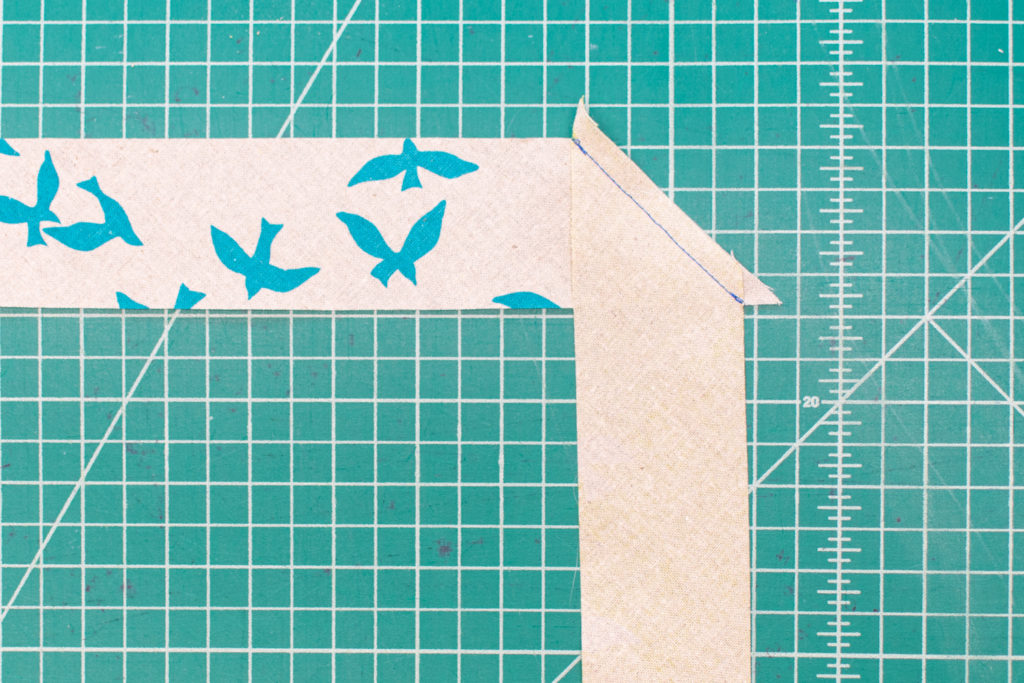
Stitch the strips together with a ¼” seam allowance.
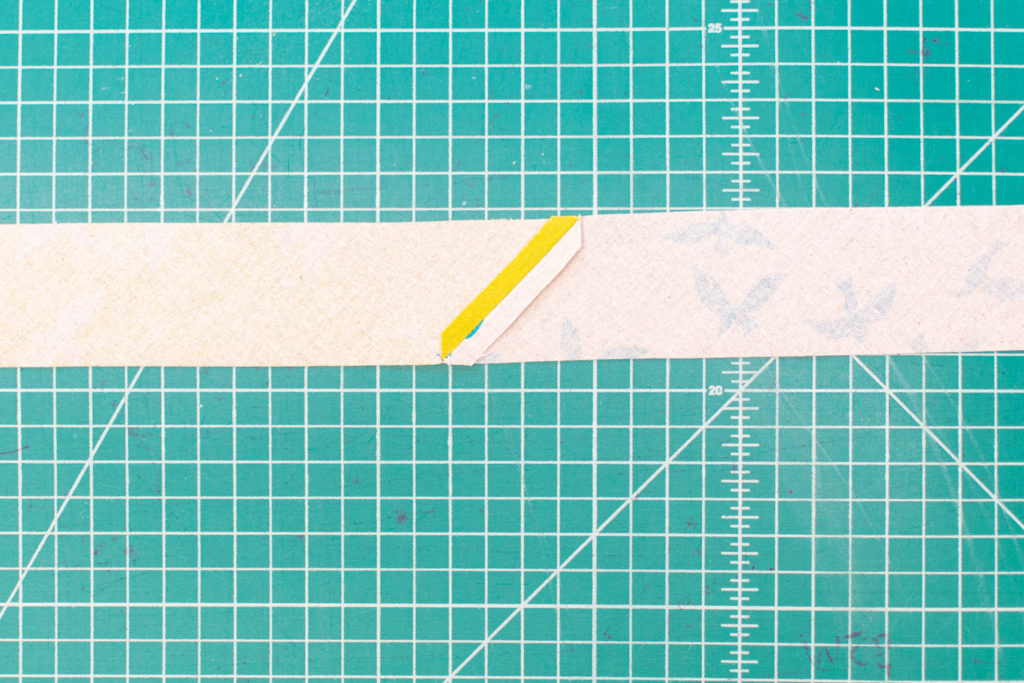
Trim away the pointed corners that extend beyond the width of the bias strip, then press your seam allowances open.
Repeat this process until all the strips are stitched together into one long piece of fabric.
Step 2: Iron the Creases into Your Bias Tape
Finally, it’s time to use your metal bias tape makers!
Place your bias tape maker colored side up on your ironing board.
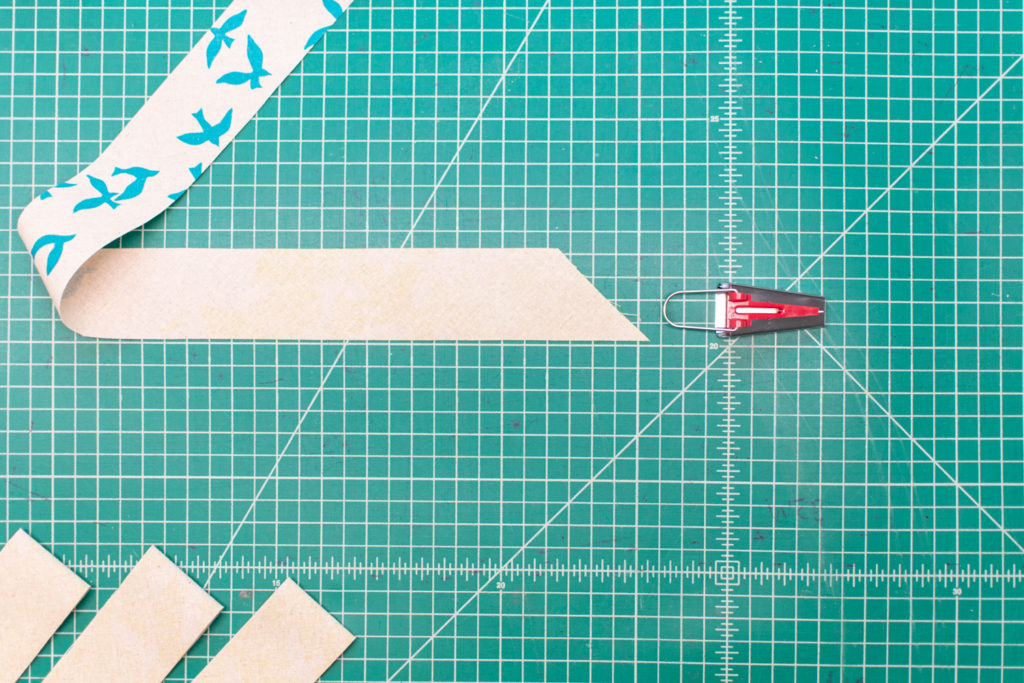
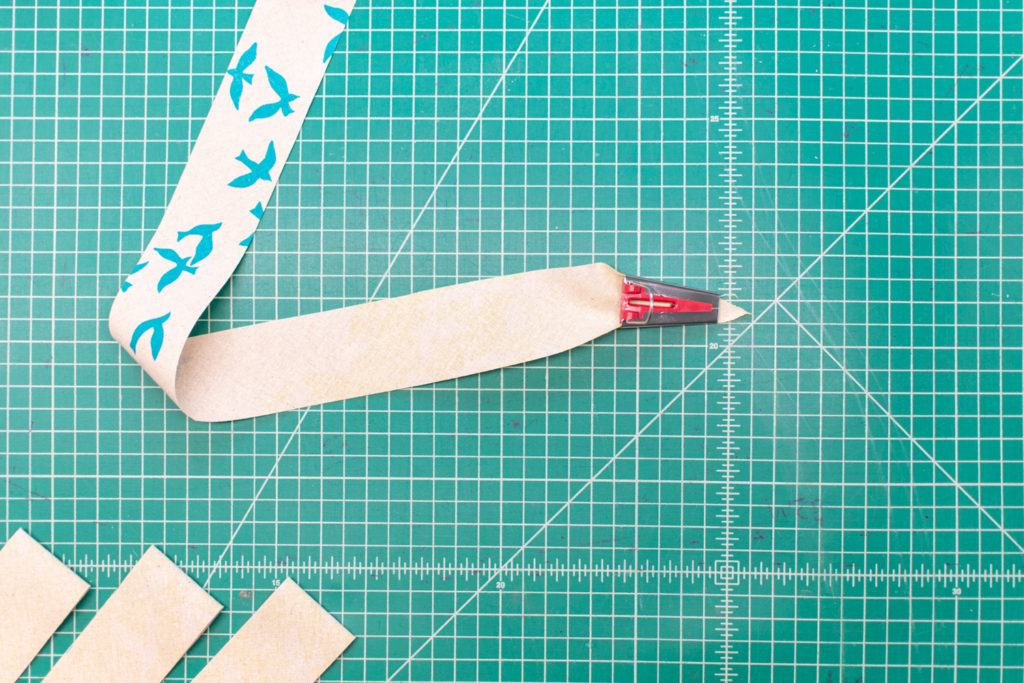
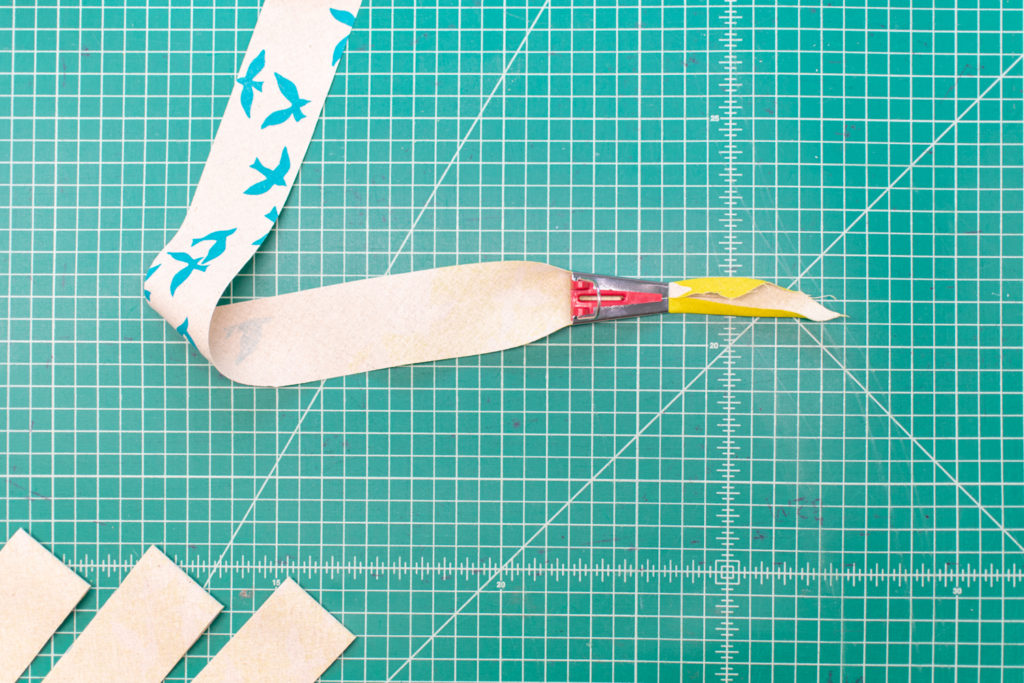
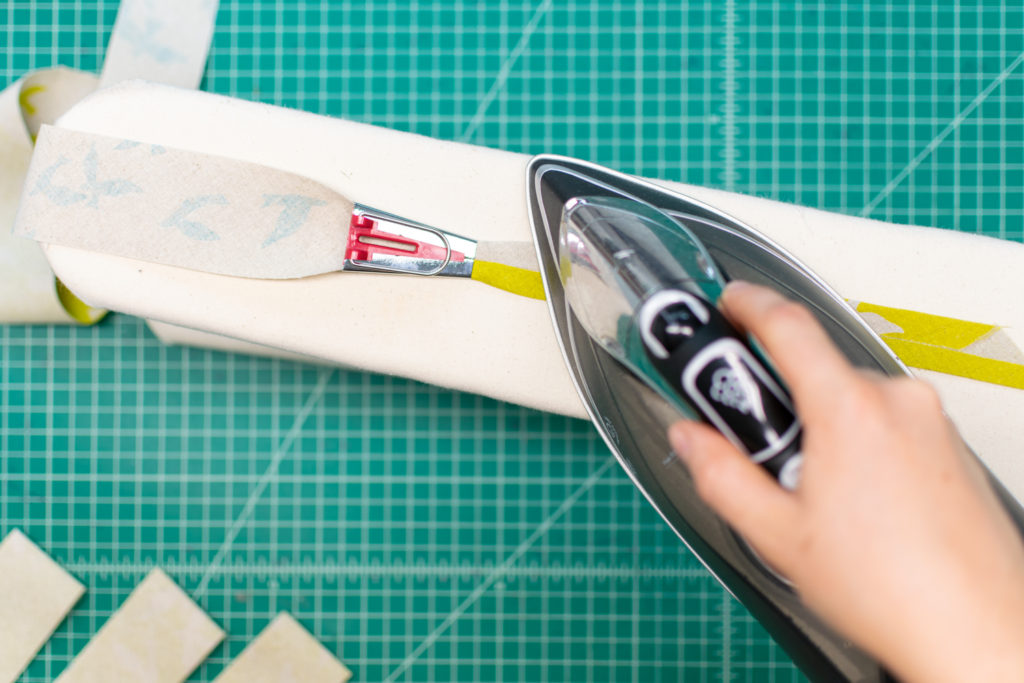
Then, with the wrong side up, feed one of the ends of your long bias strip into the bias tape maker, starting from the wider end and pushing it out the narrower end. It can help to use a wooden awl to push the fabric through at the start.
Pull the bias tape out the end of the bias tape maker a few inches. It should start folding the edges towards the center for you.
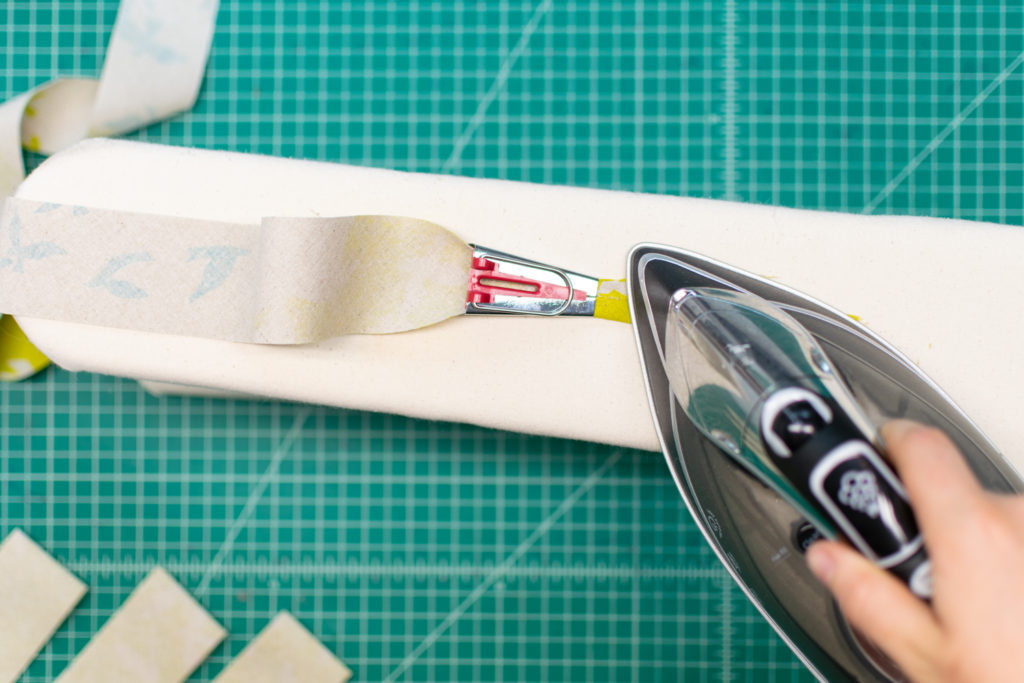
Press these folds in place.
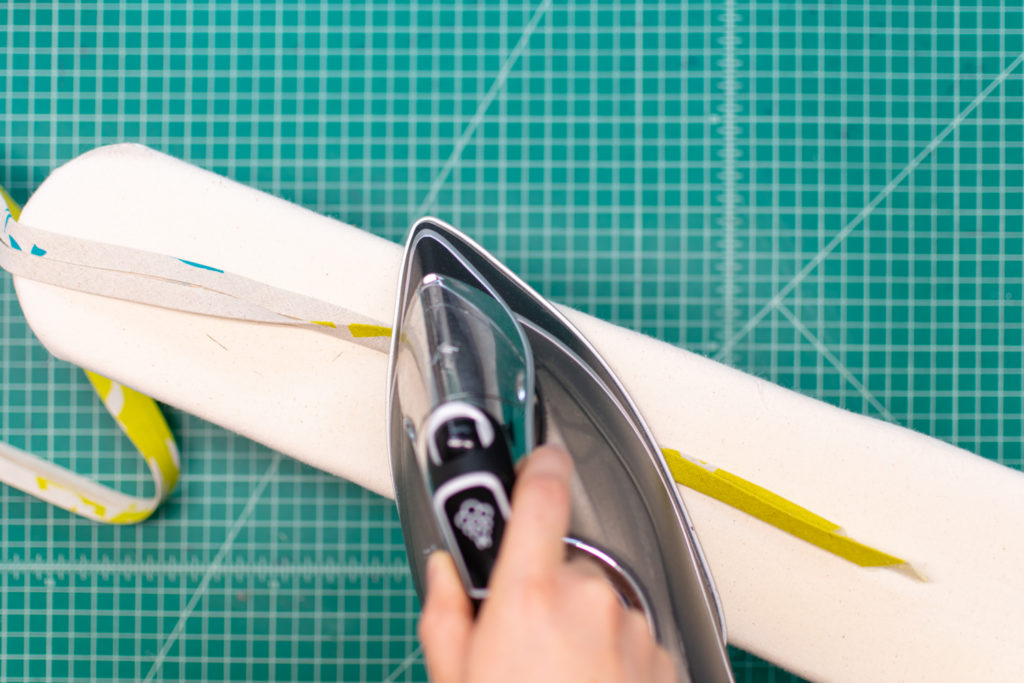
Continue slowly pulling the bias tape through the bias tape maker, ironing the folds in place as you do. That’s all there is to making single fold bias tape!
To make double-fold bias tape, simply fold this tape in half lengthwise towards the wrong side and press.
Congratulations!
Now that you know how to make bias tape, you can save tons of money on notions and get the perfect color match for any sewing project.
We love bias tape makers!
Share this post on Pinterest!

I want to make bias tape for curtains, How do I ake kt sos it is an inch on either side of the edge?