September 13, 2025 · Sewing Society · 4 min read · Sewing Tips & Hacks
Disclosure: As an Amazon Associate, we earn from qualifying purchases. Some links in this post may be affiliate links.
How to Sew an Invisible Zipper (It's Easier Than You Think)
Invisible zippers look intimidating, but they're actually no harder to sew than a regular zipper. With the right tools, such as wonder tape and an invisible zipper foot, you can get a clean, professional finish every time. Here's a simple step-by-step guide to inserting an invisible zipper into any dress or skirt.

Invisible zippers have a reputation for being tricky, but I promise, once you try one, you'll wonder what you were ever afraid of. They're genuinely no harder than a regular zipper, and the results are so much more polished.
Here's everything you need to know to sew an invisible zipper with confidence.
What Is an Invisible Zipper?
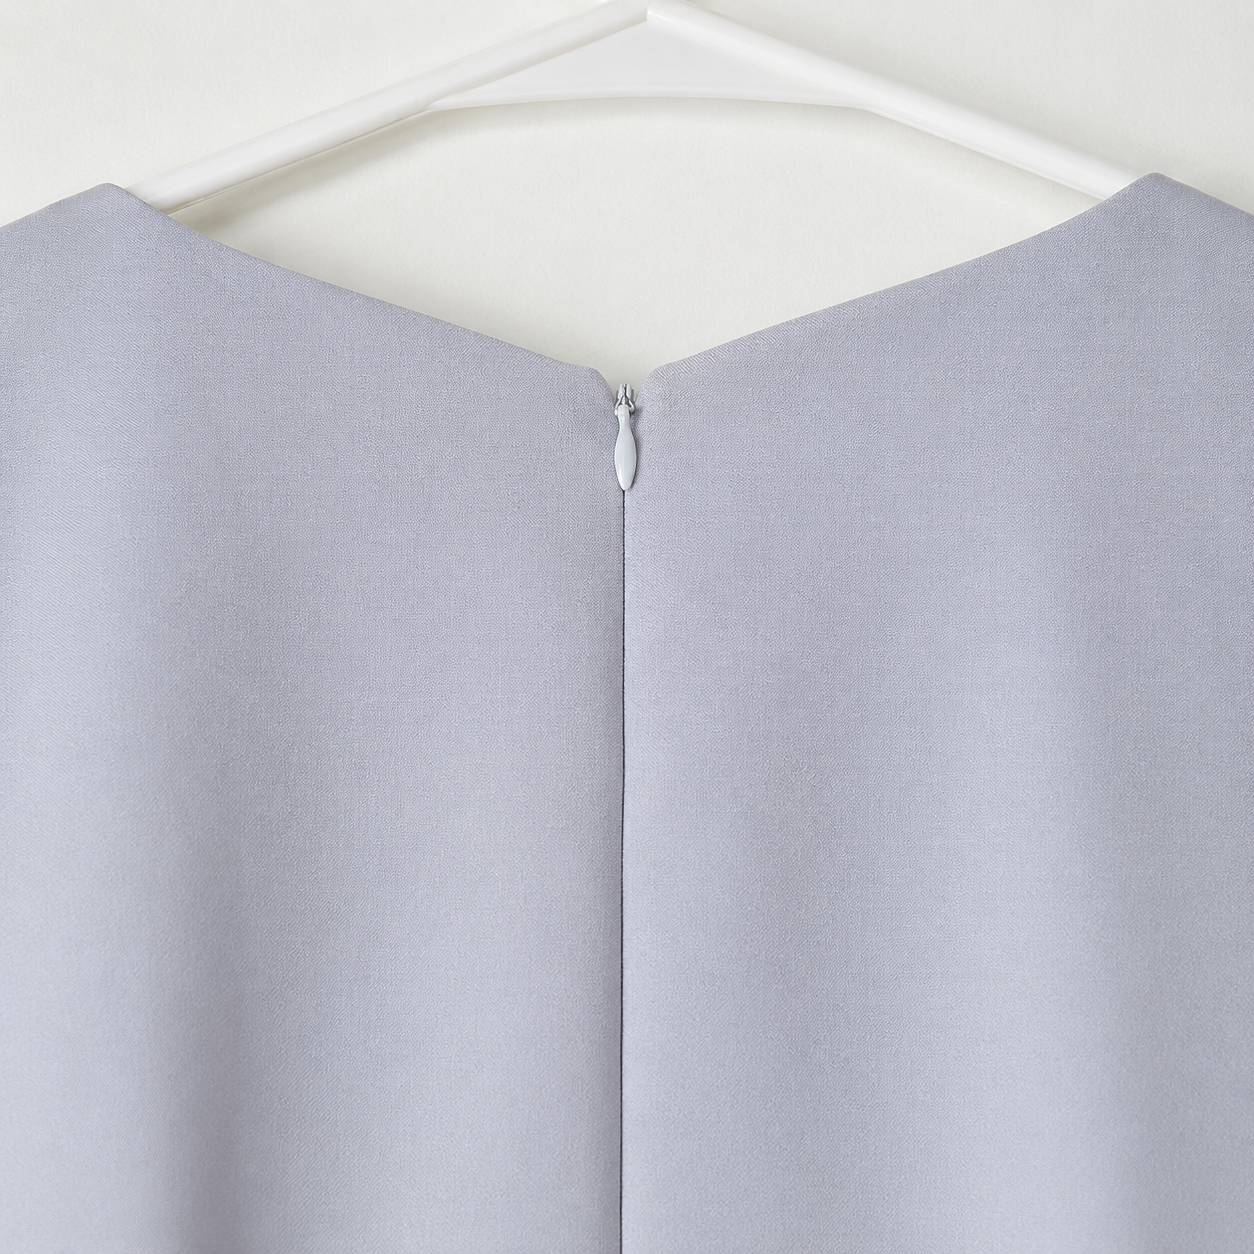
An invisible zipper does exactly what the name suggests: when inserted correctly, it disappears into your seam. All that's visible from the outside is a neat seam line and a small, discreet zipper pull at the top. They're commonly used in dresses, skirts, and home décor pillows — anywhere a visible zipper would interrupt the look of a garment.
A quick tip on color: Even though the zipper will be hidden, try to match it as closely as possible to your fabric. The pull will still be visible, and a matching zipper makes the inside of your garment look more professional. I recently replaced the invisible zipper in my sister-in-law's pale purple dress and used a white zipper thinking it would be close enough. In hindsight, I should have looked a little harder for a better match!
What Size Invisible Zipper Do You Need?
For most adult dresses, a 16-inch zipper is standard. It's long enough to cover the full back opening and extend just past the waist. For children's dresses, a 12-inch zipper usually does the job.
As a general rule, choose a zipper that's 1–2 inches longer than your seam opening. This gives you a little extra to work with and makes installation easier.
Invisible zippers have plastic teeth fused onto strips of woven fabric tape, and they come in a wide range of colors and lengths, so finding a good match for your project shouldn't be difficult.
What You'll Need
Wonder Tape My preferred method for inserting an invisible zipper uses wonder tape instead of pins or basting stitches. Wonder tape is a double-sided, water-soluble tape that holds your zipper in place while you sew. You can stitch right through it without gunking up your needle, and it washes away completely when you're done.
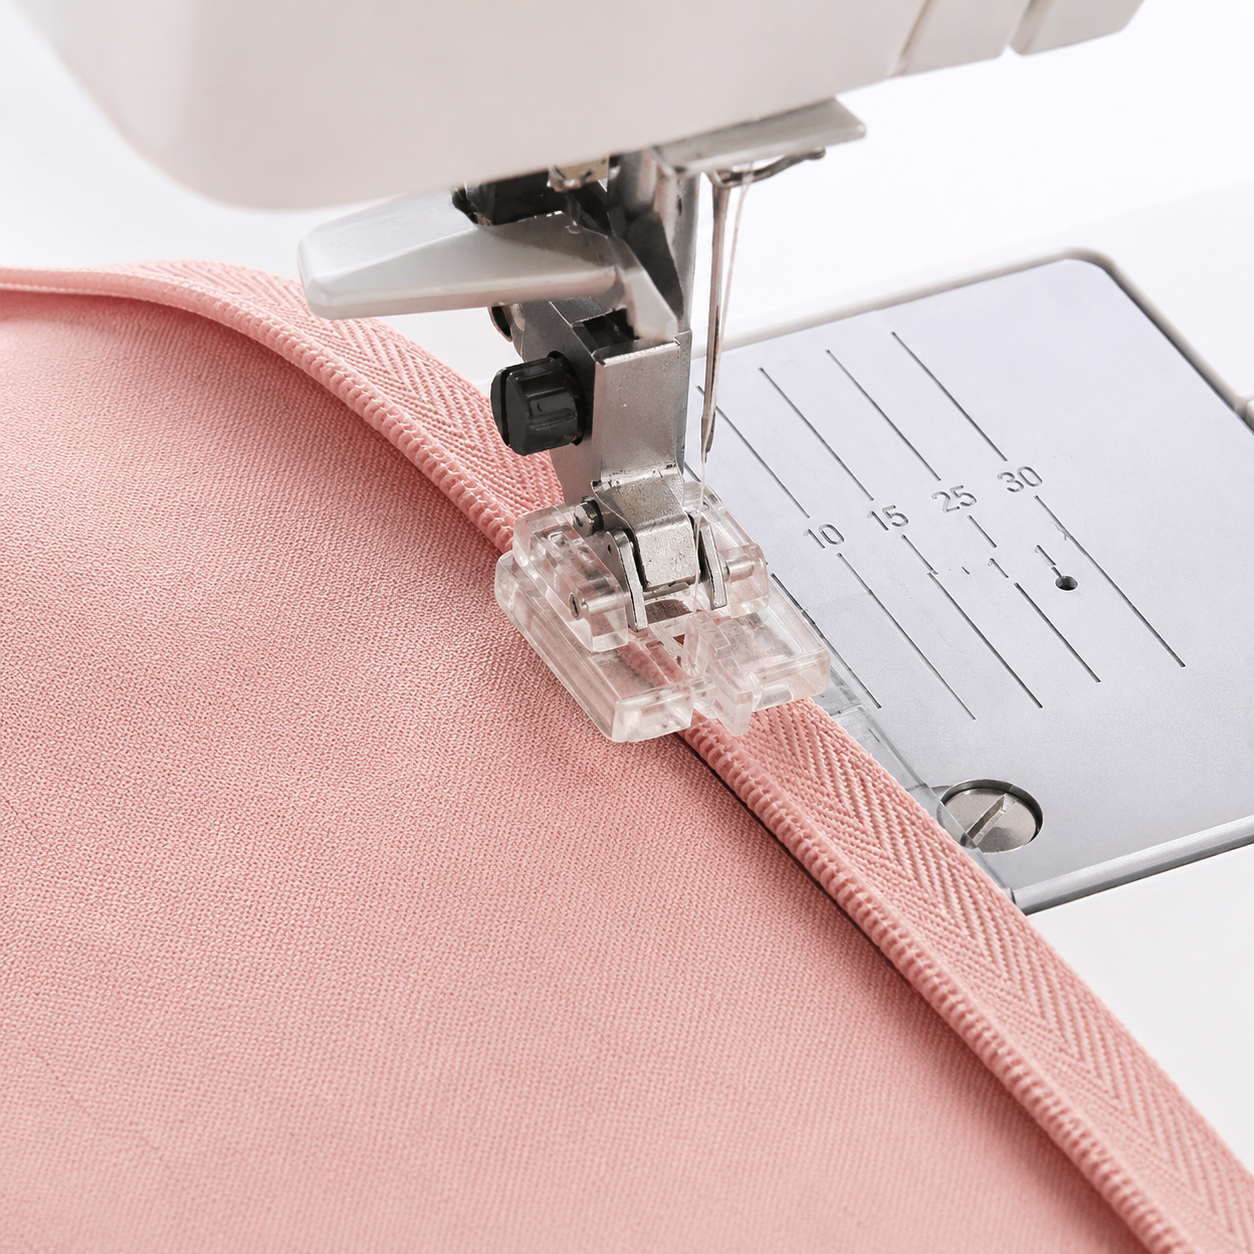
An Invisible Zipper Foot You can install an invisible zipper with a regular zipper foot, but an invisible zipper foot makes the job noticeably easier. Most modern sewing machines include one — check your manual to see if yours came with it. If not, a universal invisible zipper foot works well and fits most machines.
The invisible zipper foot has two small channels that guide the zipper teeth as you sew, keeping your stitching exactly where it needs to be and preventing you from accidentally sewing over the teeth.
How to Insert an Invisible Zipper: Step by Step
Step 1: Finish your raw edges. Before anything else, finish the raw edges of the seam where you'll be inserting the zipper. Use a serger, overcast stitch, or zigzag stitch on your sewing machine. If your garment has a lining, you can skip this step.
Step 2: Mark your seam allowance. Using a fabric marking pen and ruler, mark the seam allowance line on both edges of your fabric. Your pattern will tell you the measurement — typically ½ inch or ⅝ inch. This line is your guide for placing the zipper.
Step 3: Apply wonder tape. Place a strip of wonder tape halfway between the raw edge of your fabric and the seam allowance line on each side. The tape should run parallel to your seam line for the full length of the zipper opening. Repeat on both sides.
Step 4: Position your zipper. Remove the paper backing from the wonder tape and place your zipper face-up against the fabric, using the tape to hold it in position. The zipper teeth should sit right along the seam allowance line.
Step 5: Sew. Using your invisible zipper foot, sew each side of the zipper. Guide the teeth through the channels in the foot as you stitch. Pivot across the bottom to fully encase the zipper — and you're done!
A Few Final Tips
Always open your zipper fully before sewing. This makes it easier to position and stitch accurately.
Press the zipper tape gently with a warm iron before inserting it. This uncurls the teeth slightly and helps them lie flat as you sew.
Sew slowly, especially near the top of the zipper. Precision here makes a big difference in how the finished seam looks.
Invisible zippers are one of those techniques that feel fussy the first time and completely natural the second. Give it a try. I think you'll be surprised how well it turns out!
Have questions about invisible zippers? Drop them in the comments below!
Related reading: How to Make Bias Tape (Quick, Easy, and Painless)
AI Sewing Coach
Create a free account to chat with our AI Sewing Coach — trained to help with sewing techniques, troubleshooting, projects, fabric questions, and more!
Comments
Comments are screened by an AI moderator for spam and inappropriate content.
Sign in to join the conversation.
Loading comments…