April 23, 2026 · Sewing Society · 4 min read · Patterns & Projects
Disclosure: As an Amazon Associate, we earn from qualifying purchases. Some links in this post may be affiliate links.
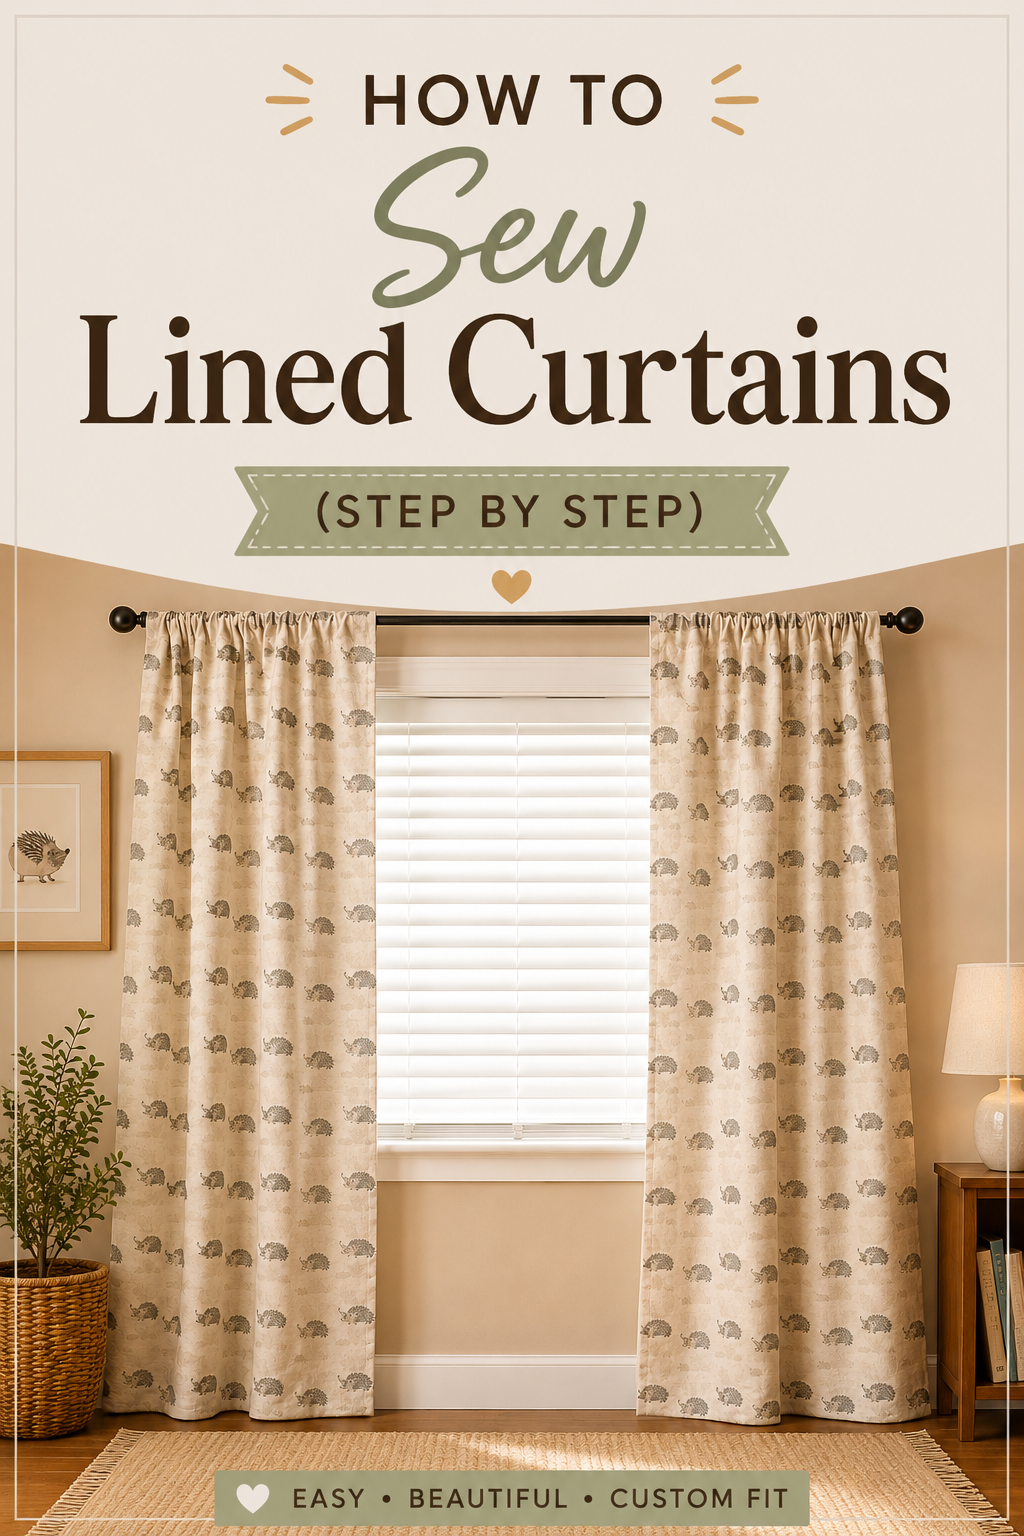
How to Sew Lined Curtains: A Step-by-Step Tutorial
Sewing your own lined curtains is much easier than it sounds, and the results look far more custom than anything you'd find in a store. This step-by-step tutorial covers measuring your window, calculating yardage, sewing lined panels with a rod pocket casing, and hemming for a clean, professional finish.
Store-bought curtains only come in standard sizes, and finding exactly what you want in the right color, fabric, and length can feel impossible. Sewing your own is easier than you'd think, and the results look so much more custom and intentional.
This tutorial shows you how to measure your window and sew lined curtain panels with a rod pocket casing at the top. The construction only involves straight sewing, so any skill level can tackle this project!
Step 1: Measure Your Window and Calculate Yardage
Before you buy a single yard of fabric, hang your curtain rod. It's much easier to take accurate measurements when the rod is actually in place.
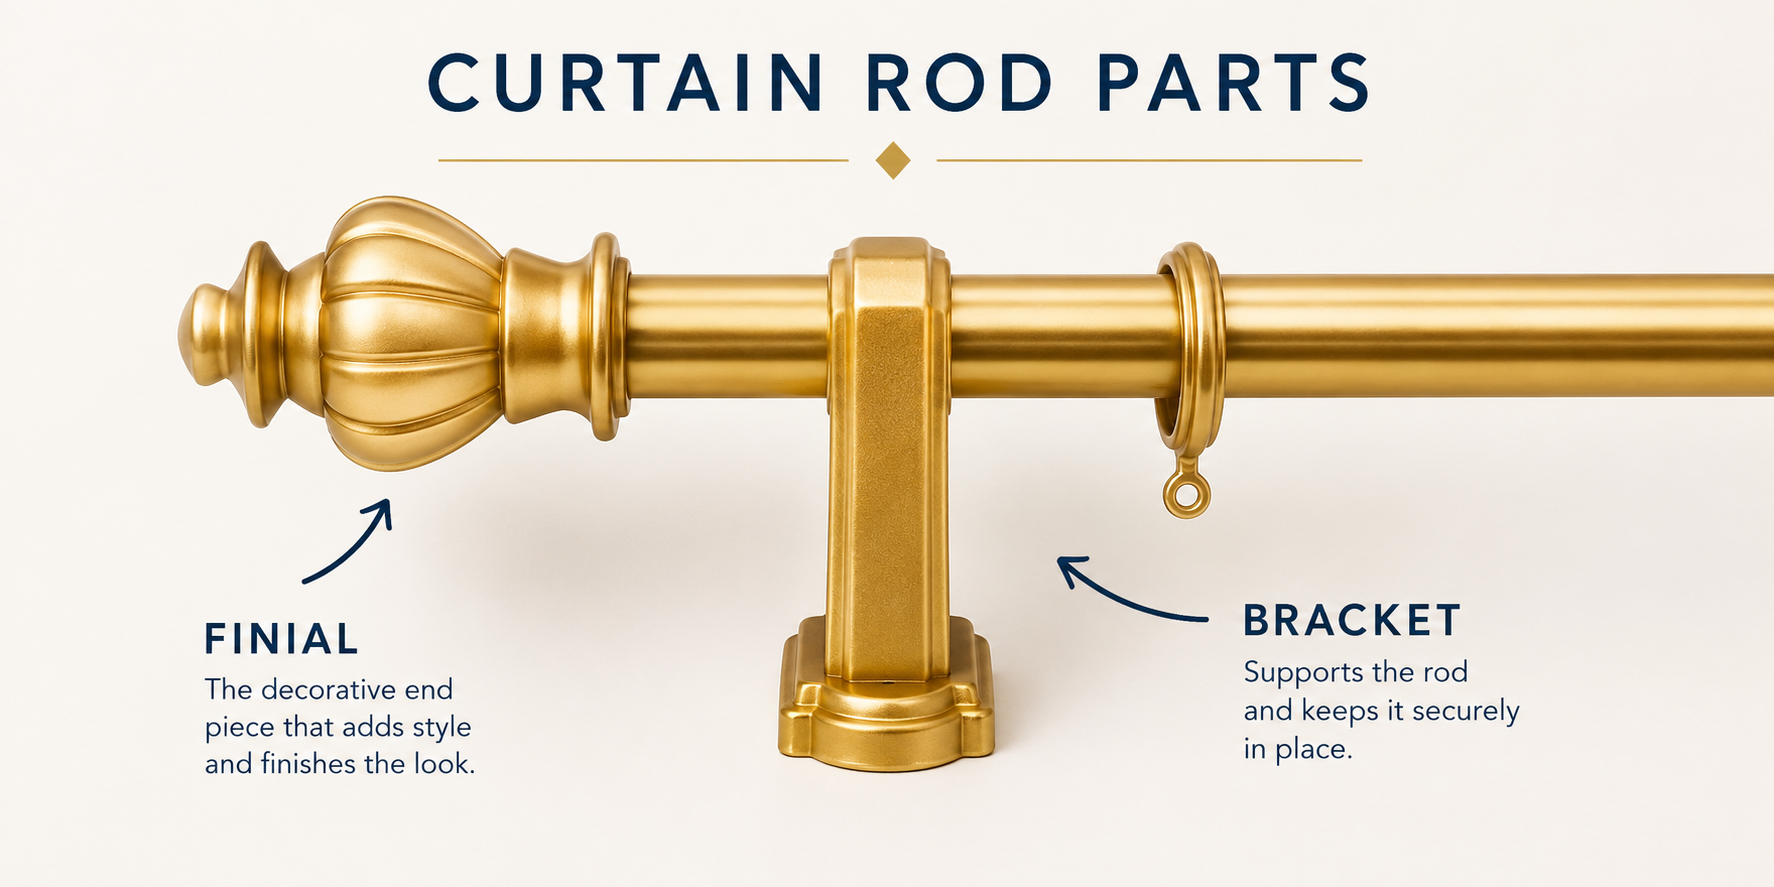
A note on curtain rod placement: Position your rod at least four inches above the top of the window frame. Your brackets (the hardware that holds the rod up) should sit the same distance or farther from the outside edges of the frame. The finials, or decorative end caps, will always be visible beyond the brackets. Your curtain panels will span the space between the two brackets.
Calculating width: Measure the distance between your two brackets and multiply by 1.5. This gives you the total gathered width for both panels. Divide that number in half to get the width of each individual panel. Unless each panel needs to be wider than 45 inches (which is unusual), this won't affect your yardage calculation since most fabric comes 45 to 60 inches wide.
Calculating length (this is the important number): Measure from the top of the curtain rod down to where you want the curtain to end. Add 6 inches to account for a 4-inch rod pocket casing at the top and a 2-inch hem at the bottom.
Total yardage: Multiply your final length by the number of panels you're making (usually 2). You'll need the same amount of fabric for the lining as for the main fabric.
If you chose a fabric with a directional print, buy a little extra so you can match the panels when cutting.
Step 2: Choose Your Fabric
Think beyond color when selecting fabric for curtains. Weight, drape, and nap all affect how the finished curtains look and hang. Cotton, linen, and upholstery fabric all work well.
If you want to block light completely, use blackout fabric for the lining. It's more affordable than it sounds and makes a big difference.
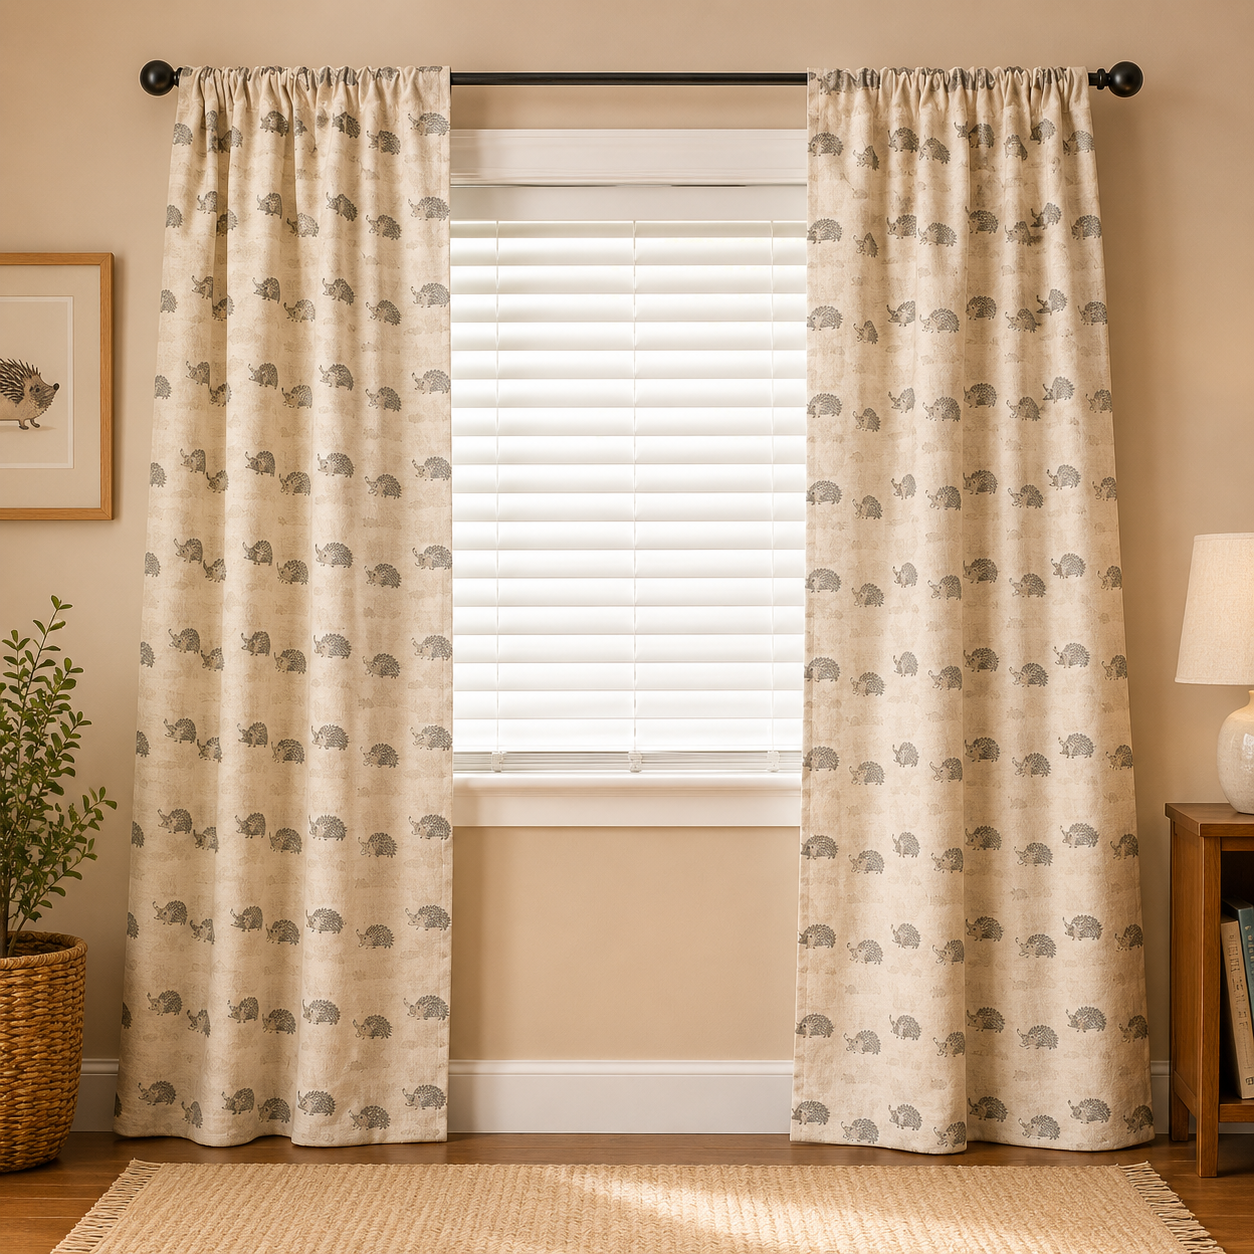
For this tutorial, I made nursery curtains for my sister-in-law using a cotton print with cute elephants and pink lettering.
Step 3: Cut Your Fabric
Before cutting, iron your fabric to remove any wrinkles so your cuts are clean and accurate. Double-check your measurements, then cut two matching curtain panel pieces and two lining pieces, all the same size.
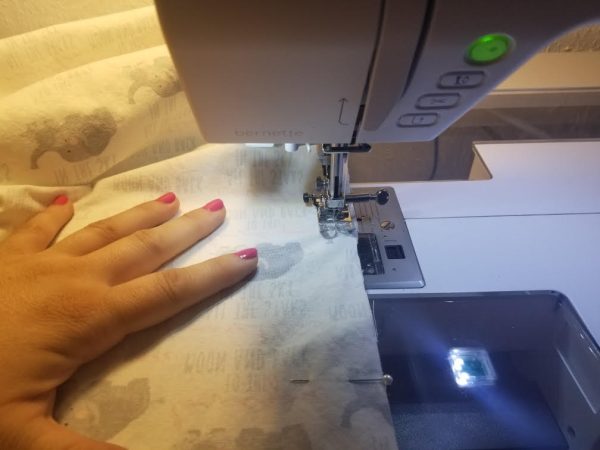
Step 4: Sew the Side Seams and Top Seam
Place the curtain front and lining fabric with right sides together and pin along three sides. Using a ½-inch seam allowance, sew up one long side, pivot and sew across the top, then pivot again and sew down the other long side. You'll end up with a pillowcase shape that is sewn on three sides with the bottom open.
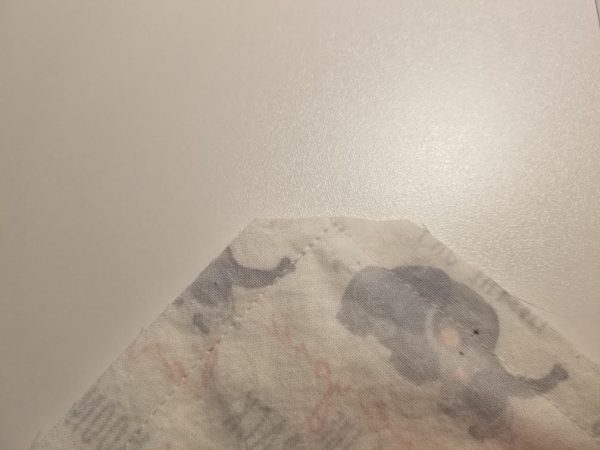
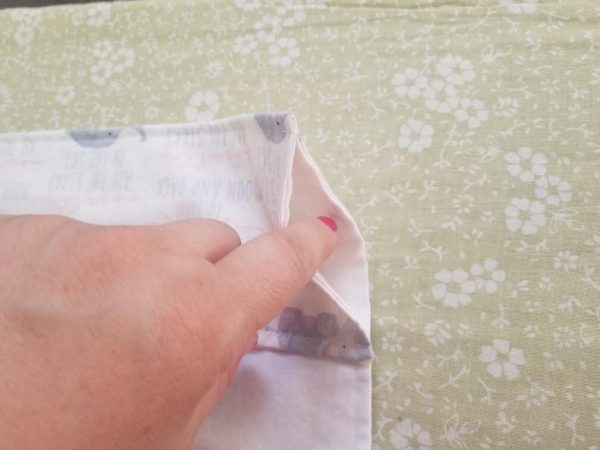
Step 5: Clip the Corners, Turn, and Press
Clip the two top corners diagonally, cutting close to but not through the seam. This reduces bulk and gives you crisp corners when you turn the panel right side out.
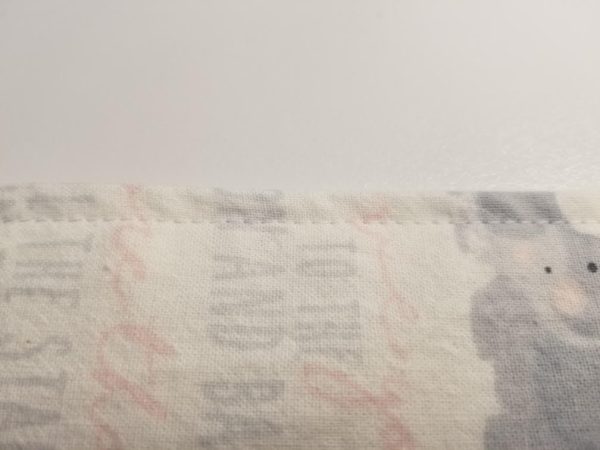
Turn the panel right side out and press all three closed edges with an iron. Then topstitch along those three edges for a clean, professional finish. Repeat for the second panel.
Step 6: Create the Rod Pocket Casing
The rod pocket is how your curtain hangs on the rod. It's simple to make: fold the top edge of the panel down 4 inches toward the lining side and press it in place. Stitch along the folded edge, backstitching at the beginning and end.
If you don't like the scrunched appearance that a basic rod pocket creates when the curtains are gathered on the rod, consider using rod loop tape instead. It's a strip of evenly-spaced loops that you sew to the top of the panel, creating more uniform pleating when the curtains are open.
Step 7: Hem the Bottom
Fold the bottom raw edge up ½ inch toward the lining and press. Then fold it up again 1.5 inches and press. Stitch along the folded edge, backstitching at the beginning and end.
Tip for floor-length curtains: Hang the panels on the rod first and mark where you want them to end before committing to the hem. Ideally, floor-length curtains should land ½ to 1 inch from the floor.
 Pin It
If you're working with lightweight fabric, consider sewing curtain weights into the bottom hem. They help the panels hang straight and drape evenly.

Step 8: Hang and Admire
Thread the curtain rod through the casing on both panels and hang it on the wall brackets. Step back and enjoy your custom, handmade curtains!

AI Sewing Coach
Create a free account to chat with our AI Sewing Coach — trained to help with sewing techniques, troubleshooting, projects, fabric questions, and more!
Comments
Comments are screened by an AI moderator for spam and inappropriate content.
Sign in to join the conversation.
Loading comments…