March 12, 2026 · Sewing Society · 3 min read · Sewing Machine Help & Troubleshooting
Disclosure: As an Amazon Associate, we earn from qualifying purchases. Some links in this post may be affiliate links.
Why Is My Automatic Needle Threader Not Working?
Automatic needle threaders fail for predictable reasons: incorrect threading, thread that is too thick, the needle not being fully raised, needle size or orientation issues, a bent threader hook, or a broken spring. This guide covers all eight common causes and exactly what to check and fix.
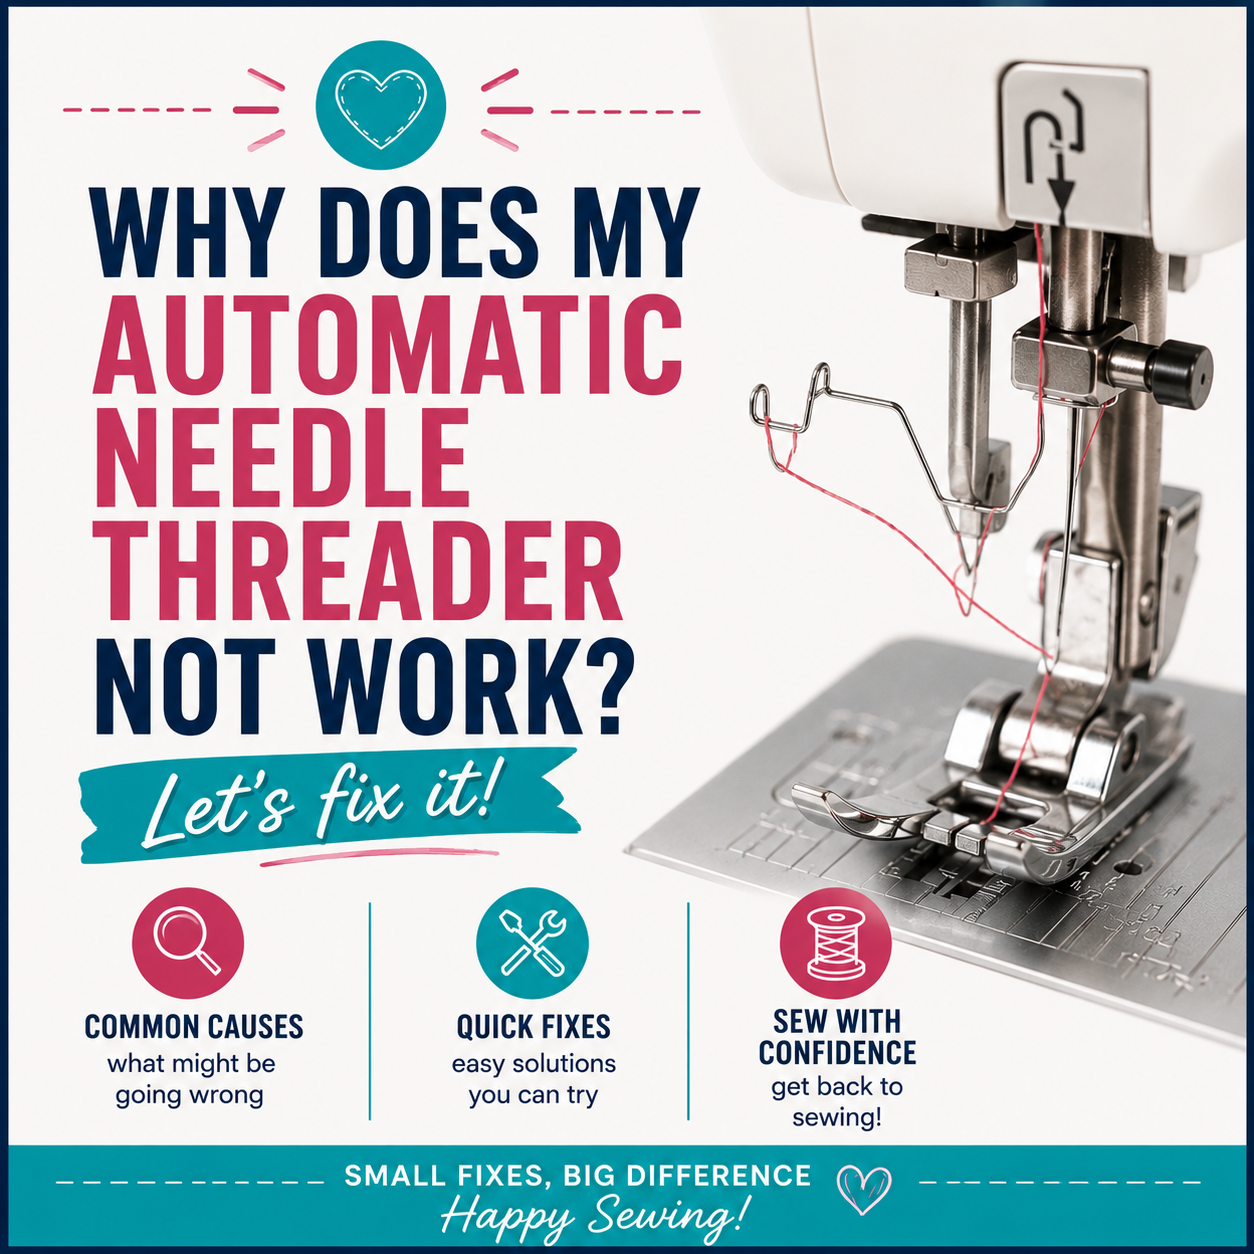
An automatic needle threader is one of the most convenient features on a modern sewing machine. When it stops working, threading the needle manually every time gets old fast. Here are eight common reasons the automatic needle threader fails and what to do about each one.
1. The Machine Is Not Threaded Correctly
The thread must pass through the guide directly above the needle in the correct position for the threader hook to grab it. If you missed that guide or the thread is sitting to one side, the hook will pass right by it.
Unthread completely and rethread from scratch, following your user manual exactly. Pay particular attention to the last guide above the needle — this is the one that positions the thread directly in front of the threader hook.
2. The Thread Is Too Thick
The small hook on the automatic threader is designed for standard sewing thread weights. It cannot grab thread that is too thick or too textured to pull cleanly through the needle eye.
Thread types that typically cannot be used with an automatic needle threader include:
Decorative thread
Metallic thread
Transparent nylon thread
Any thread thicker than size 30 (or 130/120 weight)
For these thread types, thread the needle manually. A needle threader hand tool makes this easier.
3. The Needle Is Not at Its Highest Position
The automatic threader only works when the needle is fully raised. If the needle is even slightly below its highest position, the threader hook will not align with the needle eye.
Turn the handwheel toward you until the needle is at its highest point. Many machines also have a needle-up button that raises it automatically. Lower the presser foot before using the threader on some machines — check your manual since this requirement varies by model.
4. The Needle Is the Wrong Size
The automatic threader is designed to work within a specific needle size range. On most machines, this is size 11 (75) through size 16 (100). It will not work reliably with:
Very fine needles smaller than size 11
Twin needles
Some specialty needles with larger or offset eyes
If you are working outside the standard size range, thread manually.
5. The Needle Is Not Inserted Correctly
A needle that is not fully seated or is facing the wrong direction will not align with the threader hook. The hook has a very precise path and even a slight misalignment means it misses the eye entirely.
Push the needle shank all the way up into the clamp and tighten the screw firmly. The flat side of the needle shank must face toward the back of the machine. If the needle is backward, the eye will be in the wrong orientation for the hook. Also check that the clamp screw has not loosened over time.
6. The Needle Is Bent or Damaged
A bent needle shifts the position of the eye just enough for the threader hook to miss it. This is a common cause of automatic threader failure that is easy to overlook because the bend may be very slight.
Hold the needle up and look straight down the shaft. Any visible curve means the needle should be replaced. Needles can also arrive from the manufacturer with small burrs or flaws. If a brand new needle does not work with the automatic threader, try a different one before troubleshooting anything else.
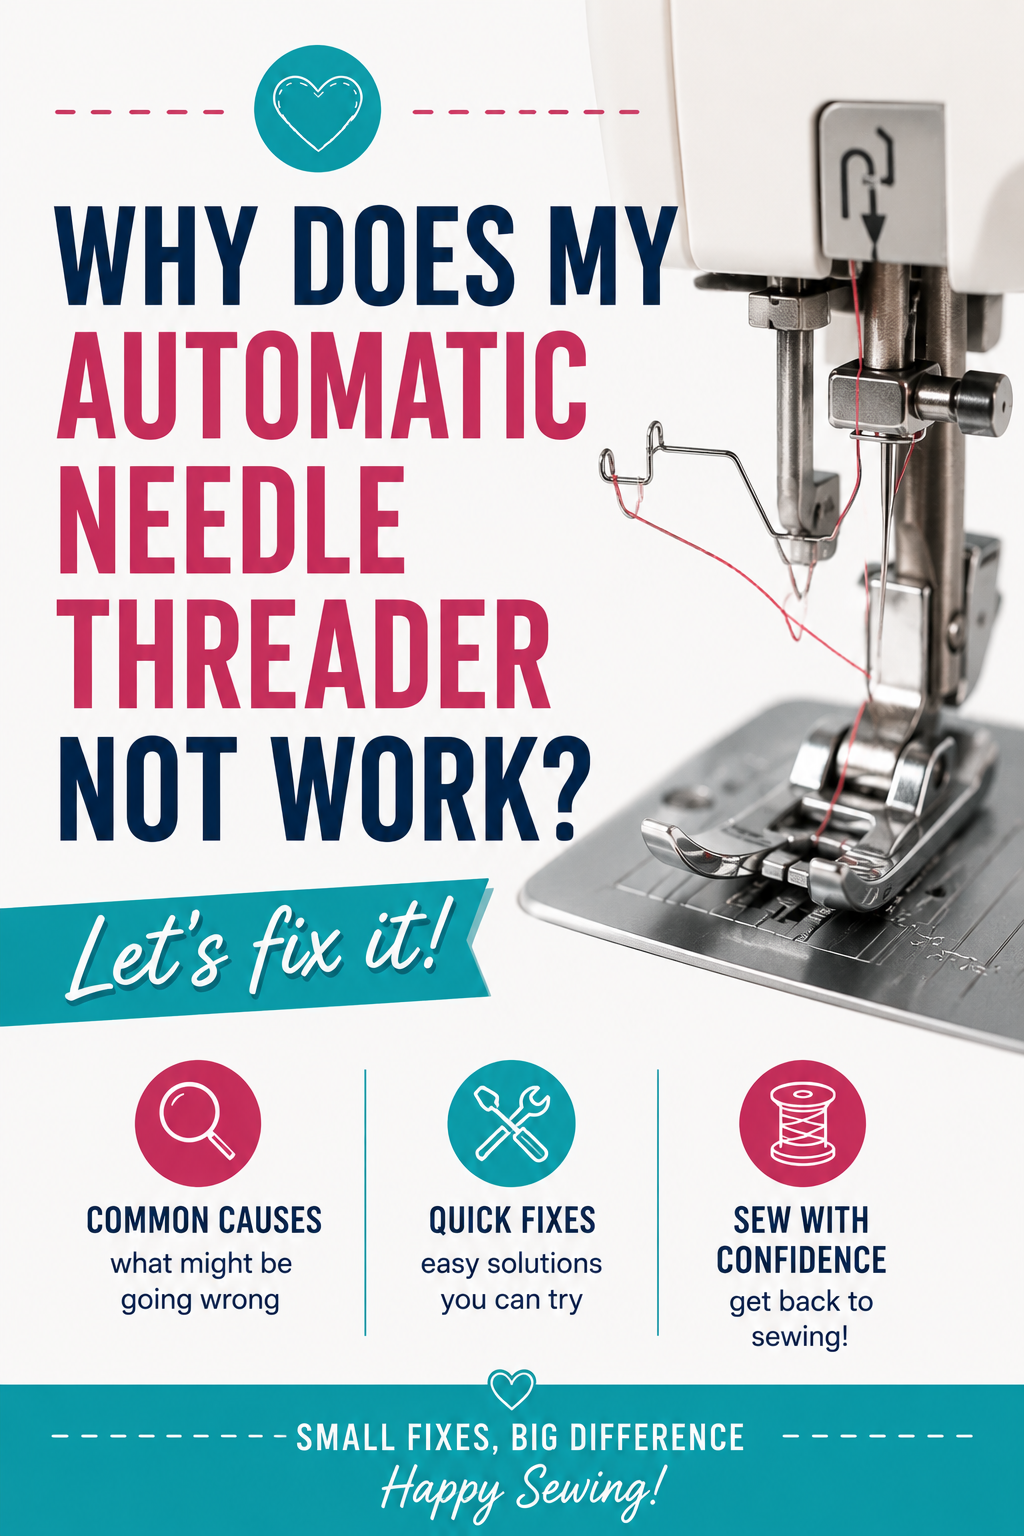
7. The Threader Hook Is Bent or Misaligned
The small hook that pulls thread through the needle eye is made from thin wire and bends easily, especially if the threader is operated while the needle is not fully raised or if the lever is forced.
Examine the hook closely. If it is visibly bent or pointing in the wrong direction, you can sometimes nudge it back into alignment gently with a fingernail or a toothpick. Do this carefully since the hook is fragile. If the hook is too bent to align, a replacement part is inexpensive and available from most sewing machine dealers or online.
8. The Threader Spring Is Broken or Missing
 Pin It
The spring inside the automatic threader mechanism returns the lever to its resting position after each use. If the lever pulls down but does not spring back up on its own, the spring is broken or missing.
This is a common failure on machines that are used heavily. The spring is an inexpensive part. A sewing machine technician can replace it quickly, or you can order the part and replace it yourself if you are comfortable doing minor machine maintenance.
Related reading: Why Does My Upper Thread Keep Breaking?
AI Sewing Coach
Create a free account to chat with our AI Sewing Coach — trained to help with sewing techniques, troubleshooting, projects, fabric questions, and more!
Comments
Comments are screened by an AI moderator for spam and inappropriate content.
Sign in to join the conversation.
Loading comments…