June 16, 2026 · Sewing Society · 5 min read · Quilting
Disclosure: As an Amazon Associate, we earn from qualifying purchases. Some links in this post may be affiliate links.
Why So Many Quilters Swear by Wool Pressing Mats
Wool pressing mats have become a must-have tool for quilters everywhere. Discover the four reasons they work better than a regular ironing board, plus tips for cleaning and caring for your mat so it lasts for years.

Ask any serious quilter what's on their pressing table and there's a good chance a wool pressing mat is part of the answer. It might not look like much, but this simple tool can transform the way your blocks come out -- flatter, crisper, and with far less effort than you'd expect. If you've been curious about making the switch, here's everything you need to know.
What Is a Wool Pressing Mat?
A wool pressing mat is a firm, felted mat made from natural wool that you press your quilt blocks on instead of a traditional ironing board. They come in a range of sizes, so you can choose one that fits your quilt blocks and your workspace. Many quilters rest theirs on the end of their ironing board for easy access while sewing.
The magic is in the material. Wool naturally retains heat and has a slight springiness that makes it uniquely suited for pressing fabric. Once you understand how it works, it's easy to see why quilters love it so much.
4 Reasons Quilters Love Wool Pressing Mats
1. Double-Sided Heat Saves You Time
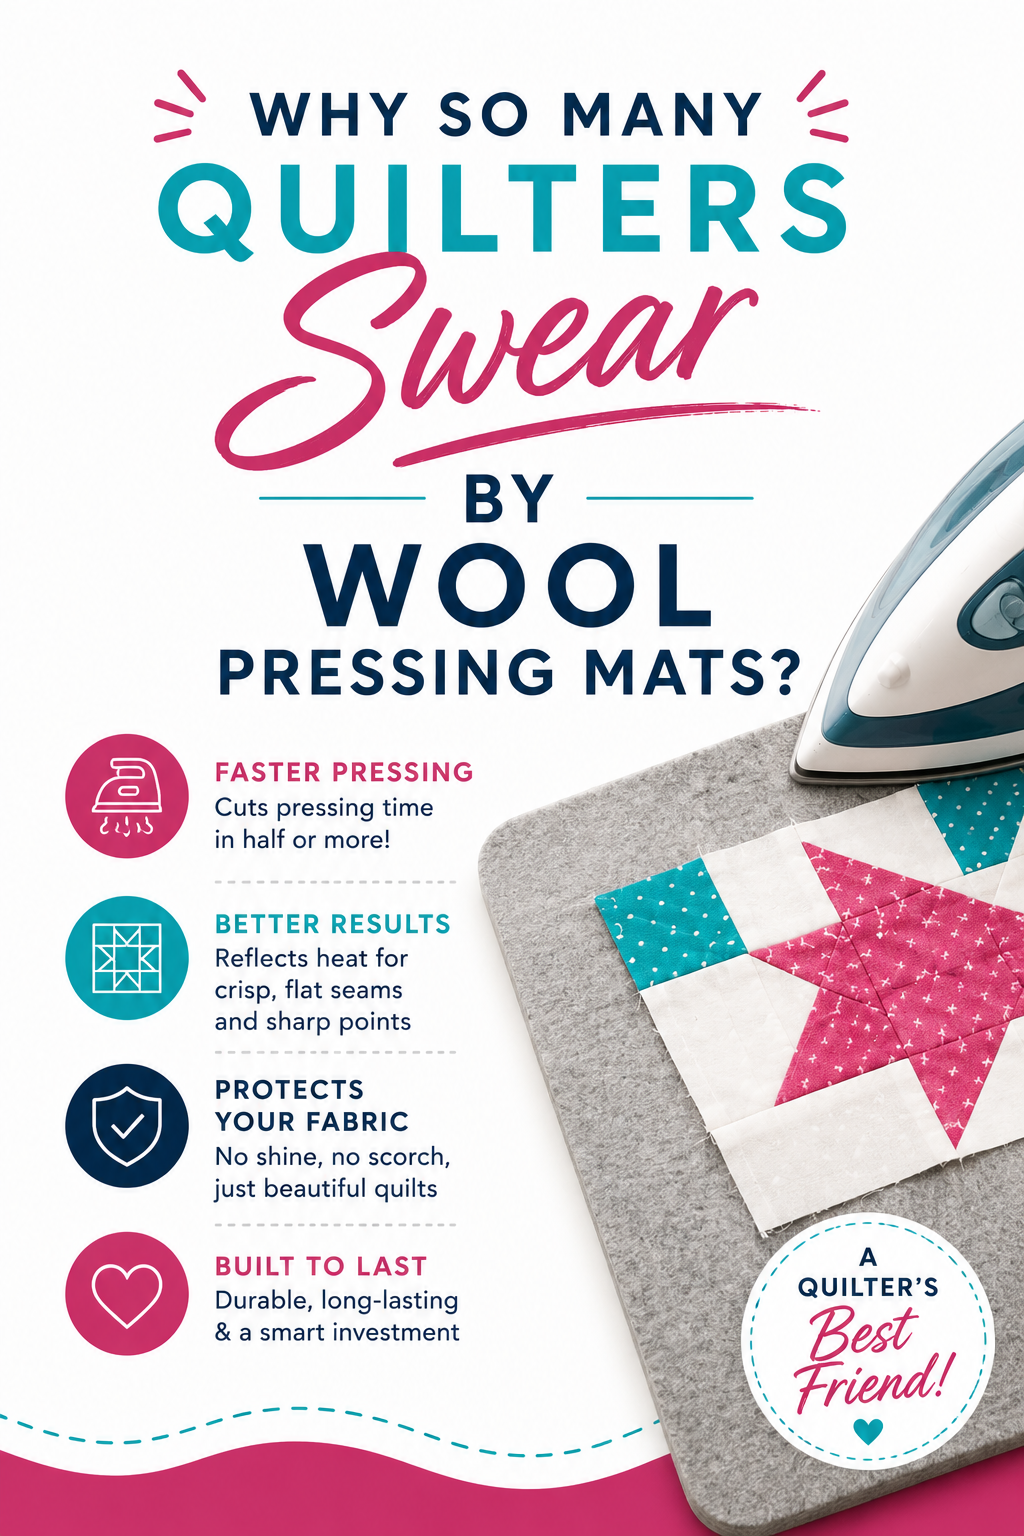
Here's what makes wool pressing mats so clever: they absorb heat from your iron and reflect it back up through the bottom of your quilt block. In effect, you're pressing from both sides at the same time. The result is super-flat blocks in less time than it would take using a standard ironing board.
Another time-saver? You don't need steam or spray starch with a wool pressing mat. The heat retention alone does the heavy lifting, which means fewer steps and a faster workflow at the pressing station.
2. They Prevent Creases from Bulky Seams
One of the most frustrating pressing problems in quilting is the crease that forms when you press over a bulky seam. The hard surface of an ironing board has no give, so the raised seam pushes into the fabric and leaves an impression on the front of your block.
A wool pressing mat solves this beautifully. Its felted, springy surface gives just enough cushion for bulky seams to sink in, so no unsightly creases appear on the front of your work. If you regularly sew blocks with lots of seam intersections, this benefit alone makes a wool pressing mat worth it.
3. Fabric Stays Put While You Press
Because of the felted texture, fabric clings to the surface of a wool pressing mat rather than shifting around as you work. This makes it much easier to press accurately, especially when working with small pieces or blocks that need to stay perfectly square.
As a bonus, you can pin directly into the mat if you need to hold a piece at a specific angle or shape. Just keep in mind that the surface retains heat for a while after pressing, so let your blocks cool before picking them up. Silicone finger protectors are a handy addition to your pressing setup for this reason.
4. They Are Lightweight and Easy to Take Anywhere
For quilters who love retreats, workshops, or sewing days with friends, a wool pressing mat is the perfect travel companion. They are lightweight, easy to tuck into a bag, and don't take up much room. Your mat doesn't need to be large. It just needs to be big enough for the blocks you're working on.
Just remember to always place your wool pressing mat on a heat-resistant surface. Placing it directly on a wood table or countertop can cause heat damage over time.
YouTube: https://www.youtube.com/watch?v=RxtMlxesHfs
How to Clean and Care for Your Wool Pressing Mat
A wool pressing mat is an investment, and with a little care, it will last for many years. Over time, lint, threads, and dirt can accumulate on the surface, and because wool mats are typically grey, you may not notice how much builds up until it starts to affect performance.
Removing Lint and Loose Fibers
Loose threads stick to wool mats easily. Start by going over the surface with a lint roller for light buildup. For fibers that are more deeply embedded, a wool mat cleaning tool works best. These small tools have little blades or coils that scrape the surface of the mat, lifting out stubborn lint, pet hair, and even light scorch marks. Simply drag it across the mat to refresh the surface.
Hand Washing Your Wool Pressing Mat
You don't need to wash your mat often. Just when it looks visibly dirty or has developed an odor. When the time comes, here's how to do it safely:
Fill a basin or sink with cold water and add a small amount of rinse-free or low-sudsing detergent.
Gently submerge the mat and agitate it lightly to loosen any dirt or residue.
Let it soak for 10 to 15 minutes.
Drain the dirty water and rinse thoroughly with clean, cold water.
Pat dry with a towel.
Stand the mat upright or lay it flat to air dry for 24 hours. Keep it away from direct sunlight and heat sources, which can cause the wool to shrink or warp.
Keeping It Fresh Between Washes
Wool naturally has a strong smell, especially when new. This is completely normal and fades over time with regular use. Between washes, you can spot clean the surface with a damp cloth and a gentle cleanser, or use a wool-specific deodorizing spray to keep things fresh.
Ready to Make the Switch?
 Pin It
If you've been on the fence about getting a wool pressing mat, consider this your sign. The time savings, flatter blocks, and improved pressing results make it one of the best investments you can make for your quilting space. Look for one made from thick, high-quality wool and choose a size that suits the projects you work on most. A 10x10 inch mat is a great starting point if you're new to them.
Have you made the switch to a wool pressing mat? Share your experience in the comments below! Do you believe they’re worth the investment?
Related reading: The Correct Way to Press Quilt Seams (Beginner's Guide)
AI Sewing Coach
Create a free account to chat with our AI Sewing Coach — trained to help with sewing techniques, troubleshooting, projects, fabric questions, and more!
Comments
Comments are screened by an AI moderator for spam and inappropriate content.
Sign in to join the conversation.
Loading comments…