March 4, 2026 · Sewing Society · 3 min read · Sewing Tips & Hacks, Learn to Sew
Disclosure: As an Amazon Associate, we earn from qualifying purchases. Some links in this post may be affiliate links.
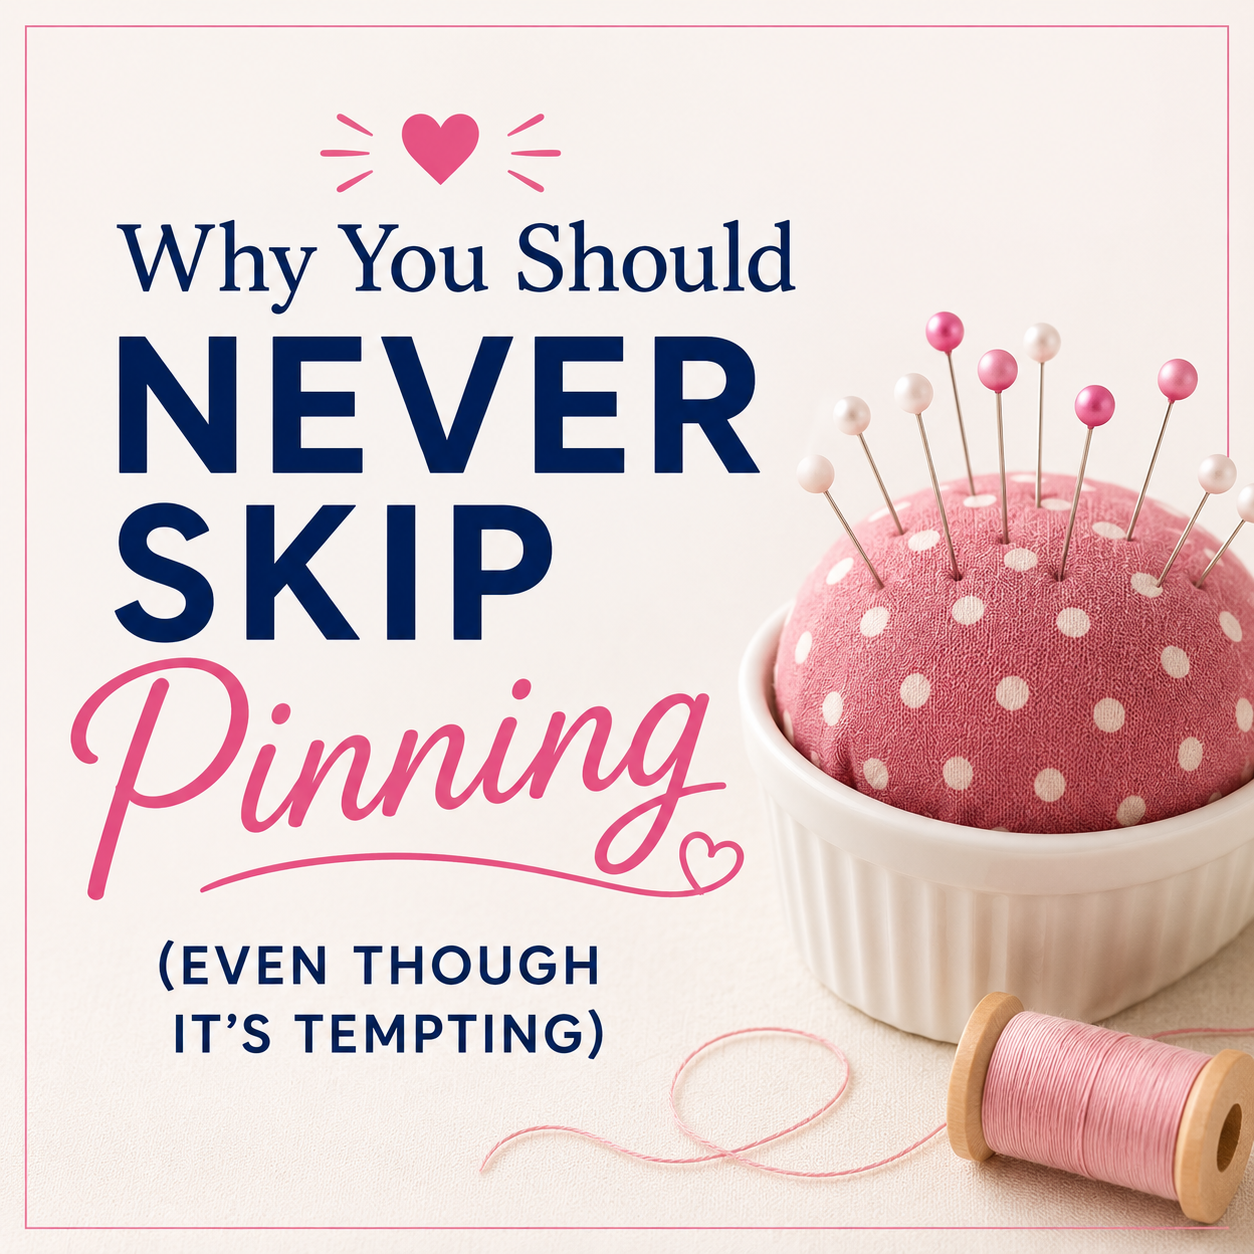
Why You Should Never Skip Pinning (Even Though It's Tempting)
Pinning is one of the most tedious parts of sewing and one of the easiest steps to skip when you're in a hurry. But the difference it makes in your finished projects is real. Here's how to pin correctly when cutting out pattern pieces and when sewing seams, plus an alternative for anyone who really can't stand it.
I'll admit it: pinning is one of my least favorite parts of sewing. It's tedious, it slows me down, and it's almost always the first step I skip when I'm in a hurry.
But here's the thing — I can't deny how much better my projects turn out when I actually do it. The difference is noticeable every single time. I've unpicked more seams than I can count because I thought I could get away without pinning. I was wrong every time.
Pinning keeps your fabric from pulling and shifting as you cut and sew. It's one of those foundational steps that separates projects that look polished from ones that look a little off. If you're serious about improving your sewing, don't skip pinning.
How to Pin Before Cutting Out Pattern Pieces
Pinning is especially important at the cutting stage. The more securely your pattern pieces are pinned to your fabric, the more accurate your cuts will be, and accurate cuts lead to better-fitting seams.
Here's the process I follow:
Step 1: Pin the grainline first. Find the grainline arrow in the center of your pattern piece and make sure it runs parallel to the selvage edge of your fabric. Pin at both ends of the grainline to anchor the piece in position before anything else.
Step 2: Pin the corners. Work your way to each corner of the pattern piece, smoothing the paper flat as you go and placing a pin at each one.
Step 3: Pin along the edges. Add pins every two to three inches along all the edges. Use extra pins around curves, corners, and near notch marks. Your pin heads should sit parallel to the cut line, about half an inch in from the edge, with no part of the pin hanging over.
An alternative to pins: If you really hate pinning for cutting, a rotary cutter and mat with pattern weights is a great solution. You lay your fabric on the mat, hold the pattern pieces down with weights, and cut. It's faster and skips the pinning step entirely for cutting.
How to Pin Before Sewing Pieces Together
Pinning for sewing is a little different. When you're joining two pieces of fabric, place your pins perpendicular to the seam edge rather than parallel to it. It's fine for the pin heads to hang off the edge of the fabric since you're not cutting. This orientation also makes it much easier to pull each pin out just before it reaches your presser foot.
A few tips for pinning before sewing:
Use more pins around corners and points. These areas are most likely to shift as you sew, so more pins equals better results.
You can get away with fewer pins on long, straight seams, but don't skip them entirely.
Use ballpoint pins on knit fabrics. Regular pins can snag and damage the loops in knit fabric. Ballpoint pins slide between the fibers instead.
Bright-colored ball pins are the easiest to spot and handle, which matters when you're trying to pull them out quickly as you sew.
My Favorite Pin Storage Tip
I much prefer a magnetic pin holder over a traditional pincushion. You can quickly sweep scattered pins off a table with a magnet, and you don't have to carefully aim the point into foam every single time. It's a small thing that makes the whole pinning process feel less annoying.
 Pin It
Pinning takes a few extra minutes, but it genuinely makes your sewing better. It's one of those habits that separates good results from great ones. Take the time to do it right!
Do you have any pinning tips of your own? Share them in the comments below!
Related reading: The Right Way to Cut Out Pattern Pieces (And 4 Common Errors)
AI Sewing Coach
Create a free account to chat with our AI Sewing Coach — trained to help with sewing techniques, troubleshooting, projects, fabric questions, and more!
Comments
Comments are screened by an AI moderator for spam and inappropriate content.
Sign in to join the conversation.
Loading comments…