October 1, 2025 · Sewing Society · 5 min read · Learn to Sew
Disclosure: As an Amazon Associate, we earn from qualifying purchases. Some links in this post may be affiliate links.
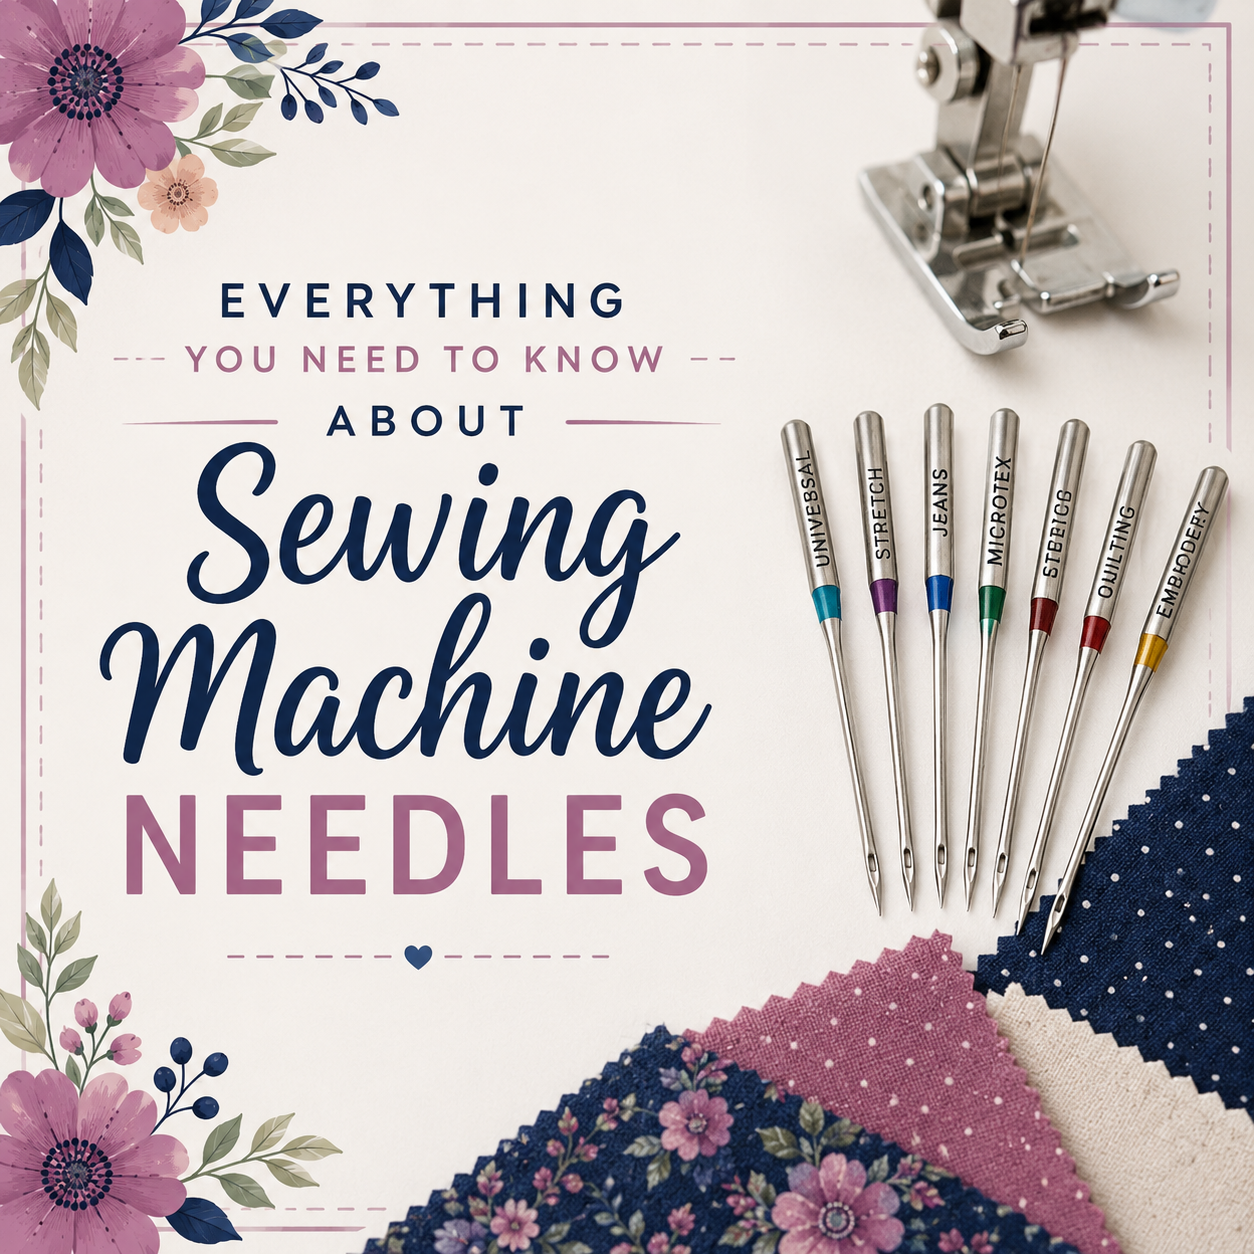
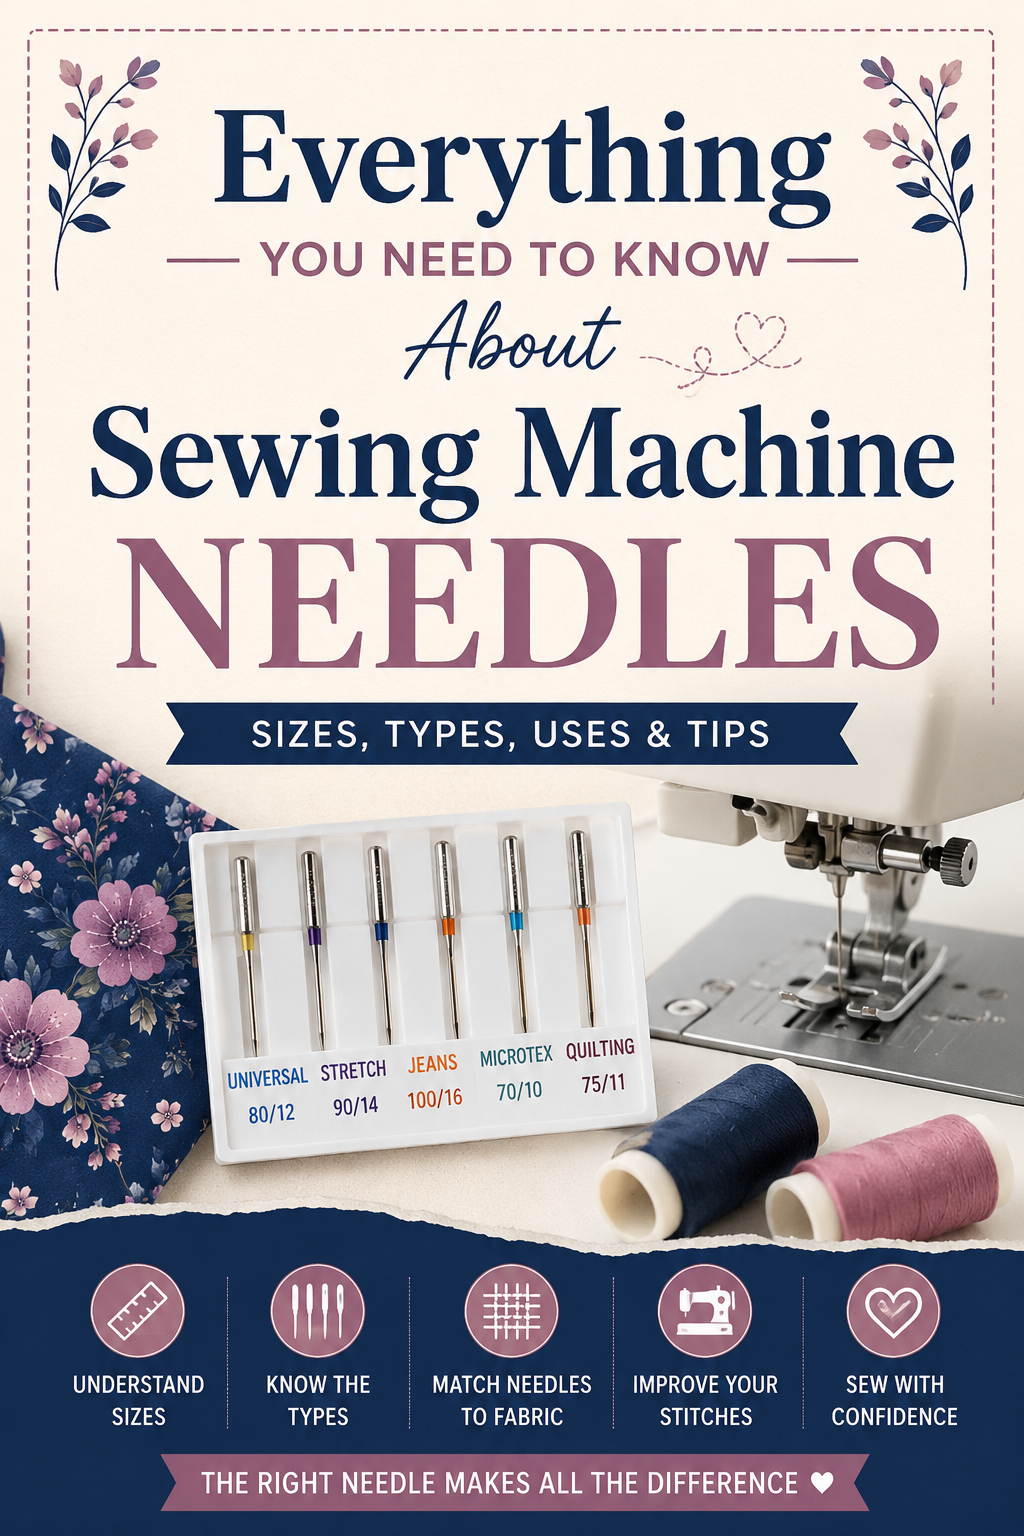
Everything You Need to Know About Sewing Machine Needles
Using the wrong sewing machine needle is one of the most common causes of skipped stitches, thread breakage, and fabric damage, and it's an easy fix once you know what to look for. This complete guide covers needle anatomy, point types, sizing, specialty needles, and exactly when to swap yours out.
If you're new to sewing, here's something that might surprise you: that universal needle that came with your machine isn't meant for everything. Using the wrong needle for your fabric is one of the most common causes of skipped stitches, thread breakage, snags, and frustrating sewing sessions — and the fix is often as simple as swapping out the needle.
This guide covers everything you need to know about sewing machine needles: the parts of a needle, needle points, sizing, specialty needles, and how to know when it's time for a fresh one.
The Parts of a Sewing Machine Needle
Before diving into types and sizes, it helps to understand the anatomy of a needle. Every sewing machine needle has six parts:
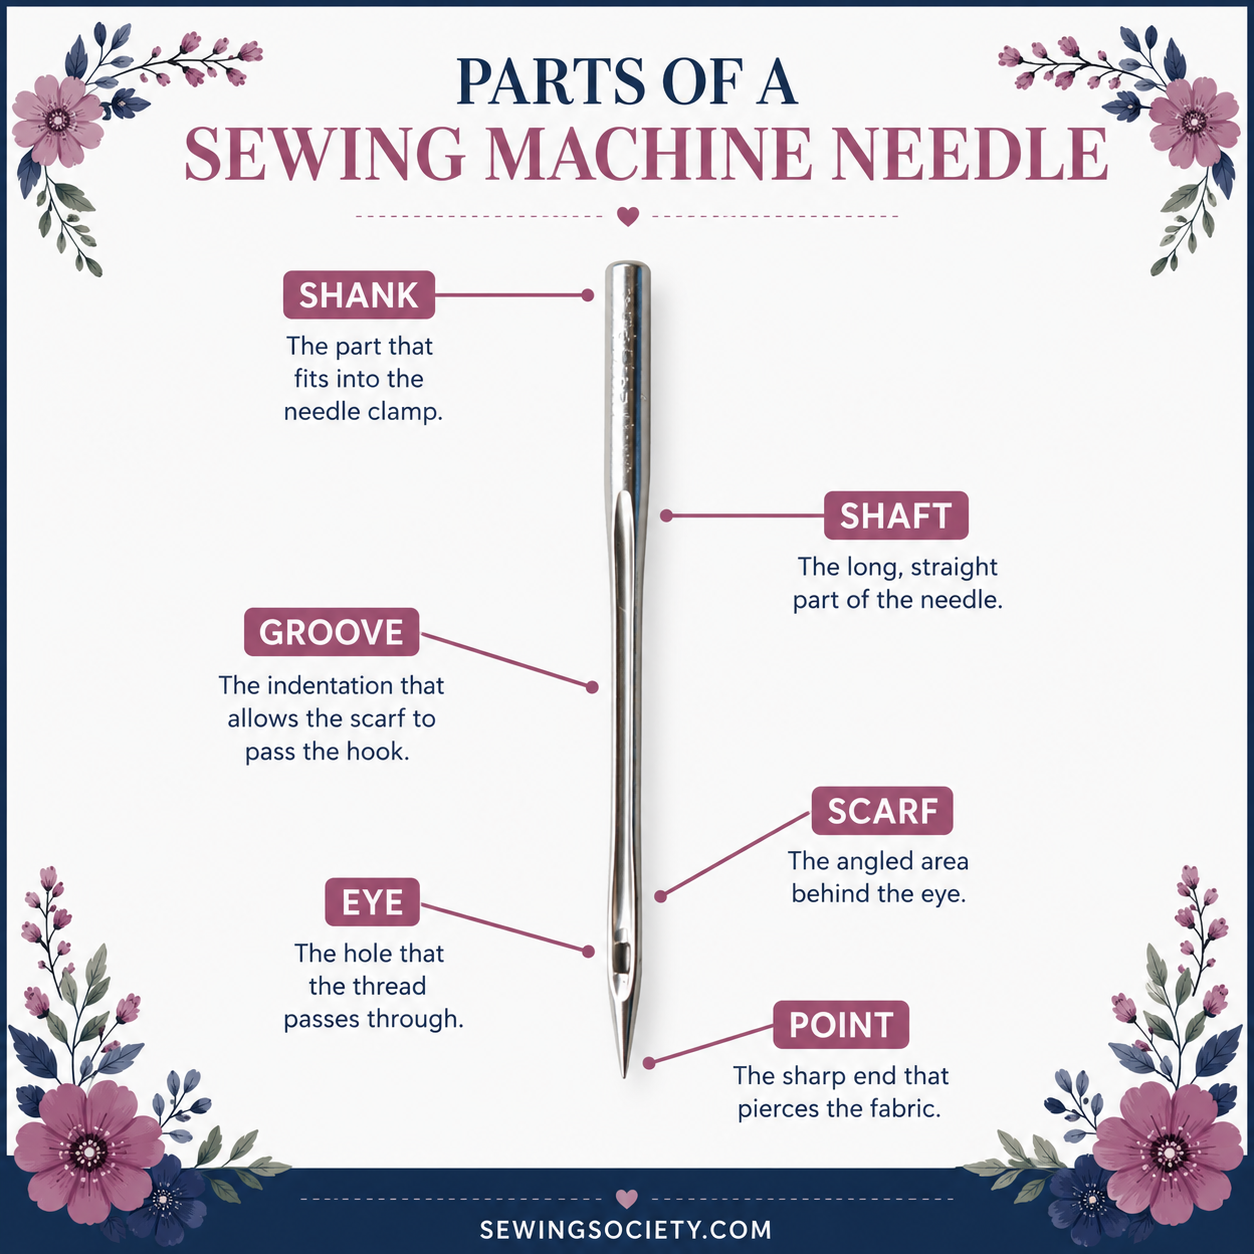
Shank — The top section that inserts into your machine. It's rounded on the front and flat on the back, which ensures you insert it correctly. As a quick reminder: the flat side always faces away from you.
Shaft — The long body of the needle, running from the bottom of the shank to the point. The shaft contains the groove, scarf, and eye.
Groove — A channel running down the shaft where the thread sits as it travels from the spool down to the eye. Needle grooves vary in size depending on the needle type.
Scarf — A small indentation on the side of the needle shaft. This is where the bobbin hook passes closely to catch the upper thread and form a stitch.
Eye — The hole the thread passes through. Eye size varies by needle type and is sized to match specific thread weights and types.
Point — The very tip of the needle that pierces the fabric. The shape of the point is what determines which fabrics a needle is suited for.
The Three Types of Needle Points
The point of a needle is its most important feature. There are three types:
Sharp needles have a fine, acute point designed to pierce woven fabrics cleanly. They're ideal for topstitching and precise straight-line sewing on tightly woven materials.
Ballpoint needles have a rounded tip that slides between the loops of knit fabric rather than piercing the threads. This prevents runs, snags, and damage to stretchy fabrics. Reach for a ballpoint any time you're sewing jersey, interlock, or other knits.
Universal needles fall somewhere in between — slightly rounded but still fairly sharp. They can work on both knit and woven fabrics, which makes them versatile for general sewing. That said, if you're experiencing skipped stitches or snags, a universal needle is usually the first thing to reconsider. A needle matched specifically to your fabric will almost always perform better.
Sewing Needle Size Chart
Needle sizes are printed on the shank and listed in two formats: European (60–120) and American (8–19), separated by a slash — for example, 75/11. The European number actually corresponds to the needle's diameter in tenths of a millimeter, so a size 90 needle is 0.9mm in diameter. The higher the number, the thicker the needle, and in general, thicker fabrics need thicker needles.
Here's a quick reference chart:
Size | Best For |
8/60 – 9/65 | Very fine fabrics: silk, chiffon, organza, sheer, nylon, gauze |
10/70 – 11/75 | Lightweight fabrics: thin jersey, lightweight cotton spandex, tricot |
12/80 – 14/90 | Medium-weight fabrics: quilting cotton, linen, velvet, flannel, jersey, knits |
16/100 – 18/110 | Heavyweight fabrics: denim, canvas, upholstery, wool, vinyl, leather, oilcloth |
20/120 | Extra-heavy fabrics: heavy upholstery, extra-thick denim (also labeled "jeans needle") |
Specialty Sewing Machine Needles
Beyond the standard sizes, there's a whole range of specialty needles designed for specific materials and techniques. Here are the most useful ones to know:
Stretch needle — When a ballpoint needle still produces skipped stitches on knit fabric, a stretch needle is the solution. It has a specially designed scarf that works with your machine's timing to prevent skipping on highly elastic fabrics.
Denim needle — Built with a sharp point and a reinforced, sturdy shank to power through thick layers. Great for denim, canvas, and any project with multiple seams stacked on top of each other.
Metallic needle — Features an elongated eye that allows metallic and specialty threads to pass through without shredding or breaking. If your metallic thread keeps snapping, this needle is almost certainly the fix.
Embroidery needle — Designed specifically for rayon, cotton, and polyester embroidery threads. It has an oversized eye and groove to protect delicate thread from friction damage.
Topstitch needle — Has an eye twice the size of a standard needle, allowing heavier topstitching thread to pass through smoothly. Also has a reinforced shank, making it great for quilting through multiple layers.
Leather needle — Features a wedge-shaped point that cuts cleanly through leather, faux leather, and vinyl without tearing.
Quilting needle — Has a slim, tapered point designed to pierce through multiple layers of fabric and batting without deflecting. An essential for machine quilting.
Twin needle — Two needles attached to a single shank, creating two perfectly parallel rows of stitching in one pass. Commonly used for hemming knits and decorative topstitching. You'll need to switch to a zigzag presser foot to give both needles room to move. The size is printed as two numbers: the first is the distance between the needles, the second is the needle size (e.g., 2.0/80).
Hemstitch needle (wing needle) — Has wide blades on either side of the shaft that push the fabric threads apart as it stitches, creating a decorative hole without tearing. Used with heirloom and decorative embroidery stitches.
When to Change Your Sewing Machine Needle
Schmetz — widely considered the gold standard in sewing machine needles — recommends changing your needle every 8 hours of sewing time. In practice, the easiest habit is to change your needle at the start of every new project. It takes about 30 seconds, ensures you're always using a fresh needle, and gives you a natural moment to confirm you have the right needle for your fabric.
Beyond that schedule, here are the signs that your needle needs to go:
Thread keeps breaking — The eye may be too small for your thread. Try a needle with a larger eye or a higher size.
Skipped or uneven stitches — You likely have the wrong point type for your fabric. If you're on a ballpoint, try a sharp, and vice versa.
 Pin It
Large puncture holes in your fabric — Your needle is too thick for the material. Drop down a size.
A popping sound as you sew — Either the needle is dull or damaged, or you're using the wrong point type for your fabric. Replace the needle first and see if that resolves it.
The golden rule is simple: match needle size to fabric weight. The thicker the fabric, the larger the needle. Keep an assortment of sizes and types on hand so you're never stuck making do with the wrong one. Buying in bulk is affordable, and having options makes a real difference in the quality of your stitching.
AI Sewing Coach
Create a free account to chat with our AI Sewing Coach — trained to help with sewing techniques, troubleshooting, projects, fabric questions, and more!
Comments
Comments are screened by an AI moderator for spam and inappropriate content.
Sign in to join the conversation.
Loading comments…