June 22, 2026 · Sewing Society · 3 min read · Quilting
Disclosure: As an Amazon Associate, we earn from qualifying purchases. Some links in this post may be affiliate links.
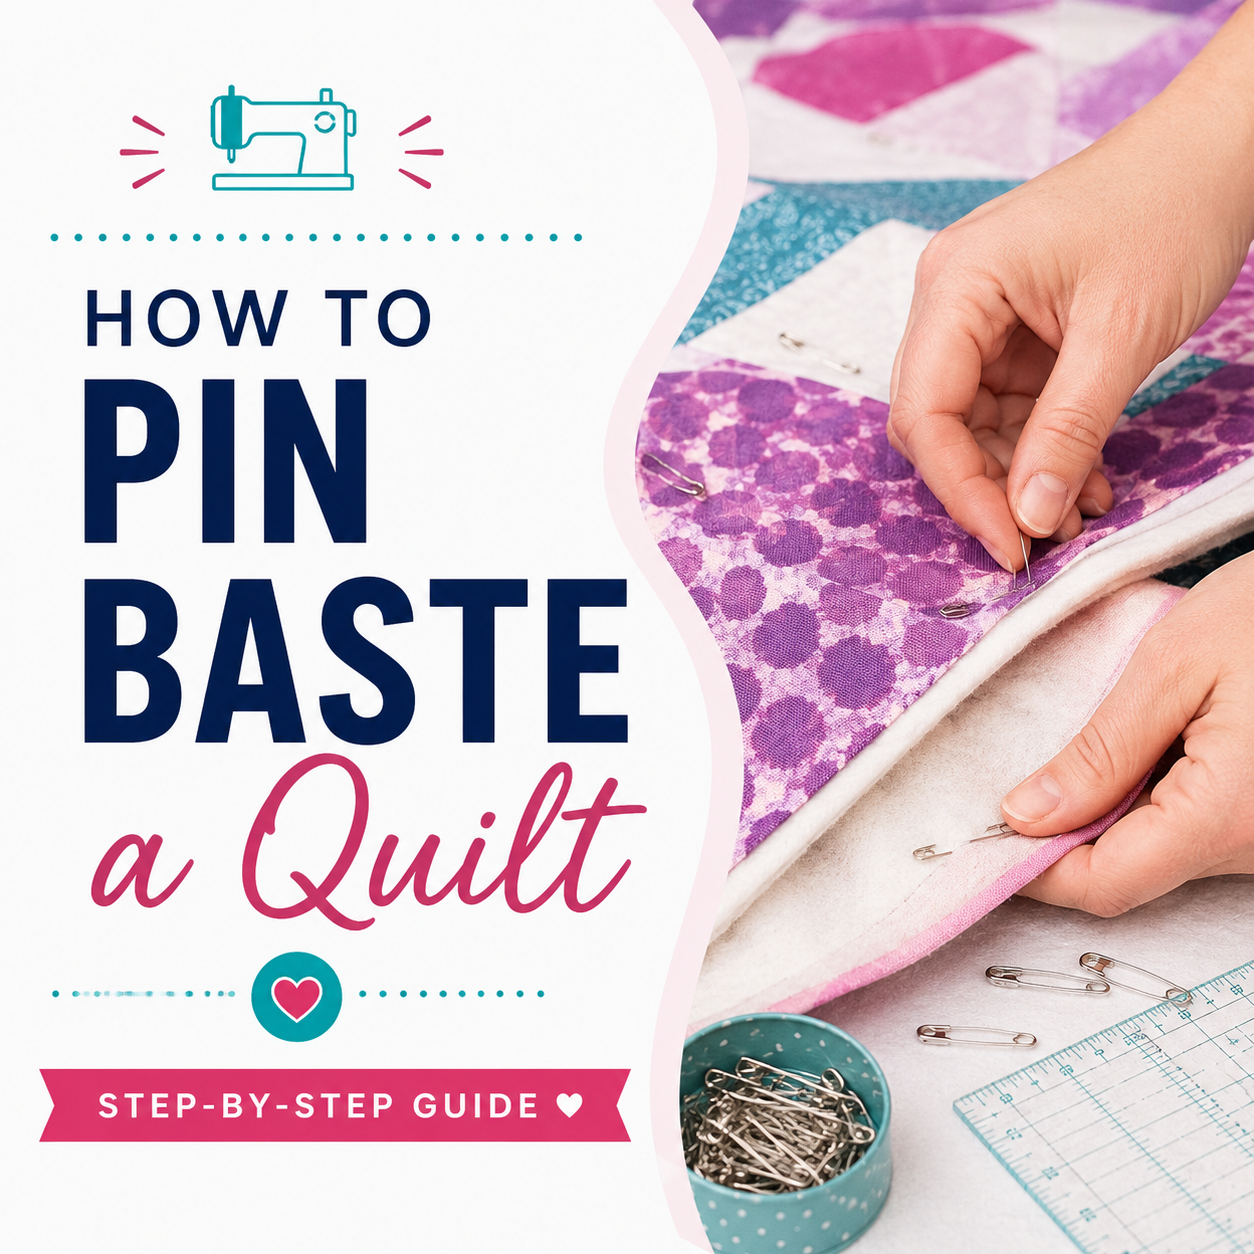
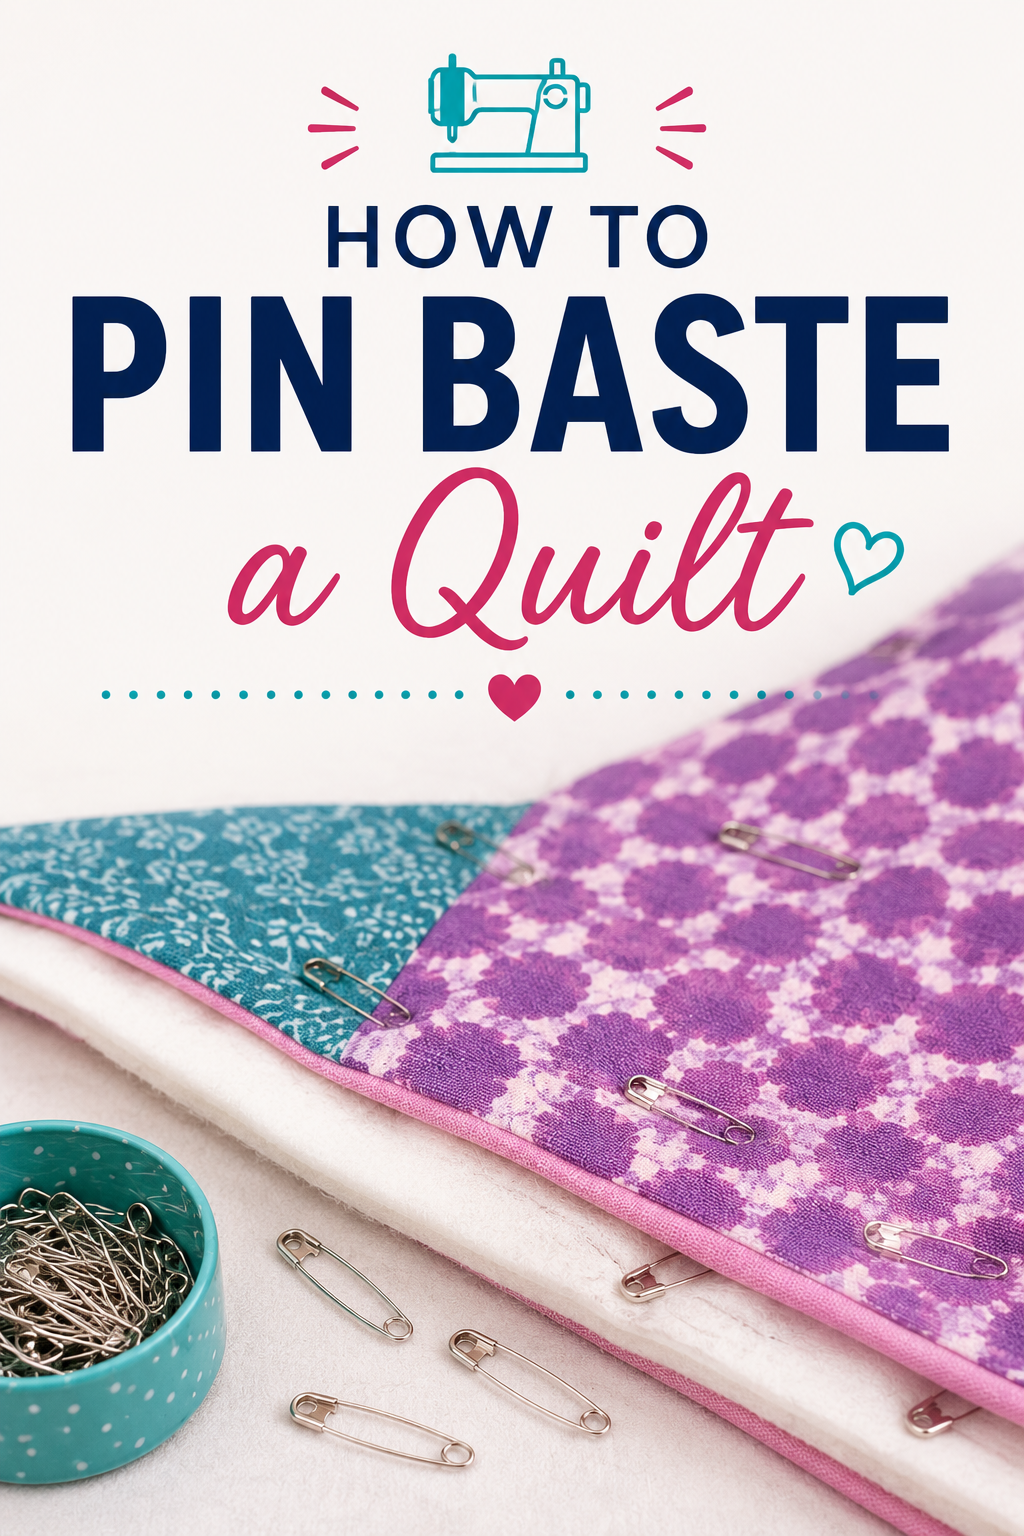
How to Baste a Quilt (4 Methods)
Basting is nobody's favorite part of making a quilt, but skip it and you'll end up with puckers and shifting layers. Here's how to do it right using four different methods, so you can pick whichever works best for your project.
Most quilters don't enjoy the basting step. It's tedious, it's time-consuming, and it requires more attention to detail than anyone wants to give it. But it's also unavoidable.
Quilt basting is the process of temporarily securing the three layers of a quilt together before you start quilting. You've probably heard it called "making a quilt sandwich." Before you can stitch everything together, the layers need to be held in place so they don't shift or pucker while you sew.
Some quilters swear by pins, others reach for spray adhesive, and some prefer thread or a basting gun. In this post, I'll walk you through a few different methods and help you figure out which one makes the most sense for your project.
Step 1: Tape Down the Backing Fabric
No matter which basting method you end up using, this first step is always the same. Start by ironing your backing fabric to remove any wrinkles, then spread it out on a large flat surface, like a table or the floor, with the wrong side facing up.
Use painter's tape to secure all four edges to your surface. Wider tape, at least 2 inches, holds better and is easier to work with. Smooth out the fabric as you go, pulling it taut but not stretched. Stretching it will cause problems once the tape comes off.
If painter's tape isn't gripping well on your surface, masking tape is a good alternative. It has similar properties but a stronger hold.
Step 2: Build the Quilt Sandwich
Take your batting out of the package and smooth it out over the backing fabric. Trim it down so it's a few inches larger than the quilt top on all sides. Then carefully lay your pieced quilt top over the batting, smoothing it out as you go and making sure everything is aligned.
Step 3: Baste the Layers (4 Ways)
Now that your quilt sandwich is ready, it's time to baste. Here are four methods, each with its own strengths depending on the size of your quilt and your personal preference.
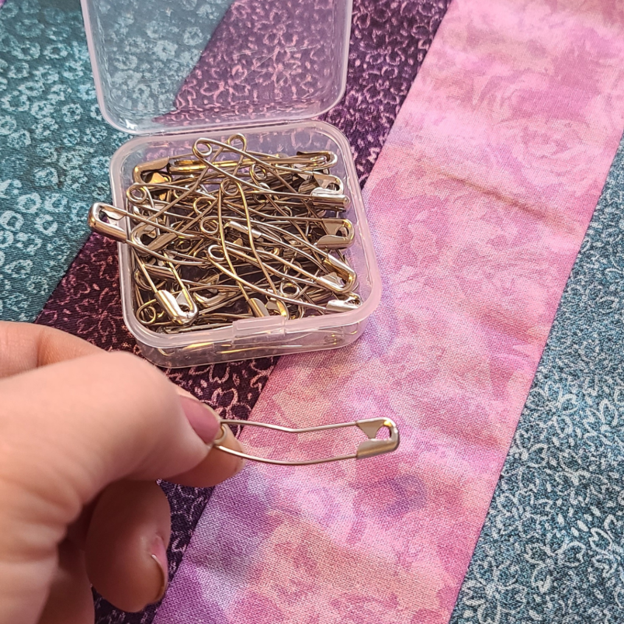
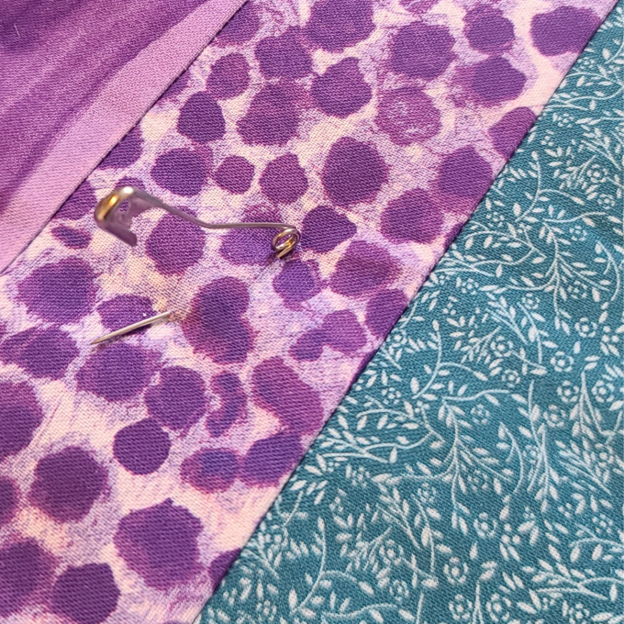
1. Pin Basting
Using curved safety pins, place pins every 3 to 4 inches, going through all three layers. Start in the center and work outward toward the edges to keep everything smooth and flat. The pins don't need to be perfectly spaced or aligned, but try to avoid placing them anywhere you plan to stitch.
2. Spray Basting
If pin basting feels too slow, spray basting is a faster option, though it's best suited for smaller quilts. Working in sections, spray the adhesive on both the batting and the fabric, then press the layers together and smooth out any wrinkles. Keep in mind that basting spray can get messy and adds up in cost quickly.
3. Thread Basting
This is the original method, and it still works well. Using a hand needle and thread, sew long running stitches through all the layers in a grid pattern, with rows roughly 4 to 6 inches apart. Smooth out any wrinkles as you go. It takes time, but it gives you very even coverage.
4. Basting Gun
 Pin It
A quilt basting gun is arguably the fastest method. It shoots small plastic tacks through all the layers wherever you aim it. Once you're done quilting, just snip the tacks off with scissors. It's quick, secure, and easy to remove.
Whichever method you choose, flip your quilt over when you're done and check the back for any puckers or wrinkles. It's much easier to fix issues now than after you've quilted through all the layers. Once your quilting is complete, remove the pins, tacks, or basting stitches, and you're ready to move on to binding.
Related reading: The Correct Way to Press Quilt Seams (Beginner's Guide)
AI Sewing Coach
Create a free account to chat with our AI Sewing Coach — trained to help with sewing techniques, troubleshooting, projects, fabric questions, and more!
Comments
Comments are screened by an AI moderator for spam and inappropriate content.
Sign in to join the conversation.
Loading comments…