June 20, 2026 · Sewing Society · 6 min read · Sewing Machine Help & Troubleshooting, Learn to Sew, Sewing Machines
Disclosure: As an Amazon Associate, we earn from qualifying purchases. Some links in this post may be affiliate links.
How to Clean Your Sewing Machine
Most of us don't think about cleaning our sewing machine until something goes wrong. This 12-step guide walks you through exactly how to do it right, from removing lint under the throat plate to oiling the moving parts, in 15 minutes or less.

If you take care of your sewing machine, it will last longer and work better. This is no secret. But how many of us are guilty of neglecting our machines until something goes wrong?
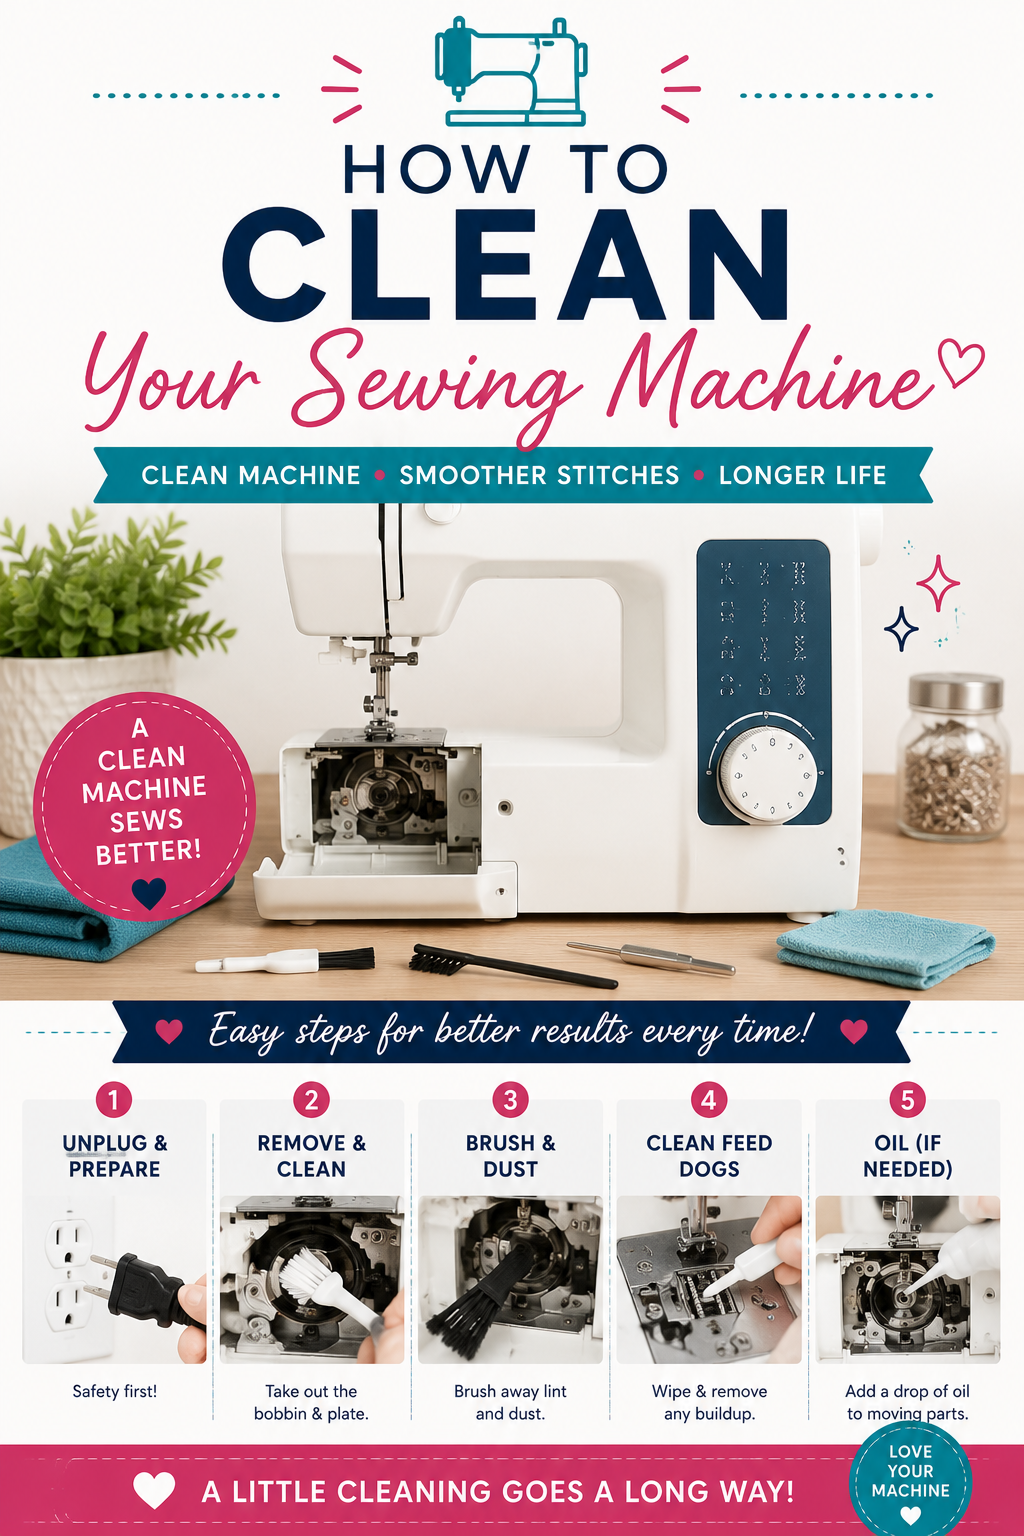
Follow this 12-step guide to properly clean, oil, and maintain your sewing machine. I'll show you what products to use and give you some tips to get it done in 15 minutes or less.
Step 1: Refer to the Maintenance Section in Your Sewing Machine Manual
Before you do anything, check your user manual. It shows you how to disassemble your machine for cleaning and outlines the specific maintenance requirements for your model.
Note: If you can't find your manual, you can often get a replacement for free from the manufacturer.
Every sewing machine is different. Some only need cleaning around the bobbin case and tension discs, while others have removable plates that give you access to the motor gears. In general, older machines require more thorough cleaning and oiling than newer ones. Your manual is your best guide.
Step 2: Gather All the Necessary Cleaning Tools and Supplies
Some tools come with your machine, like a small screwdriver, lint brush, and sewing machine oil. You can also find replacement supplies online or at your local fabric and craft store.
Here's what you'll want on hand:
Soft microfiber or muslin cloth
Lint brush with stiff bristles
Canned air
Small vacuum
Small screwdriver
Sewing machine oil
Extra needles
Sewing machine manual
Step 3: Unplug and Unthread Your Sewing Machine
Unplugging your machine is simple but important. You wouldn't want to accidentally hit the pedal mid-clean. Always unplug before doing any maintenance.
You'll also need to unthread the machine to clean the tension discs. Never pull the thread backward toward the spool; this can damage the tension discs over time. Instead, clip the thread near the top of the take-up lever and pull it down and out of the machine from the front.
Step 4: Remove and Clean Under the Throat Plate and Feed Dogs
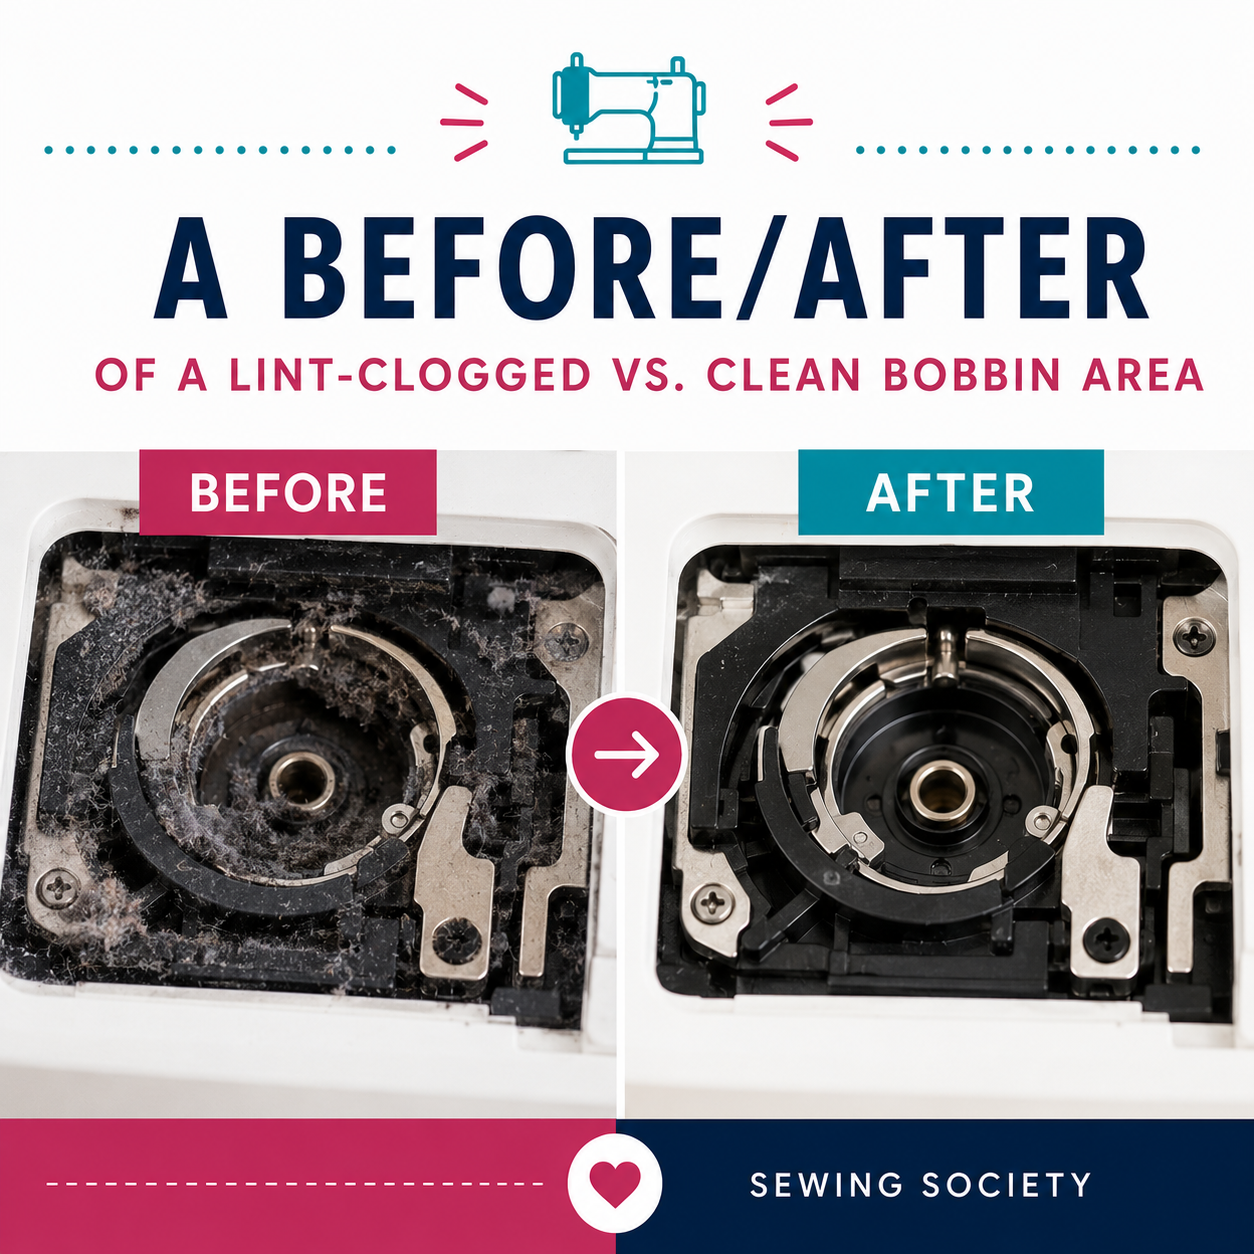
Most of the lint and dust in your machine collects under the throat plate, which is also where the bobbin housing sits. Remove the presser foot and needle first, then unscrew and lift out the throat plate. Set everything aside somewhere safe.
Note: If you're worried about putting things back together, take photos as you go. Your manual should also have step-by-step pictures.
Once the throat plate is off, use a lint brush and tweezers to remove any large pieces of lint and stray thread from the feed dogs. Lower and raise the feed dogs for better visibility, then use a small vacuum or canned air to clear out the rest. While you're at it, check the throat plate for burrs and sand them off with fine 500-grit sandpaper if needed.
Note: Some sewists advise against canned air because it can push lint deeper into the machine or introduce moisture. If you use it, hold the can at an angle to blow lint out, not in, and never turn it upside down.
Step 5: Remove and Clean the Bobbin Case and Shuttle Hook
Next, clean the bobbin housing. How you access it depends on whether you have a top-loading or front-loading bobbin. Top-loading machines require the throat plate to be removed first. Front-loading machines usually have a small trap door.
Remove the bobbin case and wipe it down with a soft cloth. Check for burrs and sand them off if you find any. Then clean the shuttle hook and bobbin race inside the housing. Top-loading machines don't typically have a removable bobbin case, but you still need to wipe down the shuttle hook and race and vacuum out any remaining lint.
Step 6: Clean the Tension Discs, Thread Take-Up Lever, and Spool Pin
A lot of tension problems come down to dirty tension discs. If you've been getting thread nests on the underside of your fabric, there's a good chance cleaning your machine will fix it. Check your manual to find where all the tension discs are located on your model.
Set the tension to zero and move the take-up lever to its highest position. This opens up enough space to clean between the discs with a small cloth, then follow up with canned air or a vacuum. Some people also like to run dental floss between the discs to loosen stubborn lint. Once the discs are clean, remove any thread and lint from around the take-up lever and spool pin.
Step 7: Apply Sewing Machine Oil to Moving Parts
Not every machine needs oiling. Newer, computerized models are usually self-lubricating, so check your manual before you reach for the oil. Older machines typically have three to five points that need a small drop.
Only use sewing machine oil, specifically one labeled as white mineral oil. Never substitute cooking oil, three-in-one oil, or WD-40. And always clean out dust and lint before oiling; otherwise the oil can't do its job.
Place a cloth under the machine to catch any drips, then follow your manual for the exact oiling points. A single small drop per spot is all you need. Wipe away any excess so it doesn't end up on your next project.
If you get your machine professionally tuned up regularly, you can skip this step and let the technician handle it.
Step 8: Reassemble Your Sewing Machine
Put everything back together following your manual, and make sure all screws are tightened down. While you have the machine apart, go ahead and swap in a fresh needle. Manufacturers recommend changing the needle after every project, so if you can't remember the last time you did it, now is the time.
Step 9: Wipe Down the Exterior
Use a soft cloth to clean the outside of the machine. A small amount of water or mild cleaning solution is fine for stubborn spots, but avoid getting moisture into any of the moving parts since the metal and gears can rust. Sewing machine polish can also be used sparingly for a nice finish.
Step 10: Test Your Machine
Plug it back in and run a test on a scrap piece of fabric. Check the stitches and adjust the tension if needed. Running a few inches of scrap fabric through will also help clear out any excess oil.
Step 11: Keep Your Machine Covered When Not in Use
Always cover your sewing machine when you're not using it. A vinyl or fabric cover works well for everyday dust protection. If you have kids around, a hard case offers a lot more security.
Store your machine somewhere away from moisture, insects, dust, and temperature extremes. Heat and cold can cause cracking or rusting, so avoid spots near open windows or floor vents.
Step 12: Take Your Machine in for Occasional Professional Maintenance
Most manufacturers recommend a professional tune-up every one to two years. A licensed dealer will do a deep clean, oil all the right spots, and check moving parts and tension adjustments that are hard to reach on your own.
Most people wait until something breaks, but preventative maintenance is almost always cheaper than a diagnostic and repair. If you can't remember the last time your machine was serviced, it's probably overdue.
 Pin It
And if these steps feel like too much, that's okay too. A dealer can do the cleaning for you. Just don't attempt to reach the inner mechanical parts of your machine unless you know what you're doing; getting things out of alignment can cause real damage.
Your machine needs to be cleaned more often than you probably think. Don't be afraid to grab a screwdriver and get in there. You'll have far fewer problems when you sew if you keep things clean and in good working order.
Related reading: The Anatomy of a Sewing Machine: Every Part Explained
AI Sewing Coach
Create a free account to chat with our AI Sewing Coach — trained to help with sewing techniques, troubleshooting, projects, fabric questions, and more!
Comments
Comments are screened by an AI moderator for spam and inappropriate content.
Sign in to join the conversation.
Loading comments…