June 18, 2026 · Sewing Society · 2 min read · Sewing Tips & Hacks, Patterns & Projects
Disclosure: As an Amazon Associate, we earn from qualifying purchases. Some links in this post may be affiliate links.
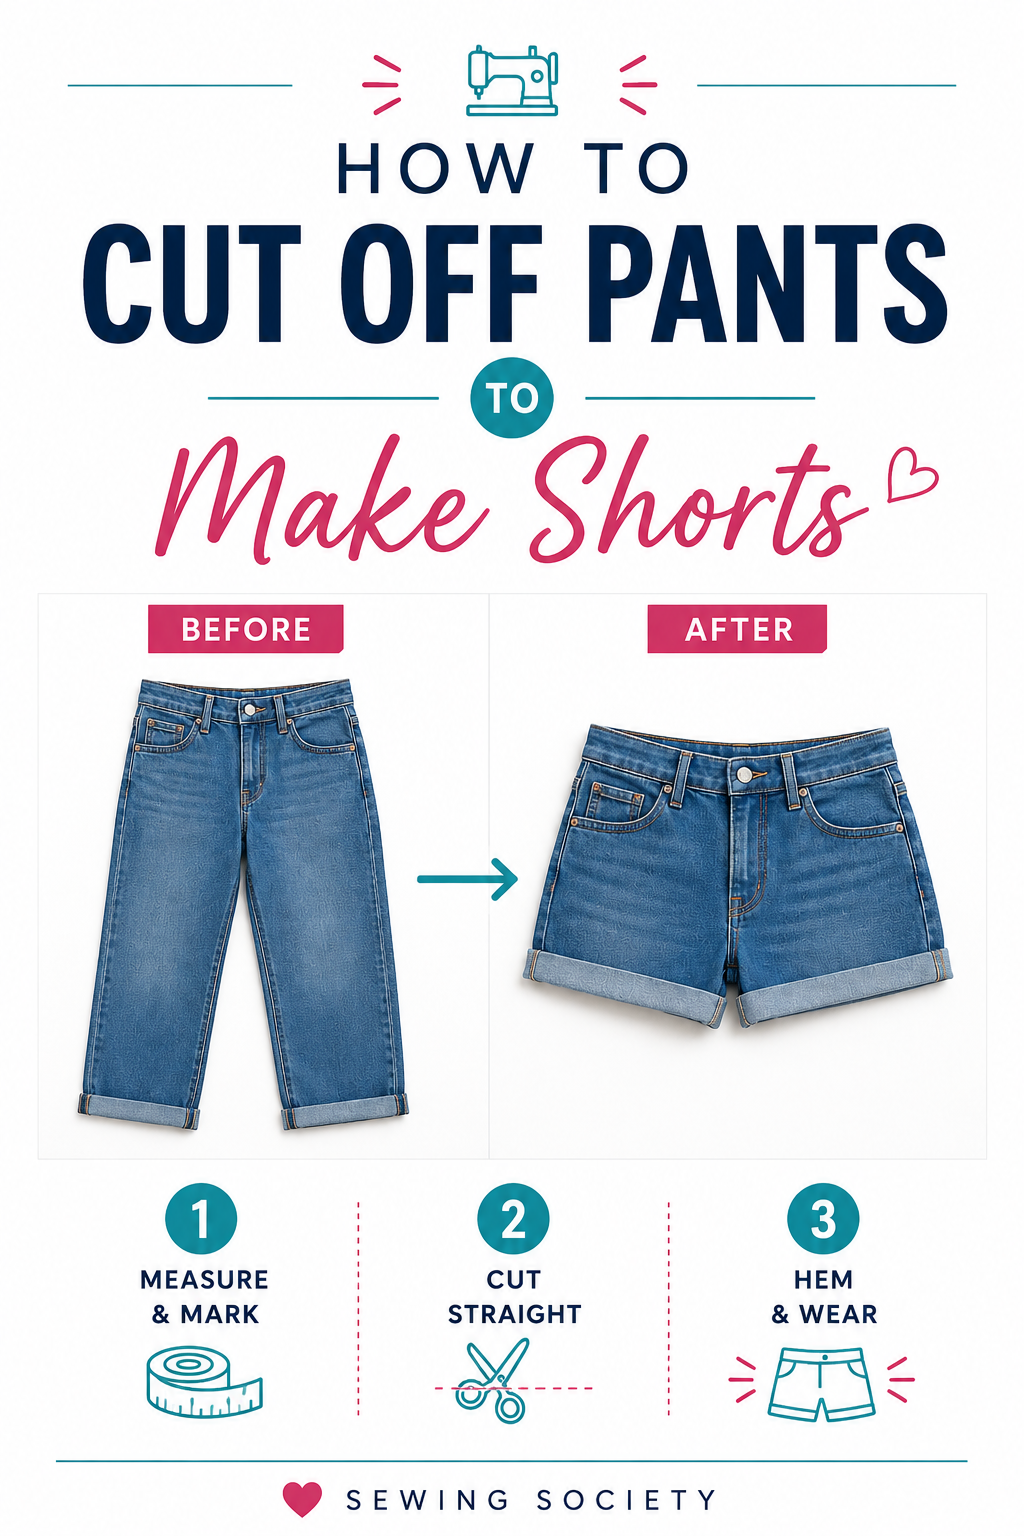
How to Cut Off Pants to Make Shorts
Summer hit and my kids refused to wear long pants, so instead of buying all new shorts, I started cutting their pants down. With fusible hem tape, the whole thing takes under 5 minutes and you don't need a sewing machine at all.

Summer is here, and my kids don’t want to wear long pants anymore. I don’t blame them; nobody wants to be hot. But instead of buying lots of shorts, I thought it would be smarter to cut off some of their long pants to make short pants. It will save money, and the long pants probably won’t fit them next year anyway!
Here's the thing about hemming pants: most people dread it. But with fusible hem tape, you can finish a hem in under 5 minutes, no sewing machine required. I'll show you exactly how easy it is.
Step 1: Cut Off Your Pants
First, decide how short you want to go. My boys like their shorts to hit just above the knee, so I cut right at the center of the knee. That gives me enough fabric to work with for the hem. Whatever length you want, cut the pants one inch longer than your desired finished length.
One important tip: measure and mark from the bottom of the pants rather than the waist. The back of pants is cut larger than the front, so measuring from the bottom keeps things even. After cutting, finish the raw edges by serging or using an overcast stitch to prevent fraying. You could also do a double-fold hem if you'd rather not have any raw edge exposed at all.
Step 2: Fold and Mark the Hem
Use a seam gauge to fold the hem up one inch, then press it with your iron to create a crease. It doesn't have to be perfect, but try to keep it consistent. No pins or clips needed here. The crease will hold everything in place while you work.
Step 3: Apply Fusible Hem Tape
Cut two pieces of fusible hem tape, one for the front of the hem and one for the back. Tuck the first piece under the front fold and press with your iron, holding in each spot for 8 to 10 seconds. Repeat for the back. The heat melts the adhesive and bonds the layers together permanently.
Step 4 (Optional): Topstitch the Hem
The fusible tape creates a bond strong enough to hold through repeated washing, so you don't need to add any stitching. That said, if you want a more polished, store-bought look, a simple topstitch around the hem does the trick.
 Pin It
If you've got growing kids, fusible hem tape is one of those little tricks worth knowing. It turns outgrown pants into summer shorts in minutes, and it works just as well for hemming curtains, repairing clothes, and a dozen other quick fixes. Once you try it, you'll wonder why you ever reached for the sewing machine.
Related reading: 5 Reasons Every Sewist Should Try PDF Patterns
AI Sewing Coach
Create a free account to chat with our AI Sewing Coach — trained to help with sewing techniques, troubleshooting, projects, fabric questions, and more!
Comments
Comments are screened by an AI moderator for spam and inappropriate content.
Sign in to join the conversation.
Loading comments…