November 24, 2025 · Sewing Society · 3 min read · Learn to Sew, Sewing Tips & Hacks
Disclosure: As an Amazon Associate, we earn from qualifying purchases. Some links in this post may be affiliate links.
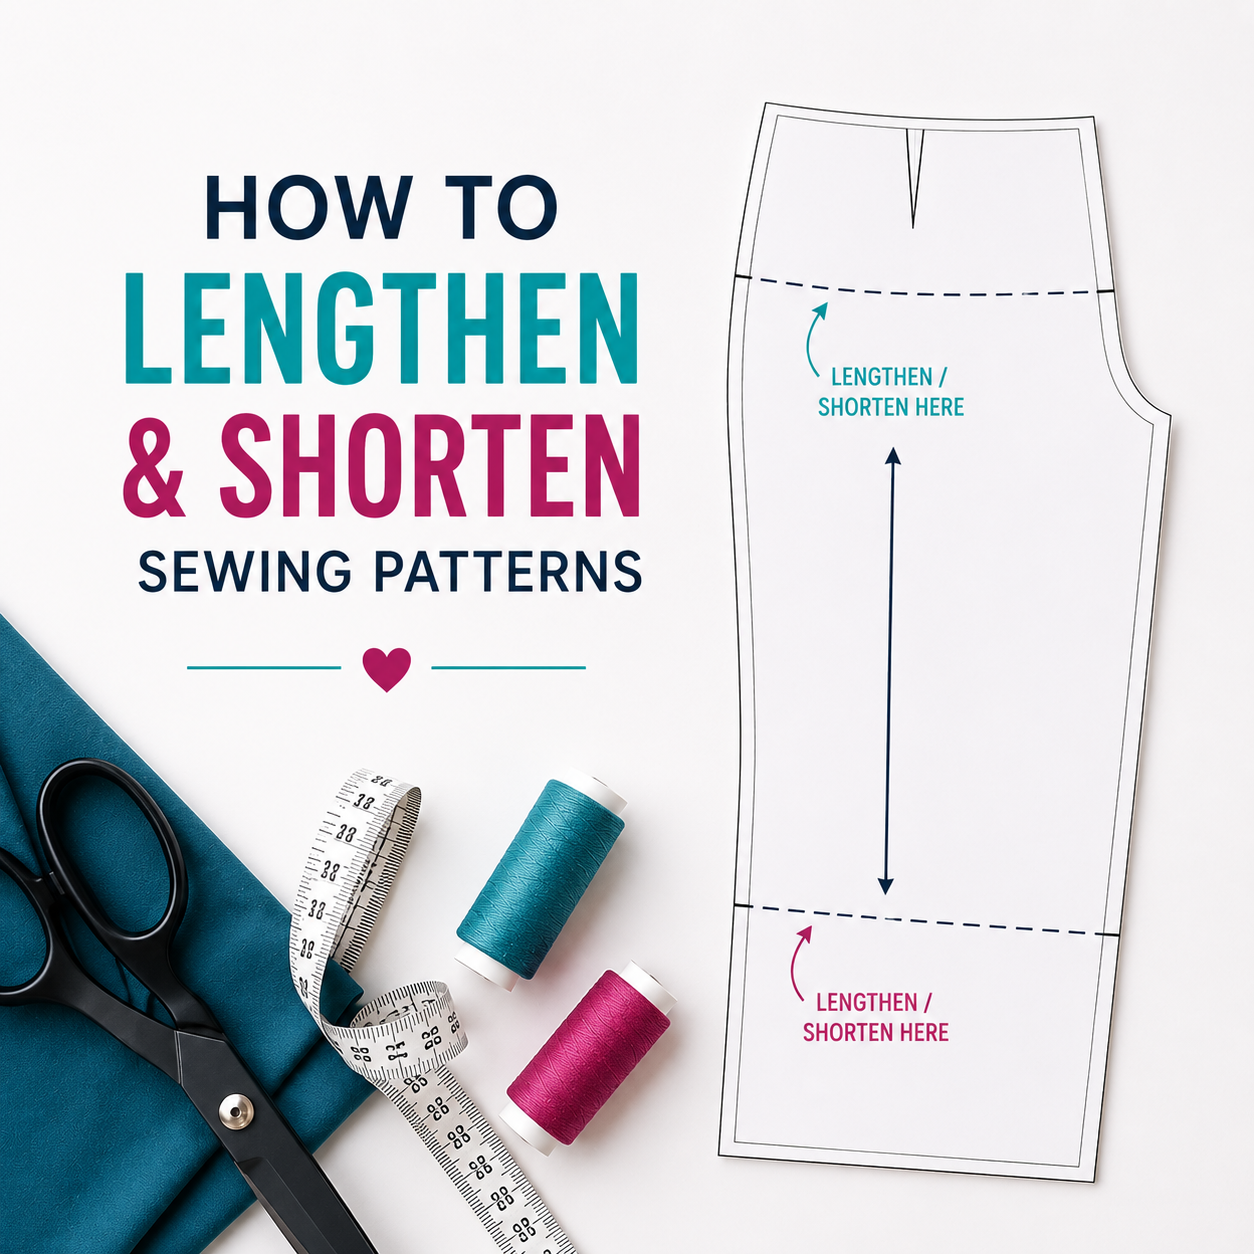
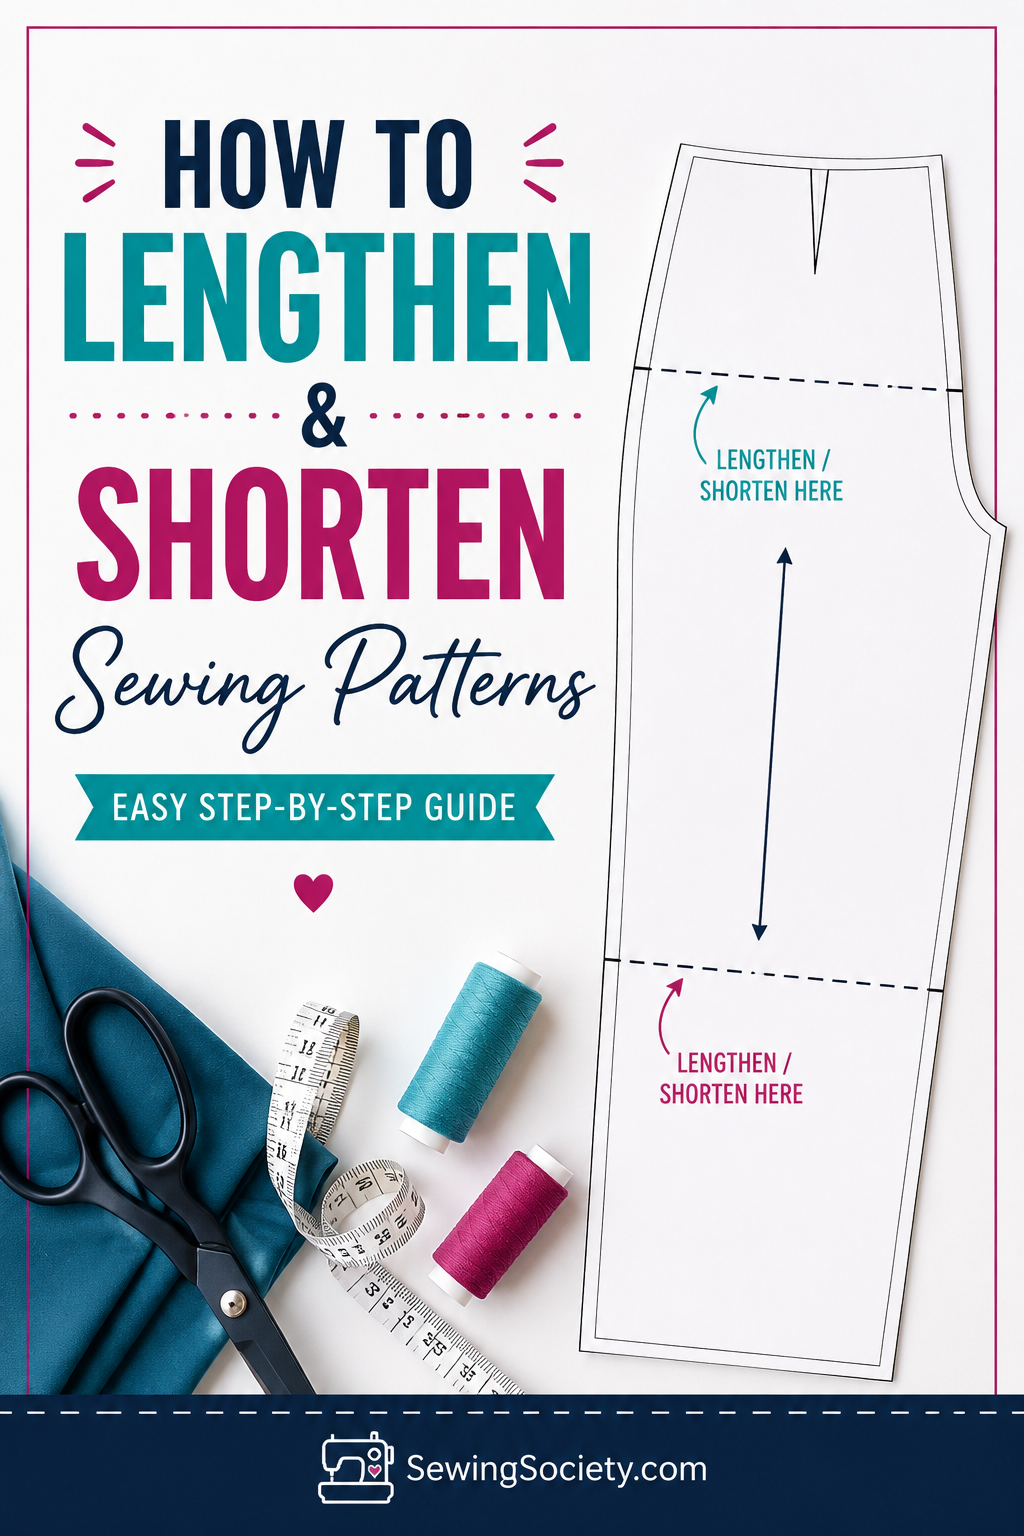
How to Lengthen or Shorten a Sewing Pattern (It's Easier Than You Think!)
Learning to lengthen and shorten a sewing pattern is one of the most valuable fitting techniques you can master. Whether you're sewing for a long torso, a petite frame, or anywhere in between, this step-by-step guide makes pattern adjustments simple — no matter your experience level.
Knowing how to lengthen and shorten a pattern is one of the most fundamental fitting techniques you can have in your sewing toolkit. It's especially useful when you're sewing for someone whose body proportions fall a little outside the norm — think a long torso, a petite frame, or a small waist paired with long legs.
The good news? Making pattern adjustments is not as hard as you might think. And the even better news, you can adjust practically any sewing pattern. Walk through the process with us and you'll be amazed at how easy it is to get a better fit!
Where to Splice a Pattern Piece
The first step is figuring out where to cut your pattern. Many commercial sewing patterns include a printed line that tells you exactly where to lengthen or shorten it. If yours doesn't have one, don't worry, it just means you'll need to determine the best spot yourself.
Here are some general guidelines:
Shirts & bodices: Halfway between the hem and the bottom of the armhole
Pants & skirts: Halfway between the hem and the crotch
Sleeves: Halfway between the shoulder and the hem
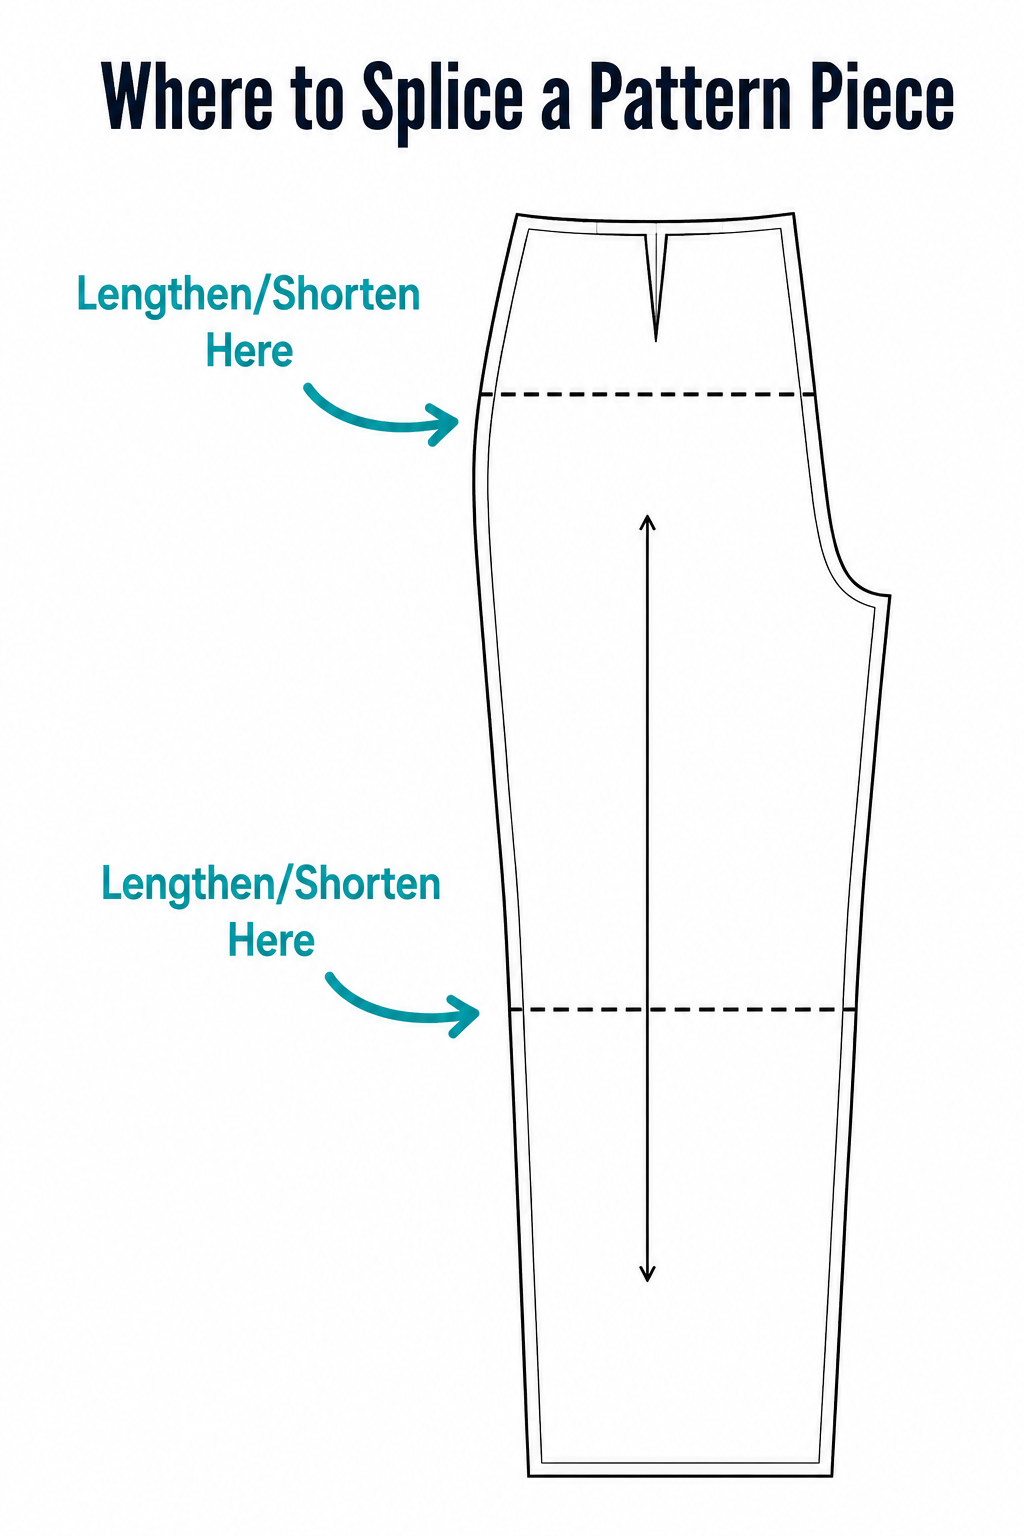
Pants are a little unique. They typically have two adjustment lines. The upper line is for adjusting the rise of the crotch, and the lower line is for adjusting the overall length. If you're adjusting the rise, don't forget to also adjust the zip facing if your pattern has one.
Every pattern is a little different, so you'll need to use your best judgment. Once you've identified your splice location, draw a line to mark it, and make sure you do this on all corresponding pattern pieces in the same spot. For example, both the front and back bodice pieces need to be adjusted the same way.
A couple of important things to keep in mind as you decide where to make your cut:
Avoid cutting through darts or major design elements
Don't lengthen or shorten at the hem edge itself
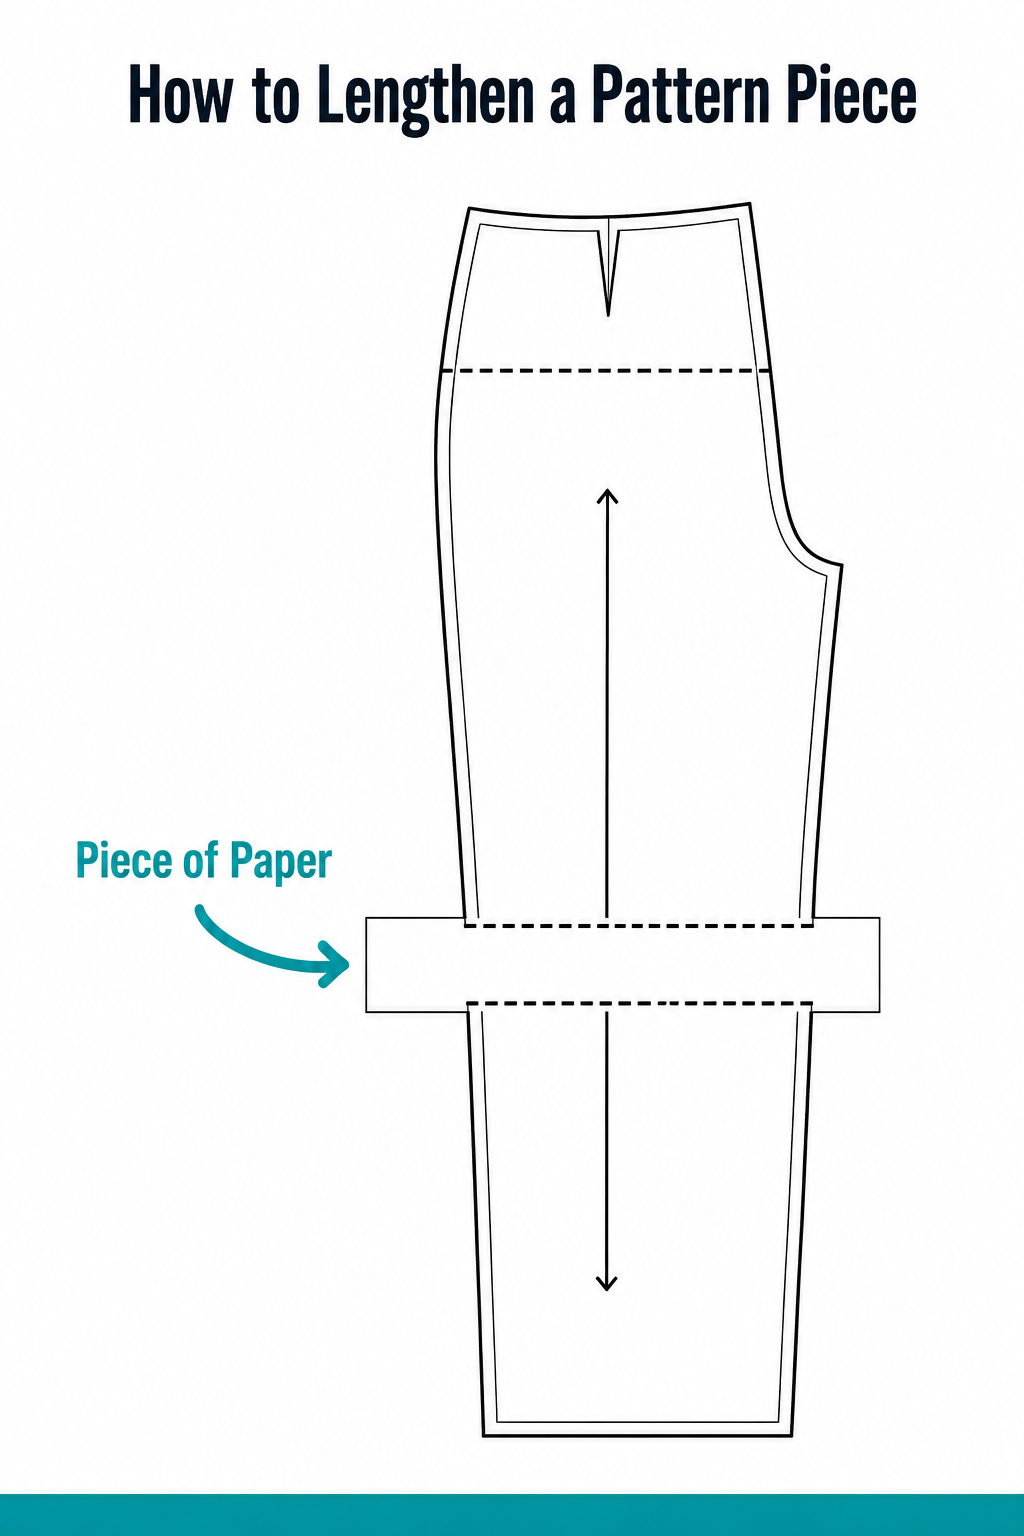
How to Lengthen a Pattern Piece
Follow these steps to add length to your pattern:
Cut along your marked line to divide the pattern piece into two sections.
On a piece of paper slightly wider than your pattern, draw two parallel lines spaced the exact amount you want to add. These are your placement guides.
Slide the top pattern piece under the top line, aligning the cut edge, and tape it in place.
Do the same with the bottom pattern piece, aligning its cut edge to the bottom line, and tape.
Redraw the side seam cut lines to connect the two pieces smoothly. A dressmaking ruler comes in handy here, especially if the seam has a slight curve.
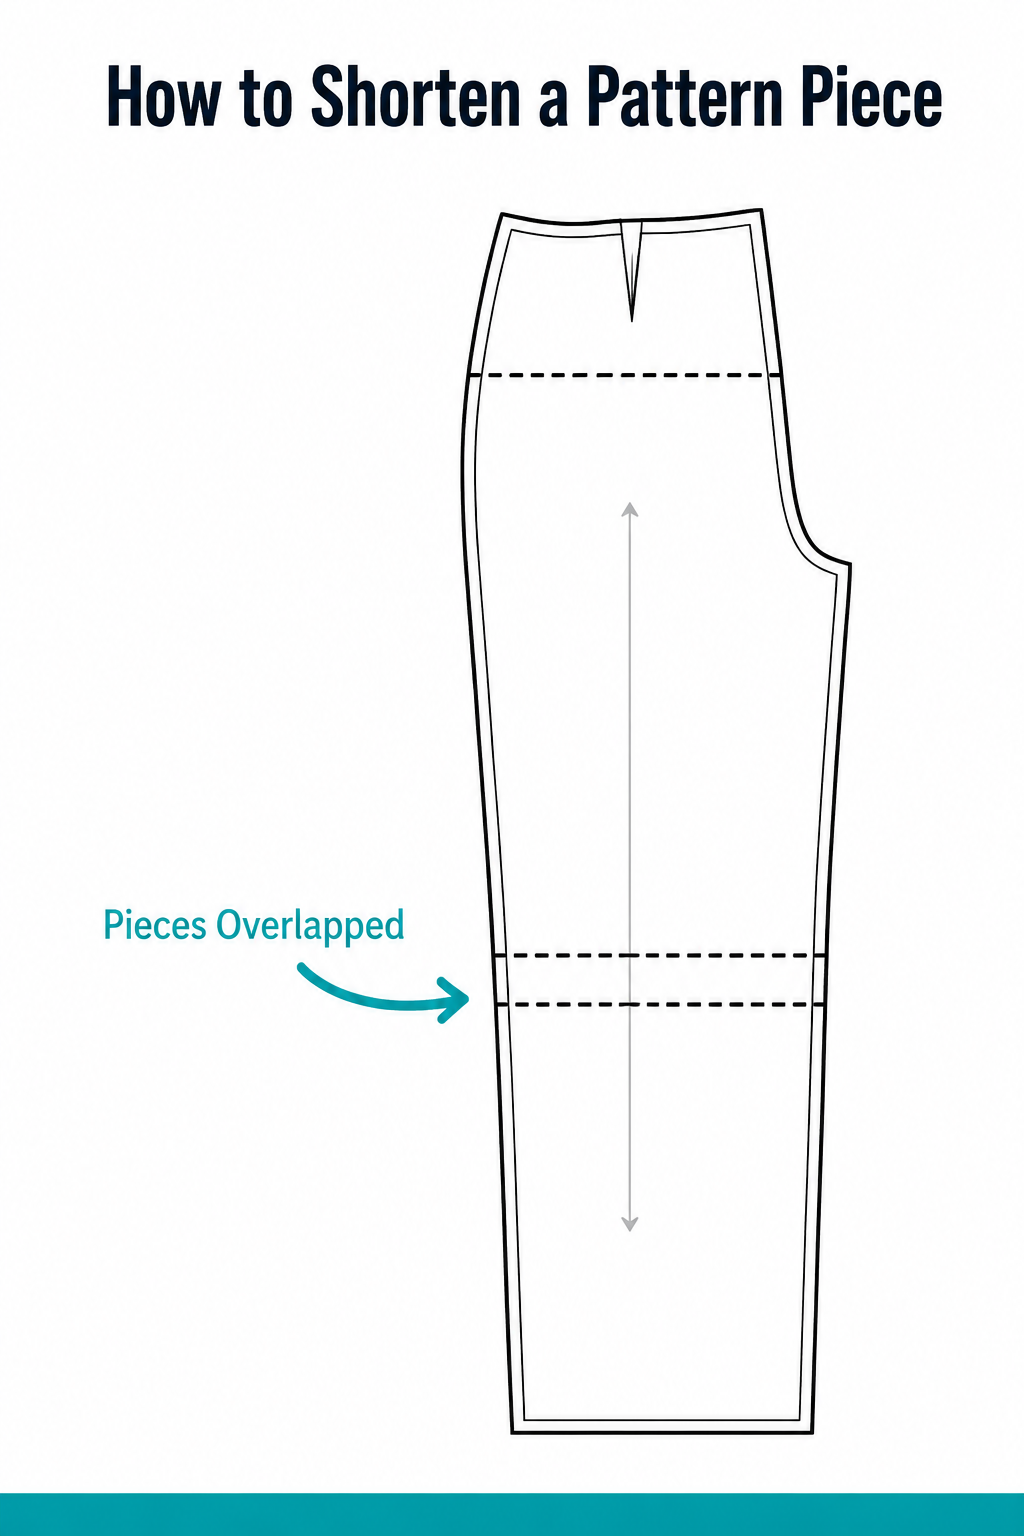
How to Shorten a Pattern Piece
Follow these steps to remove length from your pattern:
Below your marked shorten line, draw a second parallel line at the distance you want to remove.
Cut or fold the pattern piece so the shorten line meets the new line you drew. Tape in place, making sure the grainline stays straight.
If needed, slip a small piece of paper under the side seams and redraw the cut lines so everything connects cleanly.
 Pin It
That's it — really! Once you've done it a time or two, it becomes second nature.
We hope this helps you feel more confident tackling pattern adjustments.
Related reading: How to Use a Seam Ripper (4 Easy Methods)
AI Sewing Coach
Create a free account to chat with our AI Sewing Coach — trained to help with sewing techniques, troubleshooting, projects, fabric questions, and more!
Comments
Comments are screened by an AI moderator for spam and inappropriate content.
Sign in to join the conversation.
Loading comments…