May 8, 2025 · Sewing Society · 4 min read · Learn to Sew, Fabric Guides
Disclosure: As an Amazon Associate, we earn from qualifying purchases. Some links in this post may be affiliate links.
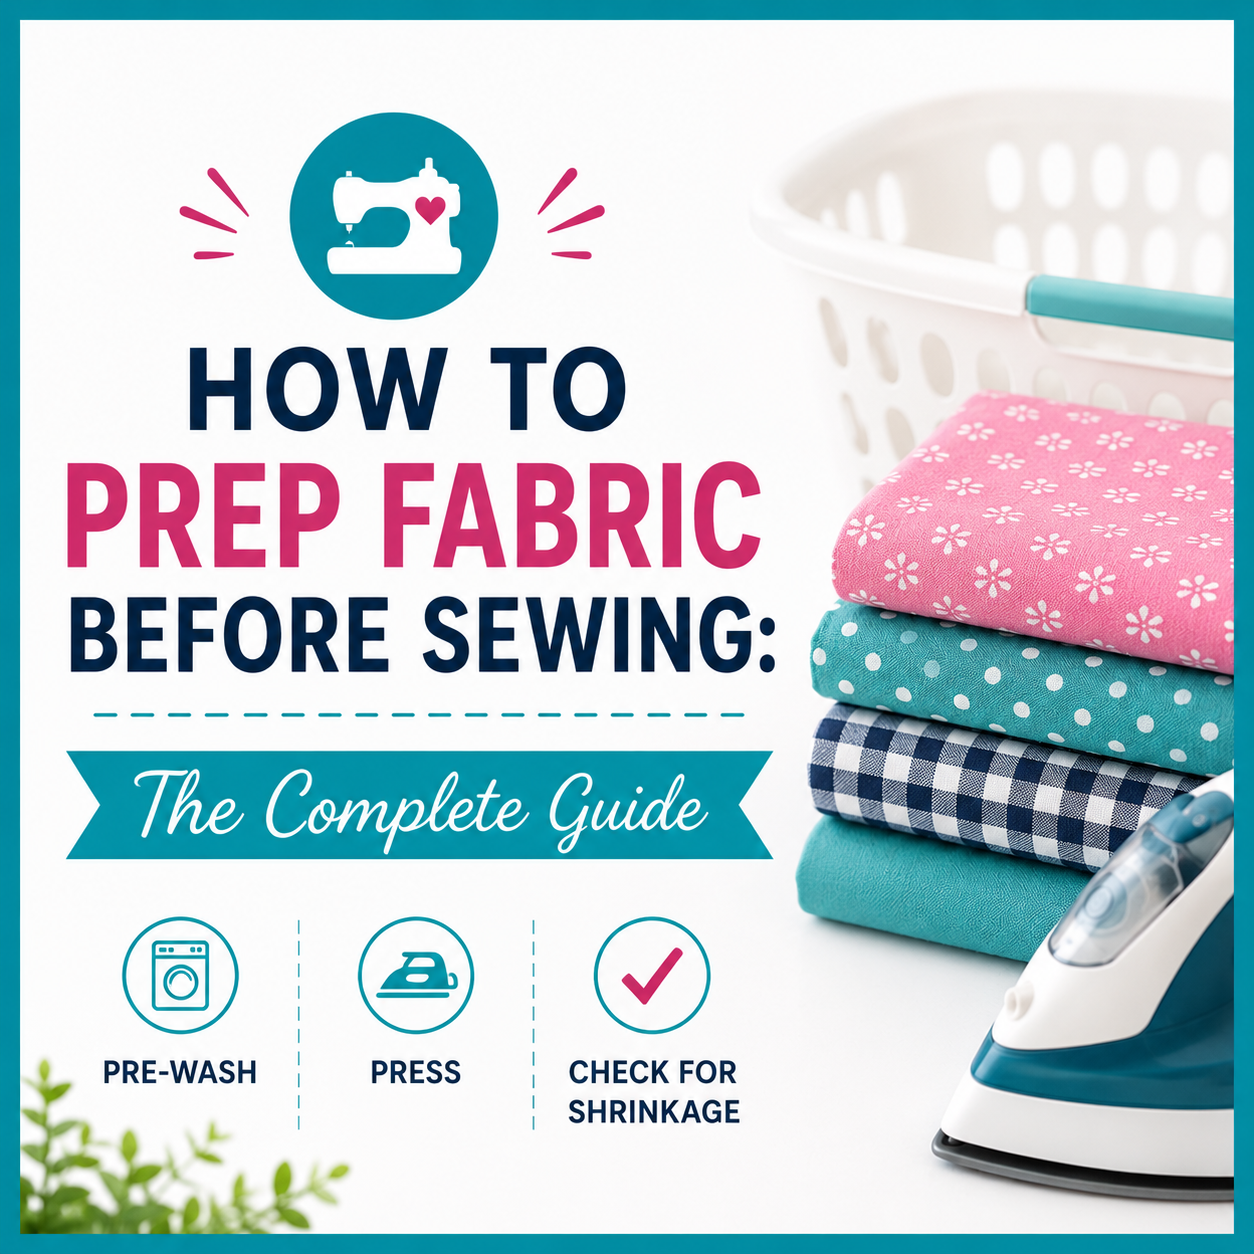
How to Prep Fabric Before Sewing: The Complete Guide
Skipping fabric prep is one of the most common beginner sewing mistakes — and one of the easiest to avoid. This complete guide walks you through all four steps of fabric preparation: preshrinking, straightening the grain, ironing, and storing your fabric properly, including a handy preshrinking guide for 17 common fabric types.
When you get home from the fabric store, it's tempting to start cutting and sewing immediately. But taking a little time to prepare your fabric first makes a real difference in how your finished project looks, fits, and holds up over time.
Here's the complete four-step fabric prep process, including a fabric-by-fabric preshrinking guide.
Step 1: Preshrink Your Fabric
Most fabric made from natural fibers will shrink the first time you wash it — sometimes significantly. If you skip this step, your beautifully sewn garment might come out of the wash shorter, tighter, or distorted.
Preshrinking is simple: wash your fabric the same way you plan to care for the finished project. If you'll machine wash the garment, machine wash the fabric. If it requires dry cleaning, take the fabric to the dry cleaner first. Never put dry-clean-only fabric through the washing machine to preshrink it.
You don't need to use detergent, but I usually do. It helps remove excess dyes and chemicals left over from manufacturing. The heat from the dryer is what does most of the shrinking.
If you buy multiple cuts of fabric at once, wash them separately. Dyes can bleed and stain other fabrics in the same load. For particularly dark or vibrant colors, rinse in the sink first to remove excess dye before putting them in the machine.
Some people serge the cut edges before washing to prevent raveling. This is worth doing for fabrics that fray badly, like denim, but isn't necessary for most fabrics.
The only time you can skip preshrinking is if the finished item will never be washed. That's a rare situation.
Before buying any fabric, check the care label on the bolt. That label tells you exactly how to care for it — and how to preshrink it.
Preshrinking Guide by Fabric Type
If you forget to check the care label, use this reference:
Fabric | Preshrinking Method | Ironing |
Acetate | Machine wash gentle, or dry clean | Low iron |
Acrylic | Machine wash normal cycle | Low iron if needed |
Bamboo | Machine wash normal cycle | Medium/high iron |
Cashmere | Dry clean | Low iron on wrong side |
Cotton | Machine wash normal cycle | Iron while still damp |
Denim | Machine wash normal cycle; serge edges first | Medium/high iron |
Hemp | Machine wash gentle, or hand wash | Medium/high iron |
Linen | Machine wash gentle, or hand wash | Medium/high iron while damp |
Mohair | Dry clean | Iron with press cloth |
Nylon | Machine wash gentle, or hand wash | Low iron |
Polyester | Machine wash normal cycle | Low iron if needed |
Ramie | Machine wash gentle, or hand wash | Medium/high iron |
Rayon | Dry clean | Medium iron |
Silk | Dry clean or hand wash | Low iron on wrong side |
Soy | Machine wash normal cycle | Medium/high iron |
Spandex | Machine wash normal cycle | Low iron if needed |
Wool | Dry clean or hand wash | Steam iron |
Step 2: Straighten the Grain
After washing and drying your fabric, straighten the grain before you fold or cut. This means lining up the selvage edges and making sure the cut ends are straight and square. Skipping this step can cause pattern pieces to sit slightly off-grain, which affects how a garment drapes and fits.
To straighten the grain, first find the crosswise grain — the threads that run perpendicular to the selvage edge. On plaids and stripes this is easy to spot. On solid fabric, look closely at the weave.
Once you've found the crosswise grain, use one of these methods:
Cut along the print pattern: If your fabric has a visible crosswise design, use it as a guide to cut a straight line perpendicular to the selvage.
Pull a thread: On loosely woven fabric, pull out one crosswise thread completely. Cut along the line it leaves behind.
Tear the fabric: On tightly woven fabric, make a small cut into the selvage edge and tear quickly across the width. A fast, confident tear gives the straightest result.
After straightening, serge or zigzag the cut edges if you want to prevent raveling during the project.
Step 3: Iron Your Fabric
Once your fabric is preshrunk and the grain is straight, iron it before cutting. Wrinkled fabric leads to inaccurate cuts. Iron using the correct heat setting for your fabric type — the preshrinking guide above includes ironing recommendations for each fabric.
After ironing, fold your fabric neatly so it's ready for layout. If you're not planning to use it right away, roll it instead of folding to avoid creating permanent creases.
Step 4: Store Your Fabric Properly
If you're not sewing with your new fabric immediately, store it somewhere it won't be damaged. Moisture, direct sunlight, and pests are the main threats.
Store fabric in sealed plastic bins away from windows. Avoid cardboard boxes, which can attract insects and absorb moisture. Keeping fabric rolled rather than folded also prevents permanent crease lines from forming.
 Pin It
Fabric prep does take extra time at the start of a project. But preshrinking, straightening the grain, and ironing before you cut gives you better accuracy, a better fit, and a finished piece that holds up after washing. It's worth the extra hour every time.
Have questions about prepping a specific fabric? Ask in the comments below!
Related reading: How to Choose Fabric for a Sewing Project (Questions to Ask Yourself First)
AI Sewing Coach
Create a free account to chat with our AI Sewing Coach — trained to help with sewing techniques, troubleshooting, projects, fabric questions, and more!
Comments
Comments are screened by an AI moderator for spam and inappropriate content.
Sign in to join the conversation.
Loading comments…