June 28, 2026 · Sewing Society · 2 min read · Patterns & Projects, Learn to Sew
Disclosure: As an Amazon Associate, we earn from qualifying purchases. Some links in this post may be affiliate links.
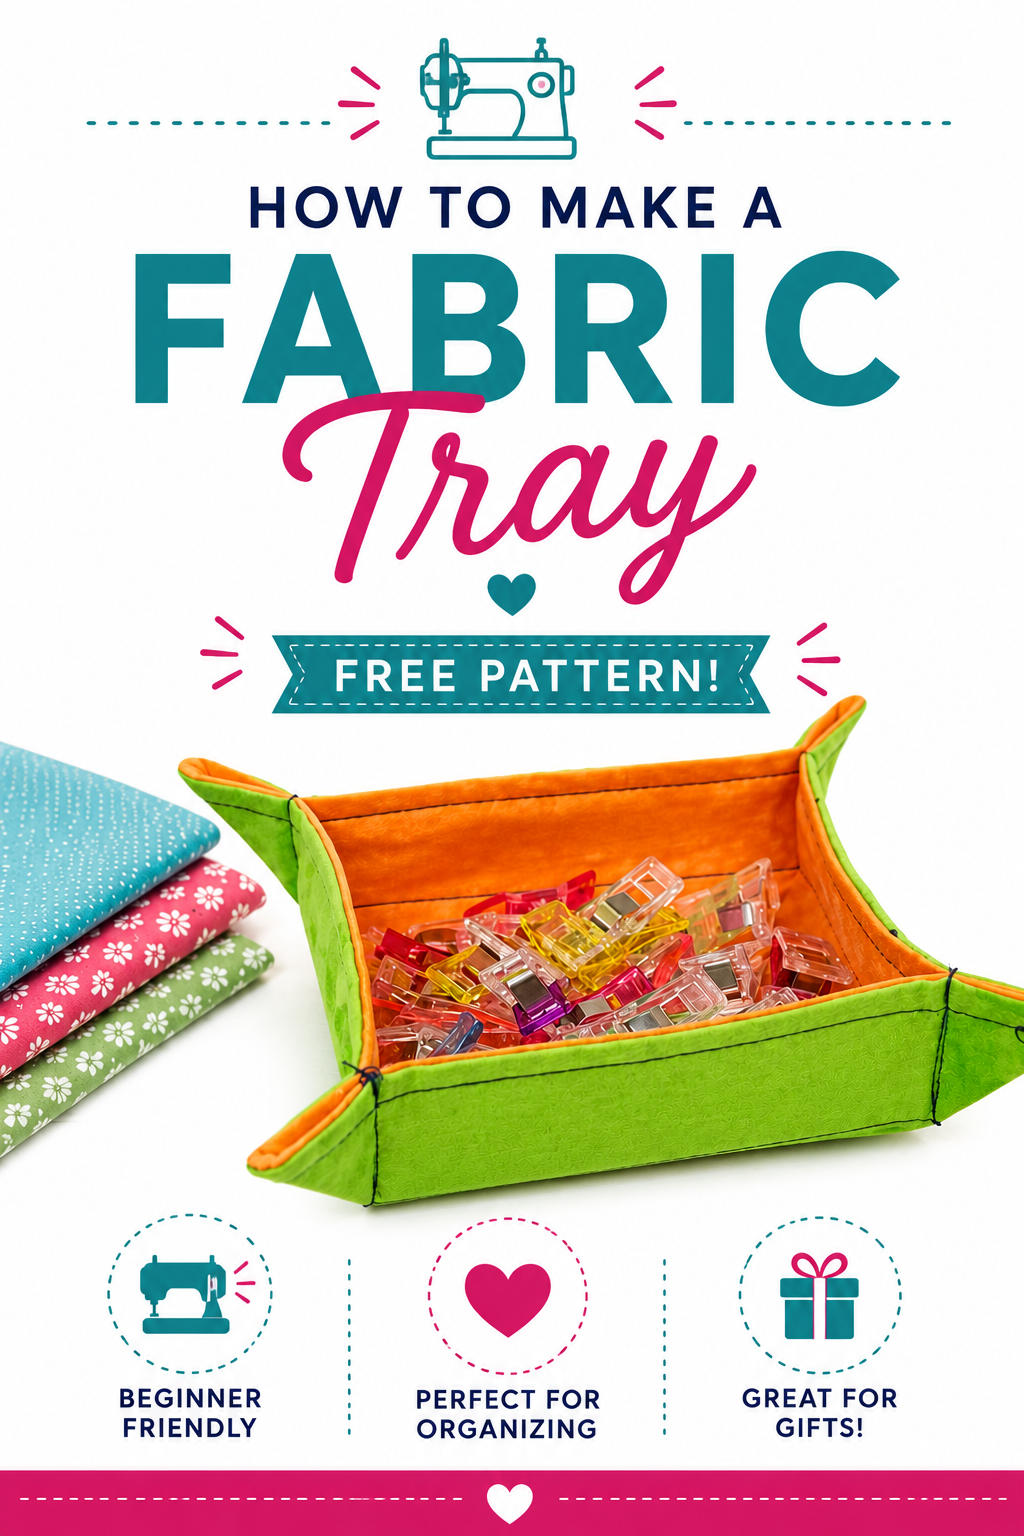
How to Sew a Fabric Tray (FREE Tutorial)
This little fabric tray is one of those projects you can knock out in under 10 minutes with fabric scraps you already have. It's practical, it looks great, and once you make one you'll want to make a bunch more.

If you're looking for a quick sewing project that's actually useful, this little fabric tray is a great one. It comes together in under 10 minutes and is a perfect way to use up scraps.
I keep one next to my sewing machine to hold fabric clips as I take them off projects. But honestly, you can use them anywhere: a nightstand for jewelry, an entryway table for keys, a desk for paper clips. They're simple and they look great.
Here's what you'll need:
Fabric: Cotton or any woven fabric. Two contrasting colors works nicely. You don't need much.
Medium to heavyweight fusible interfacing
Coordinating thread
Basic sewing supplies (sewing machine, scissors, pins, point turner)
Step 1: Prepare Your Fabric
Cut two squares of fabric and two squares of interfacing all the same size. I cut 6.5" squares using a square acrylic ruler, but you can make your tray bigger or smaller depending on what you need.
Fuse the interfacing to the wrong side of each fabric square. If you're using canvas or another thick fabric, you can skip the interfacing. A medium-weight fusible works well for most fabrics, but go heavier if you want a stiffer tray with more structure.
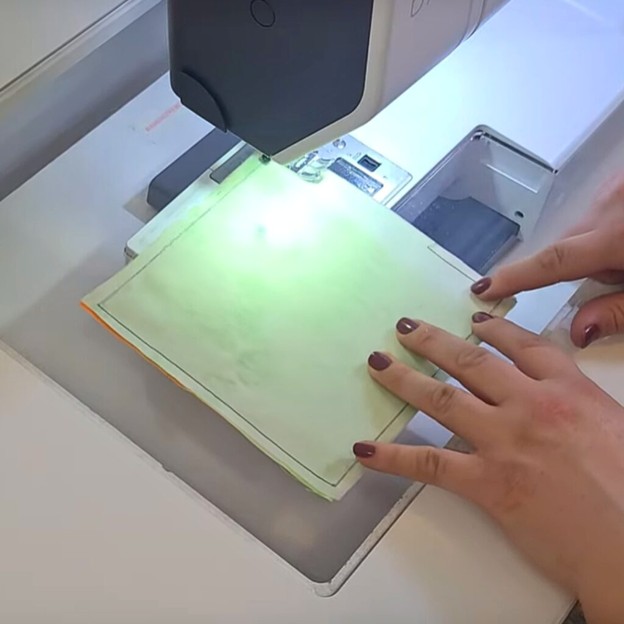
Step 2: Sew the Squares Together
Place the two squares right sides together and sew around all four edges with a ¼" seam allowance. Leave a 2-inch gap on one side so you can turn the piece right side out.
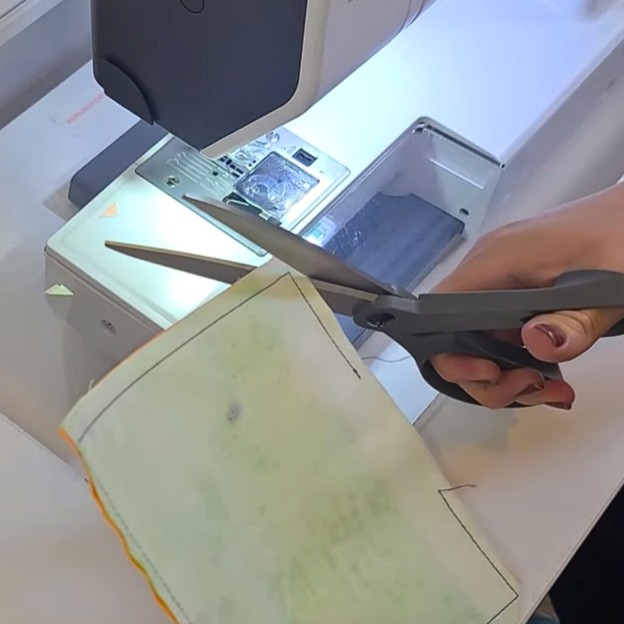
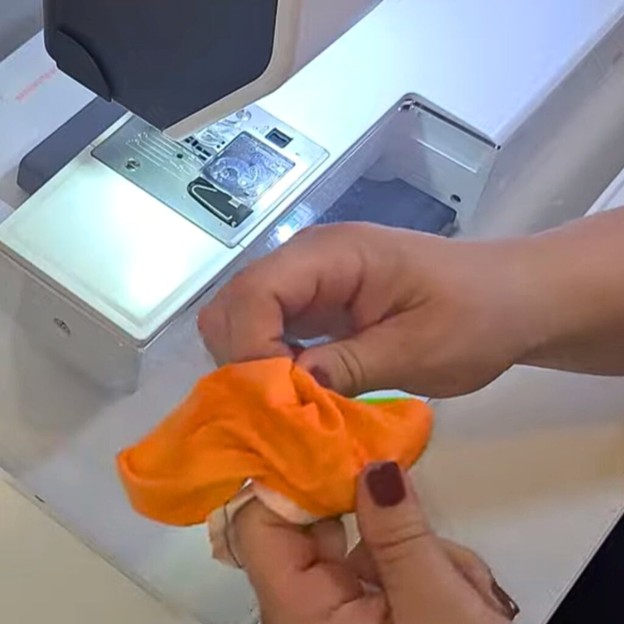
Step 3: Clip the Corners and Turn
Clip all four corners close to the stitching without cutting through it. Then reach through the gap and turn the whole piece right side out. Use a pencil or point turner to push out the corners so they're nice and sharp.
Press everything flat with an iron, folding the opening in neatly so it's ready to topstitch.
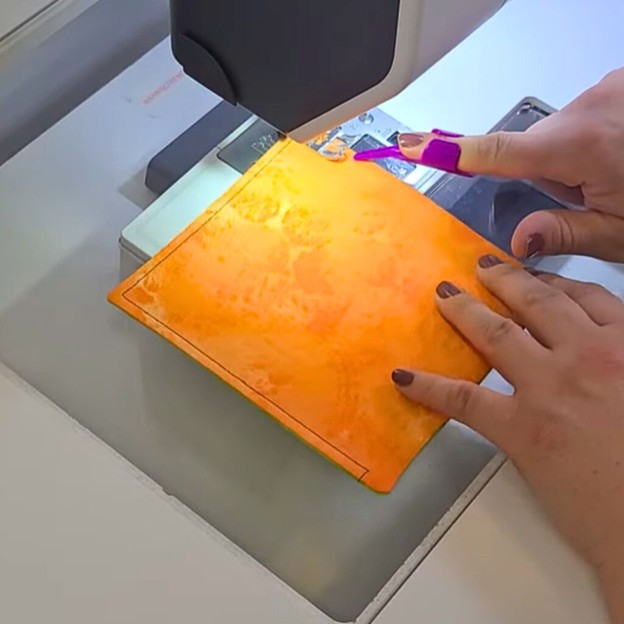
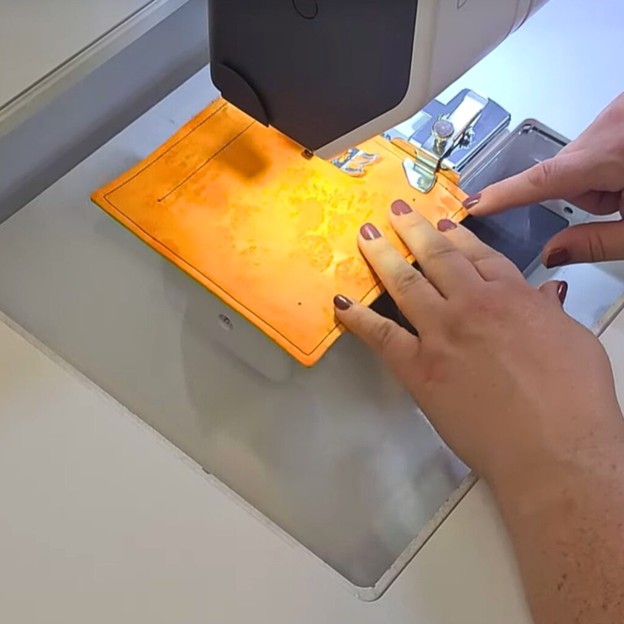
Step 4: Topstitch Around the Edges
Topstitch all the way around the square at ⅛" to close the gap. Pivot at each corner with your needle in the down position to keep the points crisp.
Then sew a second line of topstitching all the way around at 1.5". If your machine's seam guide doesn't go that wide, a magnetic seam guide will keep the distance consistent on all four sides.
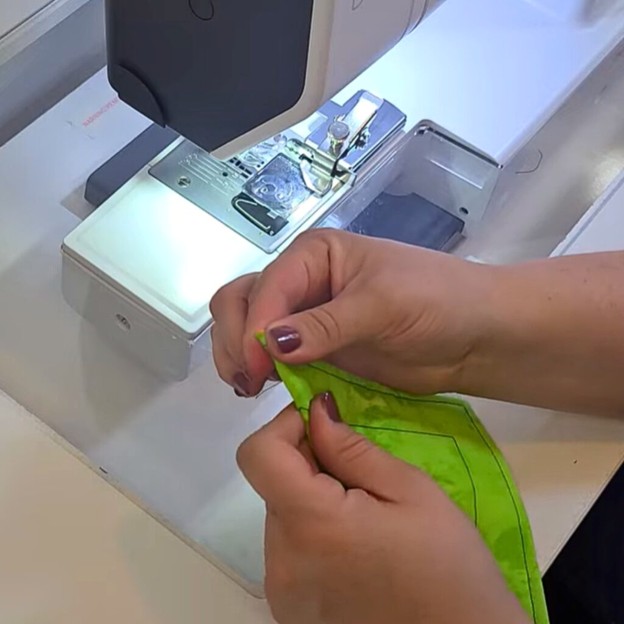
Step 5: Mark and Sew the Corners
This is what turns a flat square into an actual tray. Fold each corner up to form a triangle, lining up the 1.5" topstitching lines on the adjacent sides. Using your fabric marking pen, draw a straight line perpendicular to the fold where the seam lines meet. Pin in place and sew along that line. Repeat for all four corners.
Snip off your thread tails and you're done!
 Pin It
These little trays make great gifts too. Once you make one, you'll want to make a dozen more in different fabric combinations.

Related reading: How to Read a Sewing Pattern: A Beginner's Guide
AI Sewing Coach
Create a free account to chat with our AI Sewing Coach — trained to help with sewing techniques, troubleshooting, projects, fabric questions, and more!
Comments
Comments are screened by an AI moderator for spam and inappropriate content.
Sign in to join the conversation.
Loading comments…