September 1, 2025 · Sewing Society · 3 min read · Patterns & Projects
Disclosure: As an Amazon Associate, we earn from qualifying purchases. Some links in this post may be affiliate links.
How to Sew a Heart-Shaped Pillow
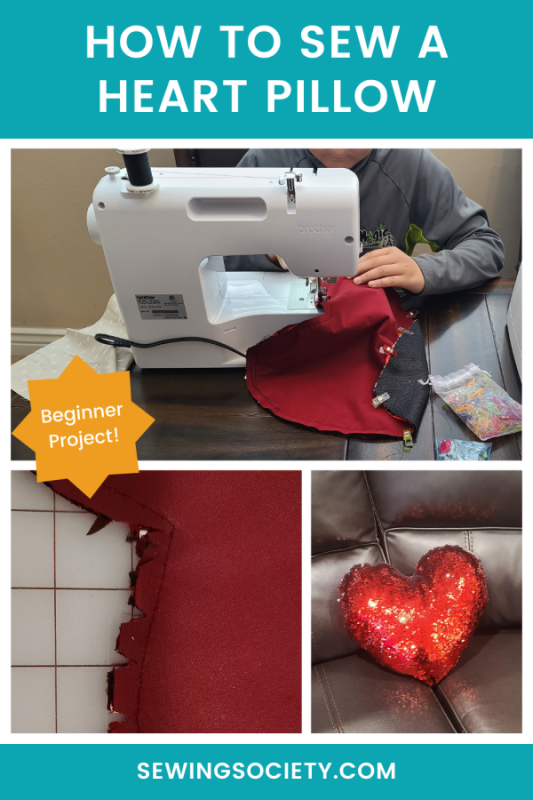
Learn how to sew a simple heart pillow with this beginner-friendly tutorial. This easy sewing project is perfect for Valentine’s Day and teaches important beginner sewing skills like sewing curves, clipping seams, stuffing, and ladder stitching.

A heart pillow is the perfect beginner sewing project for Valentine’s Day — or honestly, anytime. It’s cute, simple, and fun to make. In this tutorial, I’ll walk you through every step so you can sew your own heart-shaped pillow, even if you’re brand new to sewing.
This heart pillow is actually one of the first projects in my beginner sewing course because it teaches several important beginner sewing skills without feeling overwhelming. If you’re just getting started with sewing, I’d love for you to join the class!
Step 1: Gather Your Materials
½ yard woven fabric
Coordinating thread
Hand sewing needle
Stuffing (standard Poly-Fil works great)
Heart pillow pattern
You can absolutely draw your own heart shape to use as a pattern, but if you want a perfectly symmetrical heart, there are lots of inexpensive heart pillow patterns available on Etsy.
For my pillow, I used a red sequin fabric that changes color when you brush it. It was super fun! But honestly, almost any fabric will work for this project. Quilting cotton is a great beginner-friendly option.
Step 2: Cut Out the Pieces
Trace your heart pattern onto your fabric using chalk or a fabric marker. Then cut out two heart pieces — one for the front and one for the back.
If you want to add embroidery, appliqué, iron-on vinyl, or any other embellishments to the front of your pillow, make sure you do that before sewing the pieces together.
Step 3: Sew Around the Edges
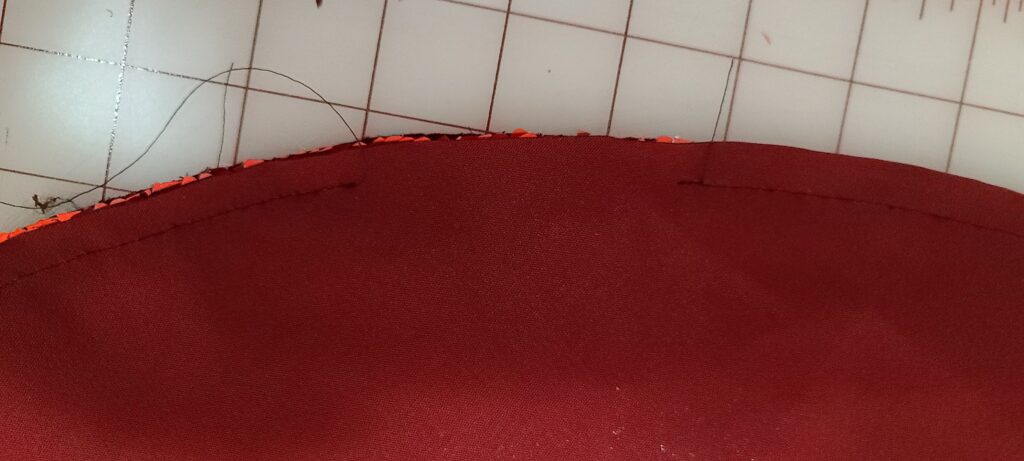
Place the two heart pieces right sides together and pin around the edges to keep everything lined up.
Using your sewing machine, sew around the edge of the heart with a ¼-inch seam allowance.
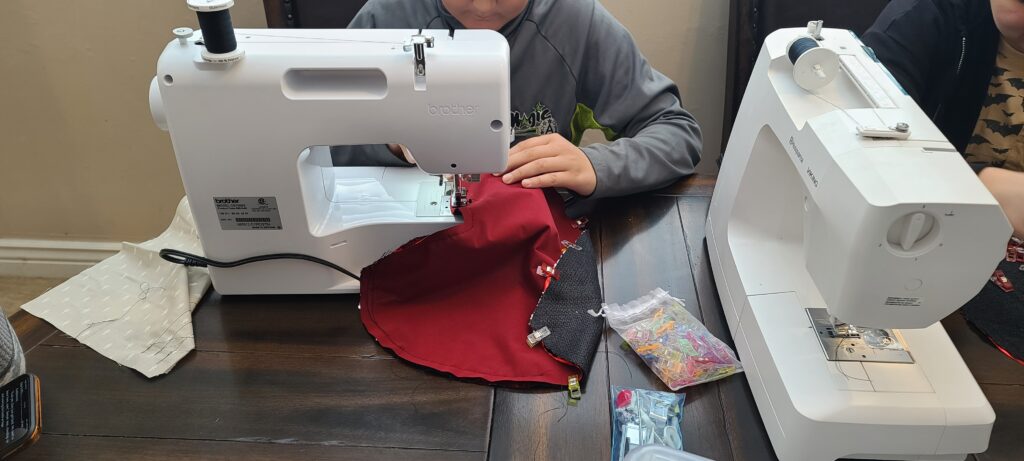
Be sure to leave a 4-inch opening along one side so you can turn the pillow right side out later. I recommend leaving the opening along one of the longer curved edges near the bottom point of the heart.
Step 4: Clip the Curves
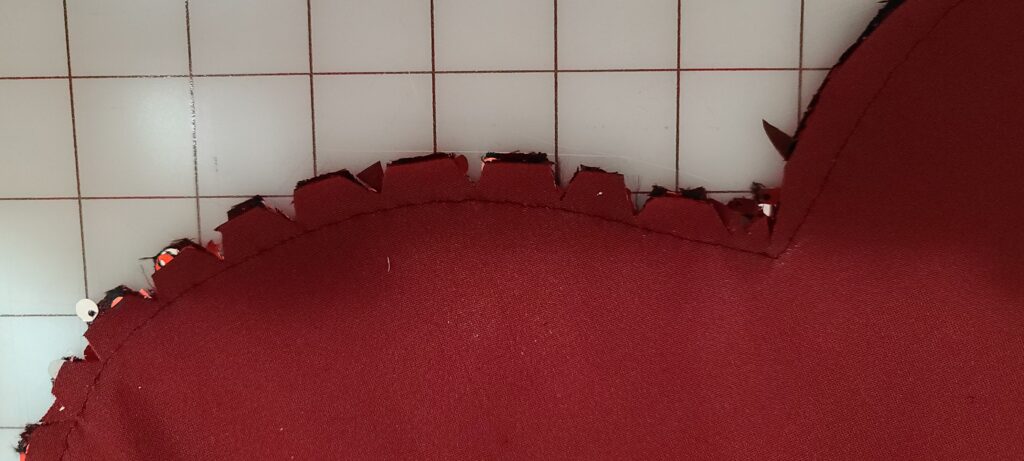
Before turning your pillow right side out, you’ll need to clip notches into the curved seam allowances. This helps remove bulk so the edges look smooth and rounded instead of lumpy.
Using small scissors, carefully cut little triangles around the curved edges of the heart. Clip close to the stitching line, but be careful not to cut through your stitches. The more closely you clip the curves, the smoother your finished heart will look.
Step 5: Stuff the Pillow
Turn the pillow right side out through the opening you left.
Next, begin stuffing the pillow with Poly-Fil. Add small handfuls at a time and gently push the stuffing into the curves and corners until the pillow feels soft but full.
Try not to overstuff it, or it may become difficult to sew the opening closed neatly.
Step 6: Sew the Opening Closed
Thread a hand sewing needle with matching thread and sew the opening closed using a ladder stitch. A ladder stitch creates an invisible seam, which gives your pillow a much cleaner finished look.
To make a ladder stitch, sew back and forth between the folded edges of the opening in small, even stitches. When you pull the thread tight, the stitches disappear and the seam closes neatly.
 Pin It
That’s it — your heart pillow is finished!

I hope you enjoyed this tutorial. If you make one, I’d love to see it! Share your heart pillow photos in the comments below.
Related reading: Easy Drawstring Backpack Tutorial (FREE)
AI Sewing Coach
Create a free account to chat with our AI Sewing Coach — trained to help with sewing techniques, troubleshooting, projects, fabric questions, and more!
Comments
Comments are screened by an AI moderator for spam and inappropriate content.
Sign in to join the conversation.
Loading comments…