April 19, 2026 · Sewing Society · 3 min read · Learn to Sew, Sewing Tips & Hacks
Disclosure: As an Amazon Associate, we earn from qualifying purchases. Some links in this post may be affiliate links.
How to Sew an Elastic Waistband Casing (Step-by-Step Guide)
Learning to sew an elastic waistband casing is one of the most useful foundational skills in garment sewing. It's used in pajama pants, skirts, bags, and so much more. This step-by-step guide walks you through creating the casing and inserting the elastic, with tips for preventing twisted elastic and getting a clean finish.
One of the first sewing skills worth learning is how to create a casing for elastic or a drawstring. It's a fundamental technique used in waistbands, sleeve hems, bags, and so much more. And it's really not that hard once you know the steps!
I recently used this method to sew elastic waistbands on pajama pants for my boys. If you're looking for a beginner-friendly pattern to practice this skill, the pajama pants pattern from Peek-a-Boo Pattern Shop is excellent. Super easy and a great first garment project.
Part 1: Creating the Casing
Step 1: Finish the raw edge of your fabric
Before folding, finish the raw edge at the waist so it doesn't fray. Zigzag stitch or serge the edge. Alternatively, fold the fabric over twice to encase the raw edge: fold it under ½ inch and sew along the fold. Either method works.
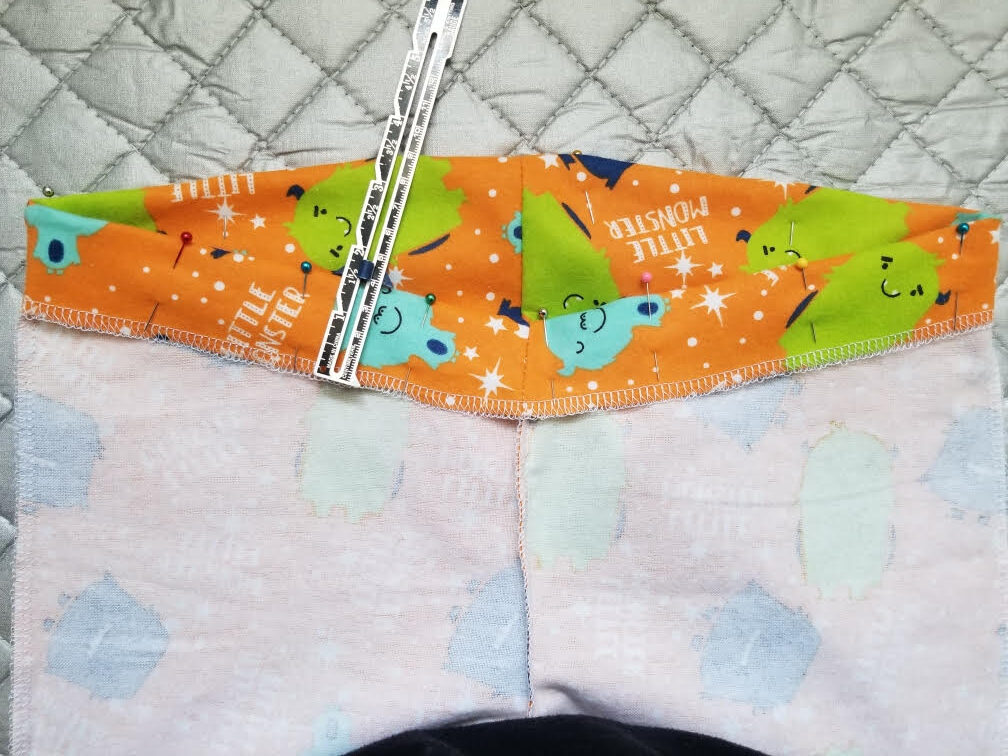
Step 2: Fold and pin the waist hem
Fold the fabric down with wrong sides together so the fold is about ½ inch wider than your elastic. For example, if you're using 1-inch elastic, make your fold 1.5 inches deep. This gives you just enough room for a seam allowance and space for the elastic to move freely inside.
Pin the fold in place every 2 inches around the waistband. Press with an iron if you'd like a crisp edge. A seam gauge is really handy for keeping this fold consistent all the way around.
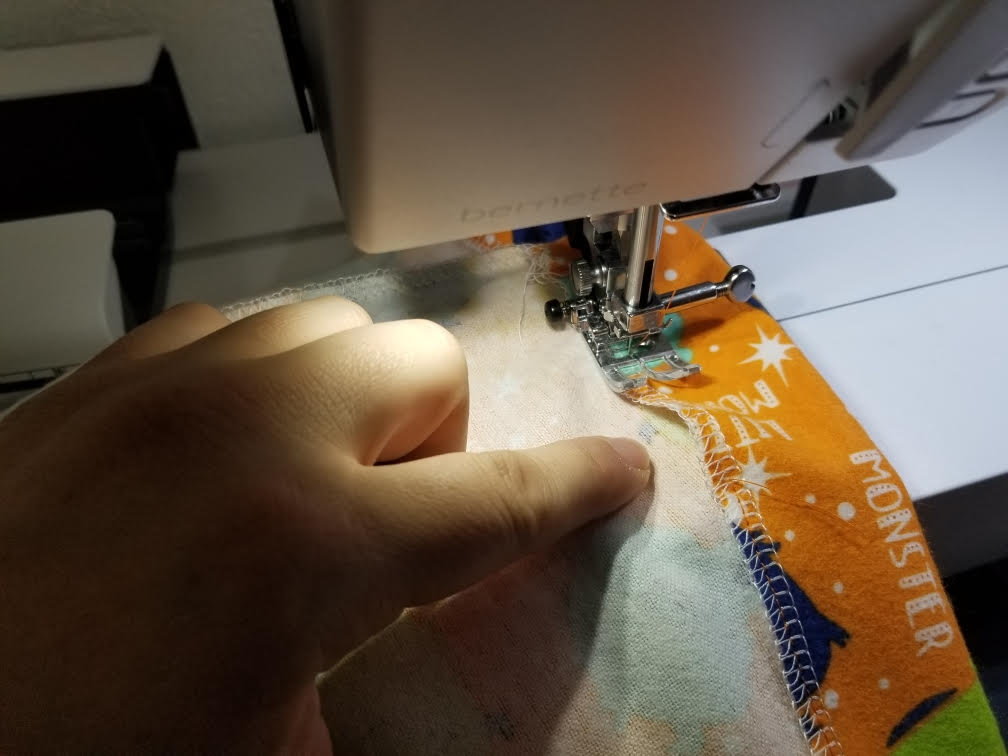
Step 3: Sew along the bottom of the fold, leaving a gap
Stitch close to the folded edge all the way around the waistband, but leave a 2-inch opening somewhere along the seam. This gap is where you'll insert the elastic later. I usually put the opening at the center back, but it can go anywhere you prefer. You'll close it in the final step.
Part 2: Inserting the Elastic
Step 1: Cut your elastic to the right length
Different elastics have different amounts of stretch, so the most accurate method is to wrap the uncut elastic directly around the waist (yours or whoever you're making the garment for) and stretch it to a comfortable wearing tension. Add one inch for the overlap seam, then cut.
If you're working from a pattern, it will usually specify the type and amount of elastic to use.
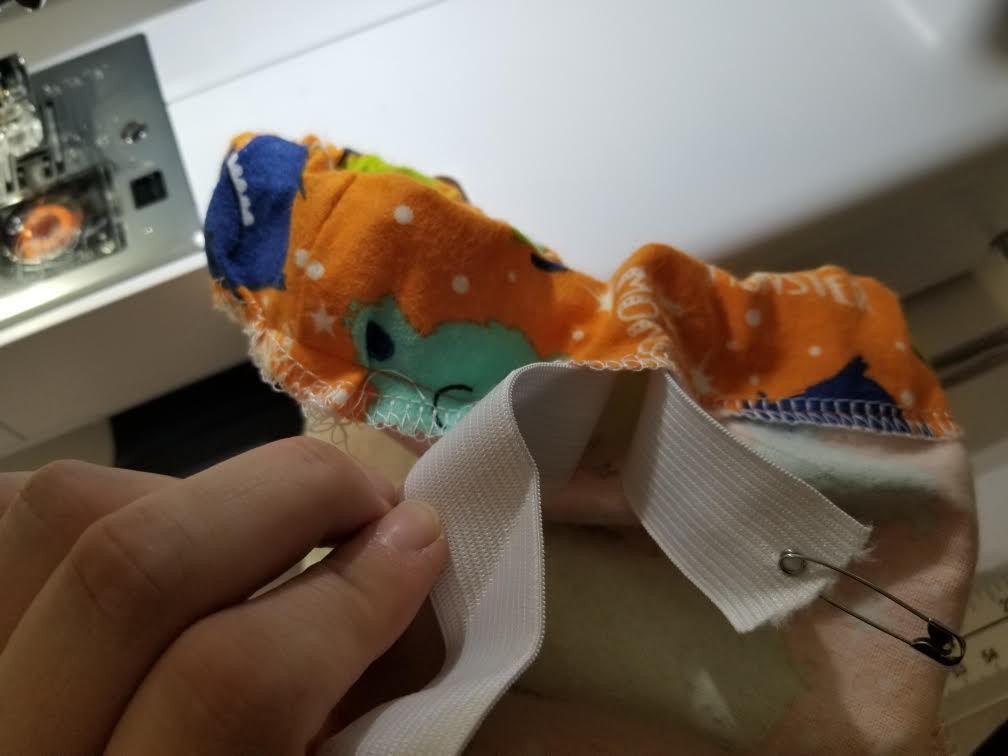
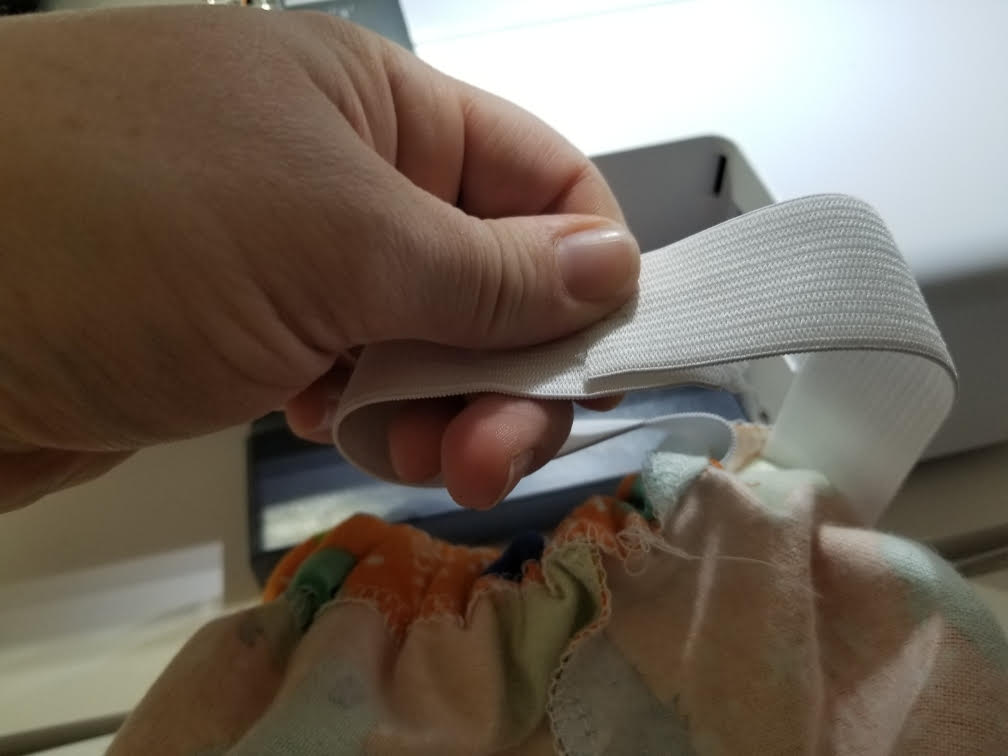
Step 2: Attach a safety pin to one end
A large safety pin works best here because it's easy to feel through the fabric as you guide the elastic through the casing. Any size will do, but bigger is easier to grab.
Step 3: Feed the elastic through the casing
Use the safety pin to guide the elastic through the opening and all the way around the casing. As you push the pin through, keep hold of the other end so it doesn't disappear inside. If you're nervous about losing it, pin the trailing end to the garment fabric with a second safety pin so it can't slip in.
Step 4: Check for twists before proceeding
Once the elastic is all the way through, lay the waistband flat and check that the elastic is lying flat with no twists. It's much easier to fix this now than after you've sewn the ends together.
A tip for preventing twisting in the first place: use non-roll elastic. If twisting remains an issue in the finished garment, you can sew the elastic to the fabric at the side seams using a stitch-in-the-ditch method, or add a row of topstitching along the top fold of the casing to limit how much the elastic can move around.
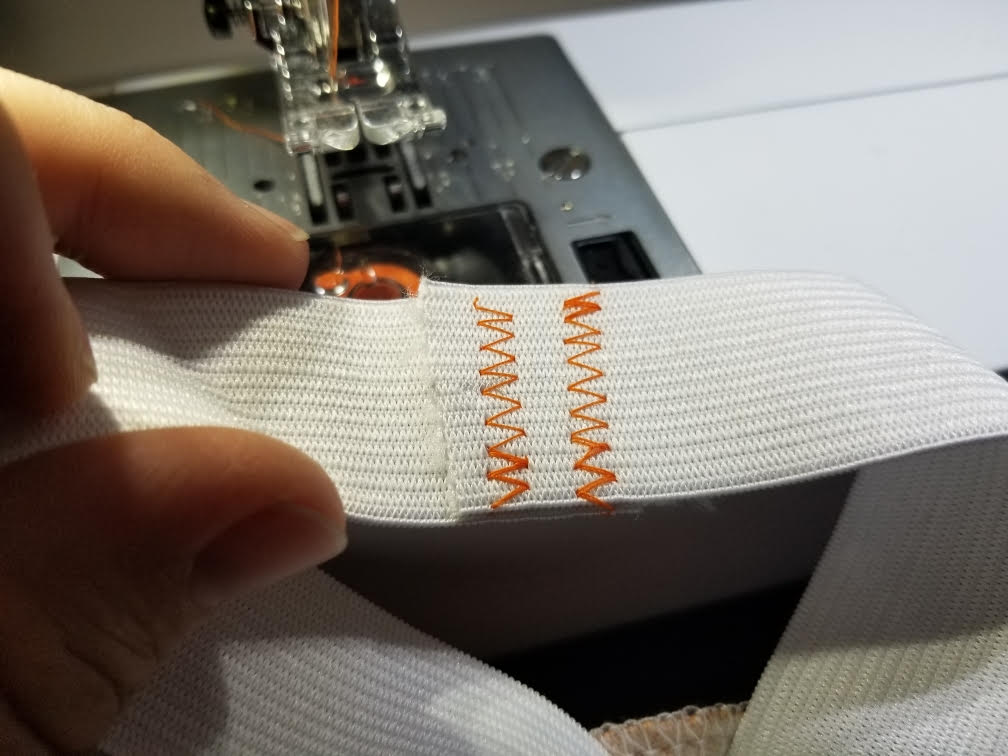
Step 5: Join the ends of the elastic
Overlap the two ends of elastic by one inch and sew two or three rows of zigzag stitching to join them securely. Backstitch at the beginning and end of each row.
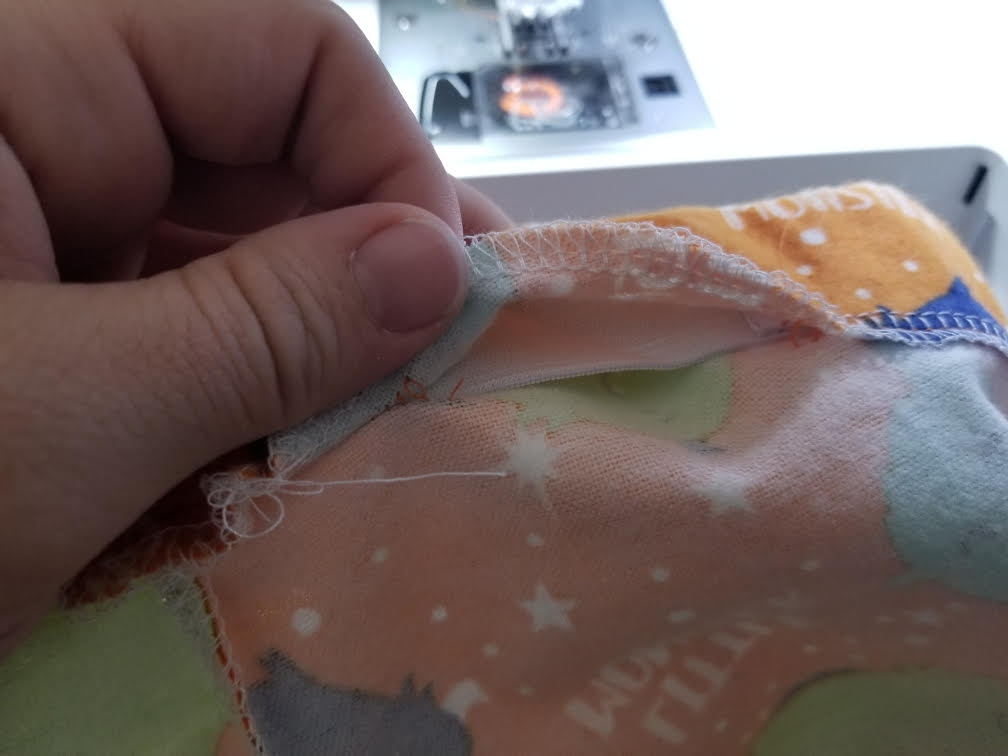
Step 6: Close the casing opening
Fold the remaining gap in the casing closed and stitch it shut along the hemline. Backstitch at the beginning and end.
 Pin It
That's it! Once you've made a few elastic waistbands, the whole process takes just a few minutes. It's one of those foundational skills that comes up again and again in garment sewing.

Related reading: 14 Things I Wish I Knew When Learning to Sew
AI Sewing Coach
Create a free account to chat with our AI Sewing Coach — trained to help with sewing techniques, troubleshooting, projects, fabric questions, and more!
Comments
Comments are screened by an AI moderator for spam and inappropriate content.
Sign in to join the conversation.
Loading comments…