July 12, 2026 · Sewing Society · 2 min read · Sewing Terminology, Learn to Sew, Sewing Tips & Hacks
Disclosure: As an Amazon Associate, we earn from qualifying purchases. Some links in this post may be affiliate links.
Pressing and Ironing: Is There a Difference?
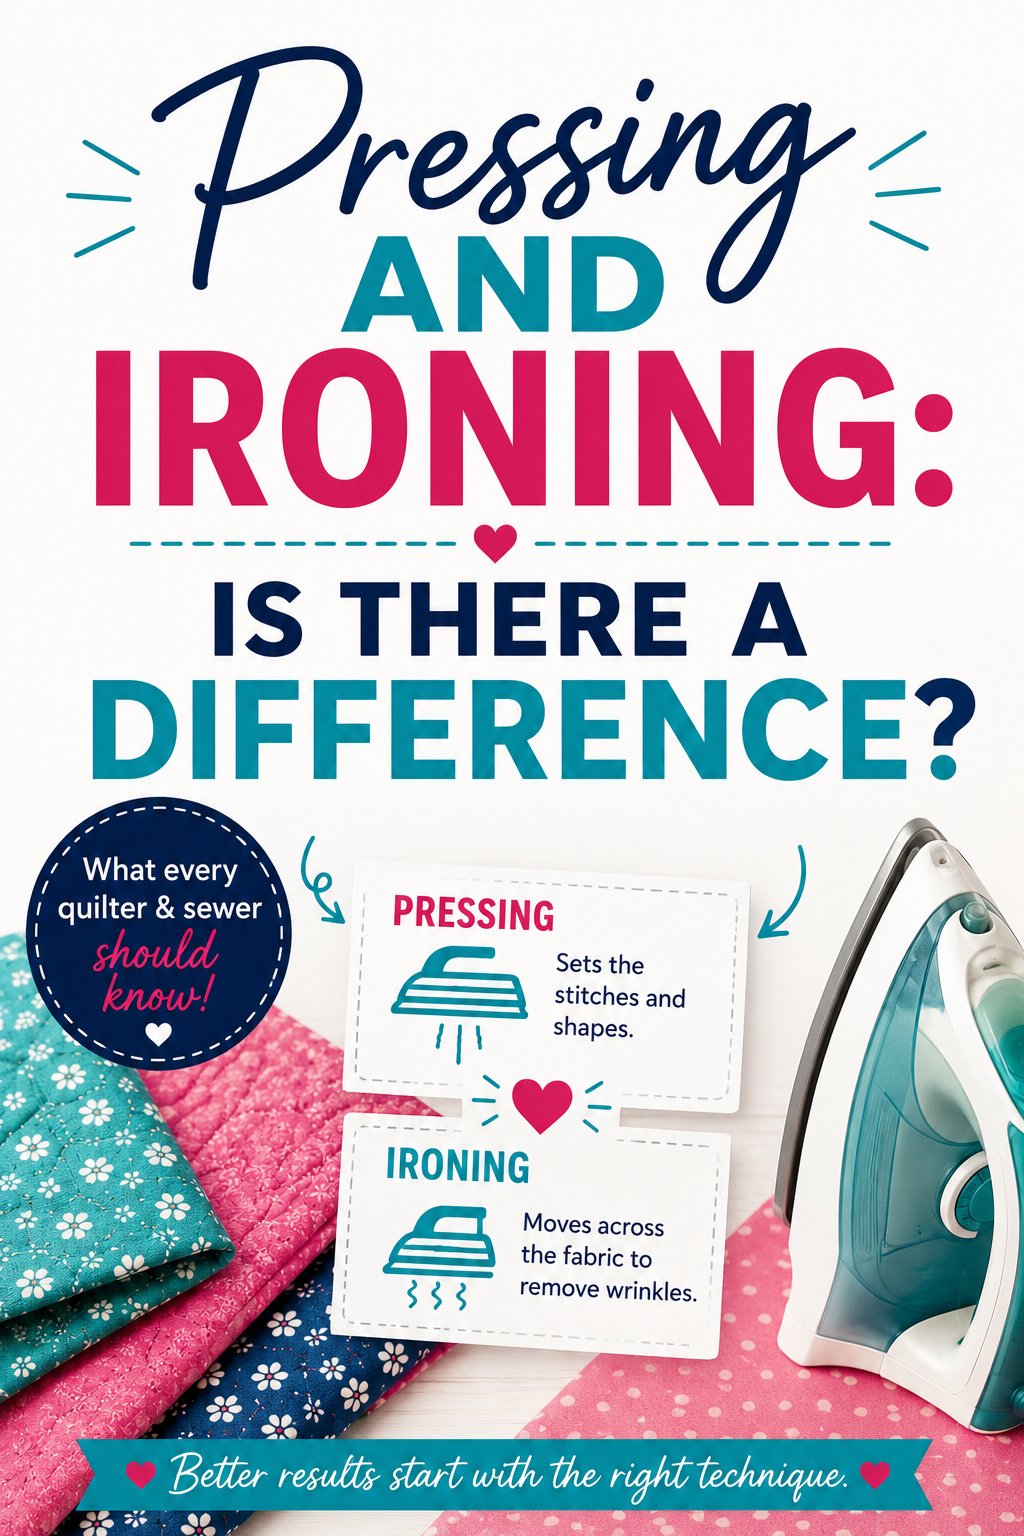
Pressing and ironing aren't the same thing, and mixing them up is one of the most common mistakes new quilters make. Here's the real difference, and why it matters for your seams, points, and finished projects.

People use "pressing" and "ironing" like they're the same thing. They're not, and the difference matters more than you'd think if you quilt or sew garments.
Ironing is a back-and-forth gliding motion, used to smooth wrinkles out of finished fabric or clothing.
Pressing is an up-and-down motion, used during construction to set seams and edges before a project is finished.
That distinction isn't just semantics. Ironing unfinished fabric can stretch or warp it, which is a problem when you're trying to line up points or keep a garment's grain intact. Even good-quality cotton has enough give to shift out of shape under a sliding iron.
Why This Trips Up New Quilters
The most common mistake: over-ironing pieces instead of pressing them. It seems harmless, but that gliding motion distorts fabric in ways that show up later, usually right when you're trying to match seams or points and nothing lines up.
If your seams won't lay flat, don't do more ironing. Use a quilter's clapper or spray starch instead. Save the iron for pressing, not fighting the fabric into submission.
What Pressing Actually Does
Sets seams. Pressing locks seams into place and gives them a clean, stable line instead of a soft, unfinished one.
Prevents puckers. It blends the stitches into the fabric instead of leaving visible ridges or bunching.
Gives a professional finish. This is the difference between a project that looks handmade in the good way and one that looks handmade in the "I can tell" way.
How to Press Correctly
Use gentle, up-and-down pressure. No sliding.
Press from the wrong side of the fabric to protect the right side.
Use a pressing cloth on delicate or textured fabrics.
Start on low heat and adjust based on fiber content.
Never press over pins. It damages both the fabric and the iron.
 Pin It
For curved seams, a pressing ham or pressing bar will get you a cleaner result than trying to force it flat.
Pressing takes a little more time than ironing, but it's the step that keeps your points sharp, your seams flat, and your projects from looking like the fabric fought back.
Related reading: How Do I Prevent Fabric from Fraying?
AI Sewing Coach
Create a free account to chat with our AI Sewing Coach — trained to help with sewing techniques, troubleshooting, projects, fabric questions, and more!
Comments
Comments are screened by an AI moderator for spam and inappropriate content.
Sign in to join the conversation.
Loading comments…