Disclosure: This post may contain affiliate links. I earn a small commission when you click a link and make a purchase. Thanks for supporting SewingSociety.com!
Pinning is one of the most tedious aspects of sewing. I hate doing it, and it’s one of the first steps I skip when I’m in a hurry. However, even though I hate pinning, I can’t deny how much nicer my sewing projects turn out when I use pins.
Pins keep your fabric from pulling and shifting as you cut and sew. I can’t tell you how many seams I’ve had to unpick because I didn’t use pins. Pinning is one important sewing step you shouldn’t skip!
Pinning Before Cutting Out Pattern Pieces
If you want your sewing projects to turn out well, pinning is a critical step when cutting out your pattern pieces. The more pins you use, the more precise your cuts will be.
Here are the basic steps for pinning before cutting out pattern pieces:
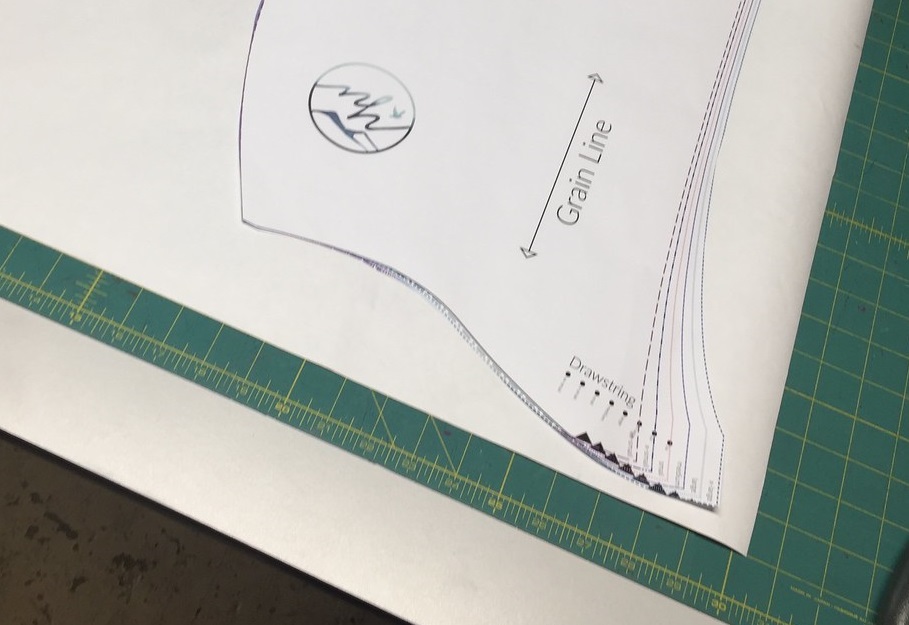
- Step 1: Find the grain line mark on your pattern piece (the double-ended arrow in the middle of your pattern), and make sure it runs parallel to the selvage edge of your fabric. Then, place a pin on each end of the grain line mark to hold your pattern piece in place.
- Step 2: Place a pin at each corner of your pattern piece, smoothing the pattern down as you go.
- Step 3: Place pins every two to three inches apart along the edges of your pattern piece. Use more pins around the corners and near notch marks. Your pinheads should not hang over the edge of your pattern at all. They should be parallel to your cut lines and about a 1/2-inch in from the edges of your pattern.
An alternative to pinning when cutting out pattern pieces is to use a rotary cutter and mat. All you have to do is lay your fabric out on top of your cutting mat and hold the pattern pieces in place with weights. If you really hate pinning, a rotary cutter and mat can really speed up the cutting process for you.
Pinning Before Sewing Pieces Together
Pinning while sewing is a little different than pinning before cutting out your pattern pieces. When you’re pinning pieces together before sewing, place pins perpendicular to your seam edges. It is perfectly fine for them to hang off the edge of your fabric because you aren’t cutting anything. This also makes it easier to remove the pins before they go under your presser foot.
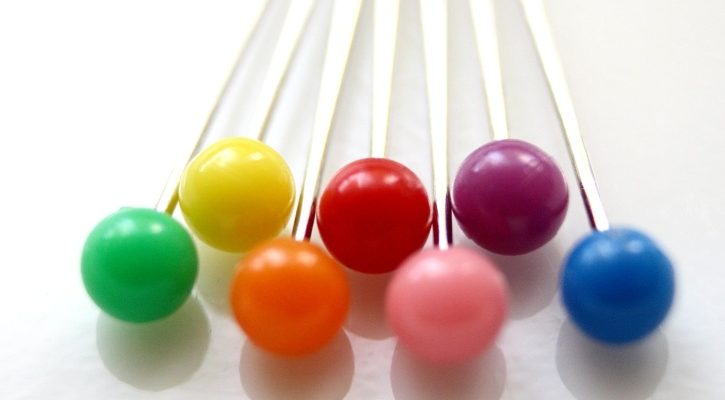
1.5-inch pins with bright-colored balls on the top are the best because they are easiest to spot and handle. However, you should also have ballpoint pins to use with knit fabrics to prevent snagging.
The more pins you use, the better your seams will line up. Pay special attention to pinning fabric pieces together around corners and points. You can get away with using fewer pins along long, straight seams.
I prefer magnetic pin holders over standard pin cushions because they can quickly pick up pins and keep them all in one place. You can also just drop pins on a magnetic holder instead of having to make sure the point of your pin goes into a standard pin cushion.
Pinning does take extra time, but your sewing project will turn out better if you don’t skip pinning. If you’re always looking for time-saving tips, read: How to Sew Faster.
Do you have any tips about pinning? Share them in the comments below.
Share this post on Pinterest!

3 Comments on “Don’t Skip Pinning!”