July 22, 2026 · Sewing Society · 6 min read · Embroidery, Fabric Guides
Disclosure: As an Amazon Associate, we earn from qualifying purchases. Some links in this post may be affiliate links.
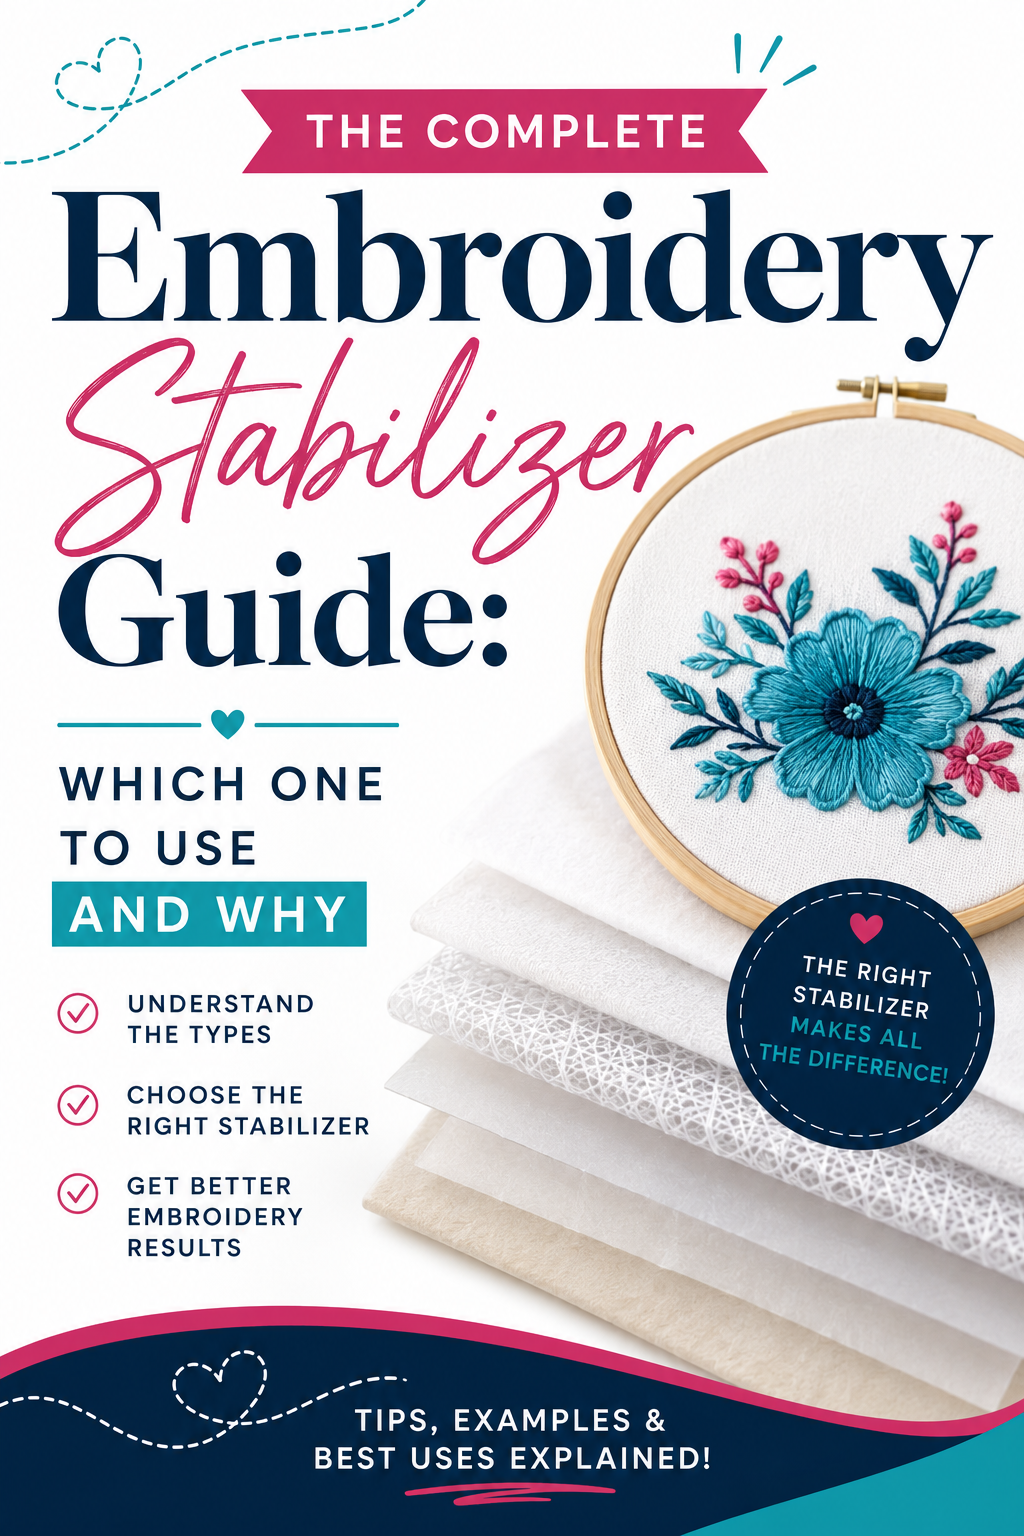
The Complete Embroidery Stabilizer Guide: Which One to Use and Why
Do you know what stabilizer to use in your machine embroidery projects? This guide walks you through the options.

If your embroidery keeps puckering, shifting mid-stitch, or coming out with gaps in the design, the problem usually isn't your machine. It's your stabilizer.
Stabilizer is the layer that holds your fabric steady while the needle does its work. Fabric alone almost never has enough structure to survive a dense embroidery design, so the stabilizer is doing a lot that you don't see until it's missing. Pick the wrong one and you'll fight your project the whole way through. Pick the right one and the machine basically does what it's supposed to.
This guide walks you through every major category of embroidery stabilizer, when to reach for each one, and the mistakes that trip people up most.
The Four Categories, at a Glance
Before getting into detail, here's the quick version:
Stabilizer Type | Best For | Removed By |
Cut Away | Knits, stretch fabric, bags, dense designs | Trimmed with scissors, stays permanently |
Tear Away | Stable wovens, quilting cotton, felt | Torn away by hand |
Wash Away | Freestanding lace, sheers, towels | Rinsed or soaked in water |
Topper | Fleece, terry cloth, sherpa, minky | Torn or dissolved off the top only |
This chart will answer 80% of "which stabilizer do I need" questions on its own.
Cut Away Stabilizer
Cut away is the workhorse stabilizer, and if you only keep one type stocked, this is probably it.
What it's for: Cut away stays in the project permanently, so it's the right call for anything that needs to hold its shape long-term: knit fabric, stretch clothing, bags, totes, hats, and any design with a high stitch count. Because it doesn't come out, it keeps supporting the stitches every time the item gets worn or washed.
When to reach for fusible specifically: anything prone to shifting in the hoop, like knit t-shirts, or fabric you're floating rather than hooping directly.
The tradeoff: cut away is bulkier and stiffer than tear away, so it's not the right choice for anything meant to stay soft and drapey, like a hand towel or a baby blanket edge.
Tear Away Stabilizer
Tear away is temporary and comes out cleanly once the stitching is done, which makes it the better pick anytime the back of the project needs to stay soft.
What it's for: stable, non-stretchy fabrics, quilting cotton, felt, and craft projects like keychains, mug rugs, and coasters.
A common mistake: using tear away alone on stretch fabric or clothing. It doesn't have the holding power cut away does, and it can tear right through under a dense satin stitch. If a design has heavy stitch coverage, you're better off doubling up two layers of medium weight rather than relying on one layer of heavyweight, since two thinner layers tend to support the fabric more evenly than one thick one.
For sticky back on clothing specifically: hoop a layer of cut away first, then the sticky back tear away on top, then the garment. Using sticky back tear away by itself against a knit fabric won't hold up.
Wash Away Stabilizer
Wash away (also called water soluble stabilizer) dissolves completely in water, which makes it the only option for certain projects.
What it's for: freestanding lace (FSL), appliqué on sheer fabric, and any design where you don't want any stabilizer visible or felt in the finished piece, like the back of a hand towel.
Two main forms:
Wash away mesh – lighter weight, dissolves easily, best for towels and lightly stitched designs
Heavy water soluble stabilizer (often called by product names like Solvy or Vilene in the community) – thick enough to fully support freestanding lace on its own, since FSL designs have no fabric at all holding them together until the stabilizer is gone
How to remove it: soak in warm water until it fully dissolves. A toothpick or cotton swab helps work it out of tight spaces in lace or cutwork designs.
Where it falls short: wash away doesn't offer much support during stitching compared to cut away or tear away, so it's not the right pick for dense designs on regular fabric. Save it for projects that specifically call for it.
Toppers
Toppers aren't a stand-alone stabilizer. They sit on top of the fabric, not underneath, and solve a completely different problem.
What it's for: raised or textured fabric like fleece, sherpa, terry cloth, and minky. Without a topper, the fibers of these fabrics poke up through the stitches and swallow the detail of the design.
Two types:
Wash away topper – dissolves in water after stitching
Heat away topper – removed with an iron or other heat source instead of water, useful when you don't want to introduce moisture to the project
Important: toppers still need a real stabilizer underneath (cut away or tear away, depending on the fabric). The topper alone won't hold the design.
How to Hoop Stabilizer Correctly
A lot of embroidery problems that look like stabilizer problems are actually hooping problems. A few things that make a real difference:
Cut your stabilizer larger than your hoop so there's overlap on all sides. If it's cut too small, it can pull loose mid-stitch.
Hoop the stabilizer itself, even if you're floating the fabric on top rather than hooping the fabric directly. An unsecured stabilizer will shift regardless of how well the fabric is placed.
Pull it taut. Any slack or wrinkles in the stabilizer will translate into puckering in the finished design.
If you're doubling layers for extra support, hoop both layers together rather than one at a time, so they stay aligned.
Quick Troubleshooting Reference
Problem | Likely Cause | Fix |
Puckering around the design | Stabilizer too light for the stitch count | Size up to a heavier weight or add a second layer |
Stabilizer tearing mid-stitch | Tear away used under a dense satin stitch | Switch to cut away, or double up tear away layers |
Fabric shifting in the hoop | Stabilizer not secured before hooping fabric | Hoop the stabilizer first, even when floating |
Fuzzy fibers poking through stitches | No topper used on raised fabric | Add a wash away or heat away topper |
Stabilizer visible on finished project | Wrong category for the project | Use wash away instead of tear away or cut away for sheer or see-through fabric |
Building a Basic Stabilizer Stash
You don't need every weight of every type to get started. A reasonable starter kit covers most projects:
From there, add heavier weights and fusible or sticky back versions as specific projects call for them. Buying reactively as you hit a project that needs something different is a lot more practical than stocking every option up front.
Frequently Asked Questions
Do I always need a stabilizer for machine embroidery? Yes. Even stable, structured fabric benefits from some support, and stretch or lightweight fabric needs it to avoid distortion.
 Pin It
Can I reuse stabilizer? Tear away and cut away scraps can sometimes be pieced together for small designs, but for anything with real stitch density, start with a fresh, properly sized piece.
What happens if I use the wrong stabilizer? Best case, you get some puckering or shifting. Worst case, the stabilizer tears mid-design or the fabric distorts enough that the project is unusable.
Is heavier stabilizer always better? No. Too heavy for the fabric can make it stiff or bulky, especially on garments. Match the weight to the stitch count and fabric, not just "more support is always better."
AI Sewing Coach
Create a free account to chat with our AI Sewing Coach — trained to help with sewing techniques, troubleshooting, projects, fabric questions, and more!
Comments
Comments are screened by an AI moderator for spam and inappropriate content.
Sign in to join the conversation.
Loading comments…