July 16, 2026 · Sewing Society · 4 min read · Sewing Tools & Reviews, Sewing Tips & Hacks, Sewing Room & Organization
Disclosure: As an Amazon Associate, we earn from qualifying purchases. Some links in this post may be affiliate links.
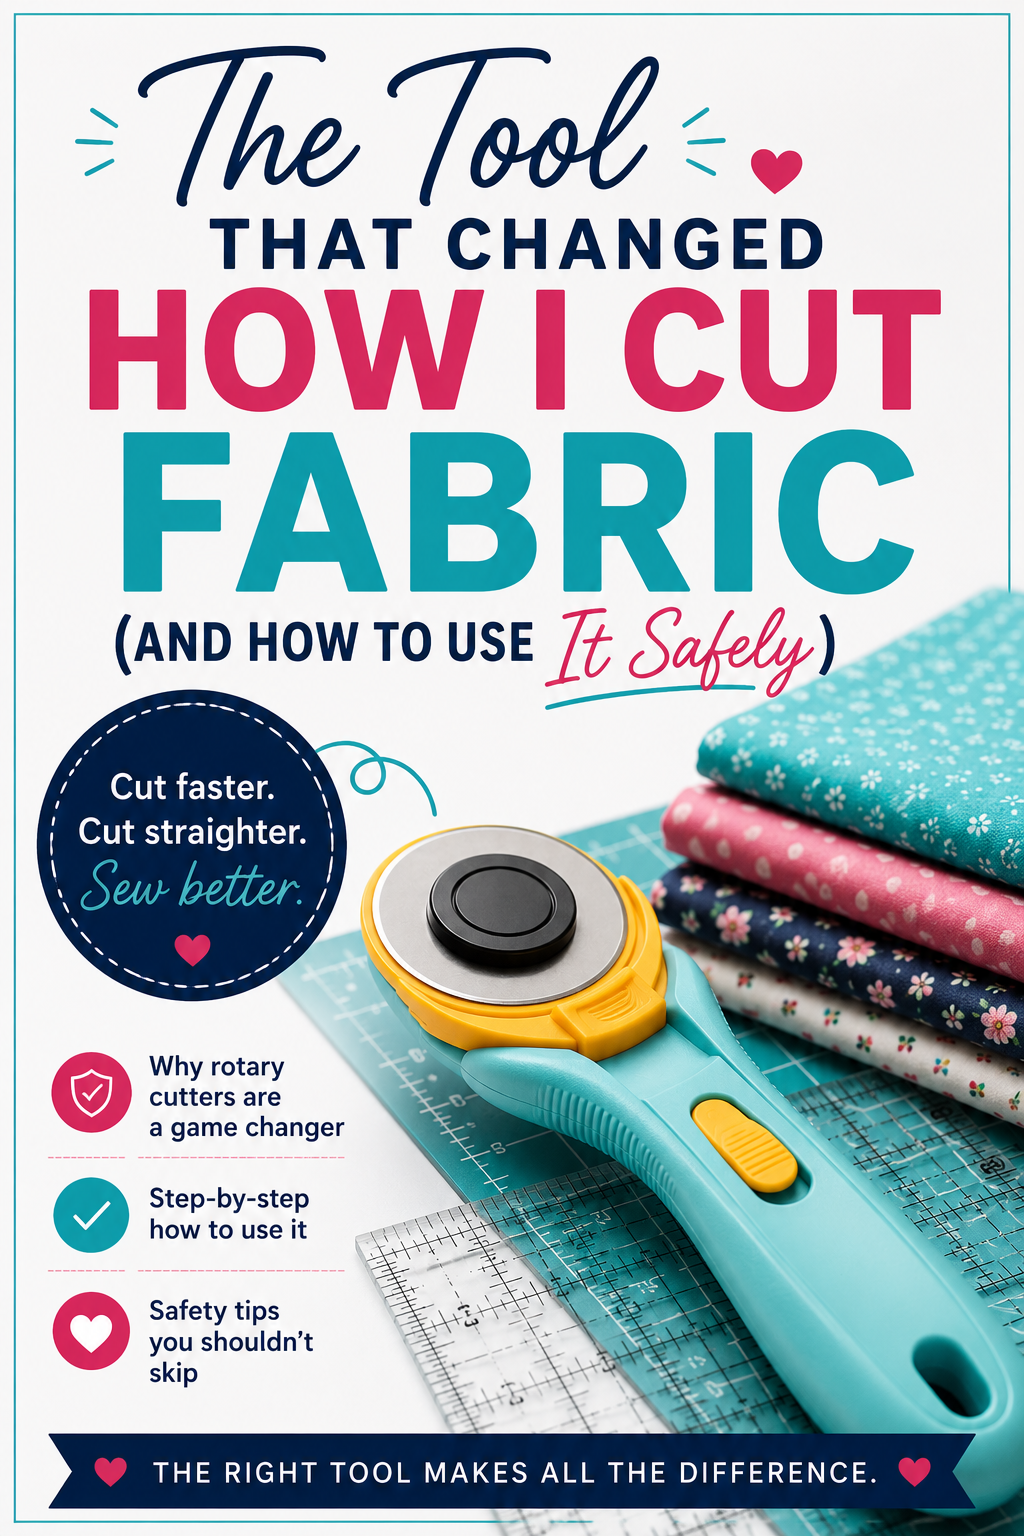
The Tool That Changed How I Cut Fabric (And How to Use It Safely)
A rotary cutter can save you serious time in the cutting phase of any sewing or quilting project, but only if you pick the right size, use it safely, and take care of your mat. Here's what you need to know before you buy.

A rotary cutter is one of the biggest time-savers you can add to your sewing room. It cuts pattern pieces in minutes without pinning fabric down first, and it lets quilters cut multiple layers at once instead of one at a time with scissors. But it's also sharp enough to cause a real injury if you're not paying attention, so it's worth knowing what size to buy and how to use one safely before you start.
What Size Rotary Cutter Should You Use?
Rotary cutters come in a few standard sizes, and each one has a job it's best at.
28mm (small) — Best for tight curves, appliques, and cutting dog ears off pieced blocks. The small blade maneuvers through detailed cuts that a bigger blade can't handle cleanly.
45mm (medium) — The everyday, all-purpose size. It cuts about four layers of quilting cotton at once and works well for most adult and children's garment patterns. If you only buy one rotary cutter, this is the one to get.
60mm (large) — Built for volume and long, straight cuts. It can handle up to six layers of quilting cotton in a single pass, and it's the better choice for thicker fabrics like fur trim, velvet, corduroy, or heavily quilted projects.
If budget only allows for one, go with the 45mm for versatility. You can add the smaller and larger sizes to your collection later as you find you need them.
Brand Recommendations
Two brands consistently perform well:
Olfa — Good replacement blade availability and pricing, and easy to find at most fabric stores.
Fiskars — Comfortable, ergonomic grip handles that make longer cutting sessions easier on your hand. These also tend to last a long time.
How to Use a Rotary Cutter
Using a rotary cutter is a lot like cutting a pizza: you glide the blade where you want it to go instead of chopping in sections.
Place your fabric on a cutting mat and use pattern weights to hold pieces in place. No pins needed, which is part of what makes rotary cutting faster.
Start the cut about an inch before the beginning of the pattern edge so you build a smooth motion into the cut. Apply steady, moderate pressure, and go slowly until you're confident with the tool.
Use a ruler for straight edges, and mark notches and darts with a fabric marking pen as you go.
Finish any small or tight areas your rotary cutter couldn't reach with sewing scissors.
A rotary cutter won't fully replace your scissors. You'll still need them for trimming threads, clipping corners, and reaching small areas the blade can't get into cleanly. But for cutting out full pattern pieces or multiple fabric layers, it's significantly faster and more accurate than scissors alone.
Rotary Cutter Safety Tips
Use a pencil eraser, not your finger, to hold down small pieces while cutting. It keeps your fingers away from the blade path.
Change your blade when it starts dragging. If you're pressing harder than usual, or a piece doesn't cut cleanly on the first pass, the blade is dull.
Dispose of old blades safely. Drop used blades into an old can before tossing them, so they don't cut anyone handling the trash later.
Always close the safety shield when the cutter isn't in your hand. This protects you, anyone else nearby, and the blade itself.
Use a self-healing mat. Cutting on the wrong surface dulls your blade faster and damages your table.
Choosing a Cutting Mat
You should never use a rotary cutter without a mat underneath. The blade is sharp enough to score your table or counter.
Self-healing mats are the more popular option. Small cuts in the surface close back up over time, so cutting marks don't build up as fast. They cost more and need to be stored flat, never rolled, or they'll warp permanently.
Hard-surface mats are more budget-friendly and easier to store since they don't warp. You can stand them up, hang them, or roll them. Their downside is that cutting marks accumulate over time, and eventually the surface needs to be replaced.
I use a Sullivans 59”x36” cutting mat on top of a Sew Ready Studio Designs table in my sewing room. It is the perfect set up.
Buy the largest mat you can afford. A mat that doesn't cover your full cutting area means constantly shifting fabric and repositioning as you go, which slows you down and defeats the point of switching to a rotary cutter in the first place.
How to Care for Your Cutting Mat
Only use tools made for the mat. Skip pins and scissors on the cutting surface.
Clean it with a mild detergent and a soft cloth. Strong detergents can strip the printed cutting lines.
Use a lint roller to lift fabric fuzz and dye transfer between uses.
Keep it away from direct sunlight and extreme cold. Both can warp or crack the surface over time.
 Pin It
For Cricut FabricGrip mats specifically, skip the scraper. It can strip the adhesive. Use tweezers for stuck fabric pieces, a lint roller for the rest, and a lightly damp rag only as a last resort. Avoid touching the sticky surface directly since oils from your hands reduce the tackiness.
With reasonable care, a good cutting mat can last a decade or more, and a rotary cutter is one of those tools that, once you get used to it, is hard to go back from.
Related reading: 3 Machines You Need in Your Sewing Room (Beyond a Basic Sewing Machine)
AI Sewing Coach
Create a free account to chat with our AI Sewing Coach — trained to help with sewing techniques, troubleshooting, projects, fabric questions, and more!
Comments
Comments are screened by an AI moderator for spam and inappropriate content.
Sign in to join the conversation.
Loading comments…