May 17, 2026 · Sewing Society · 3 min read · Sewing Machine Help & Troubleshooting
Disclosure: As an Amazon Associate, we earn from qualifying purchases. Some links in this post may be affiliate links.
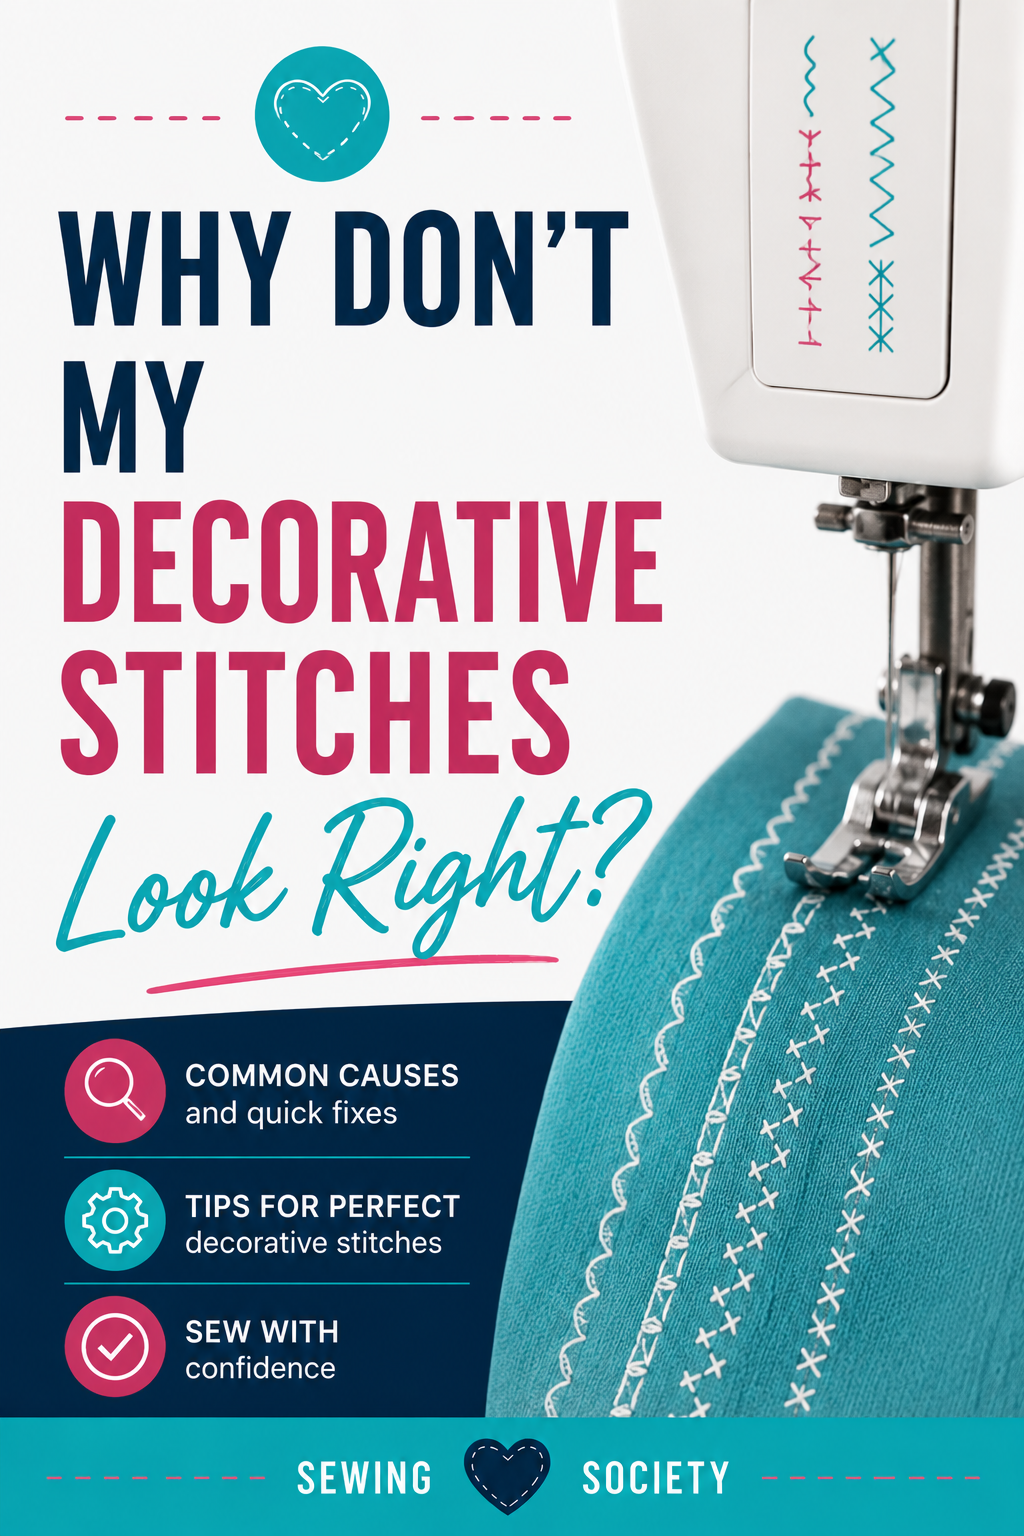
Why Don't My Decorative Stitches Look Right?
Decorative stitches that look uneven, loopy, or distorted are almost always caused by one of a few common issues: incorrect threading, tension that needs adjusting, wrong stitch settings, lint buildup, the wrong presser foot, or unsupported fabric. This guide walks through each cause and how to fix it.
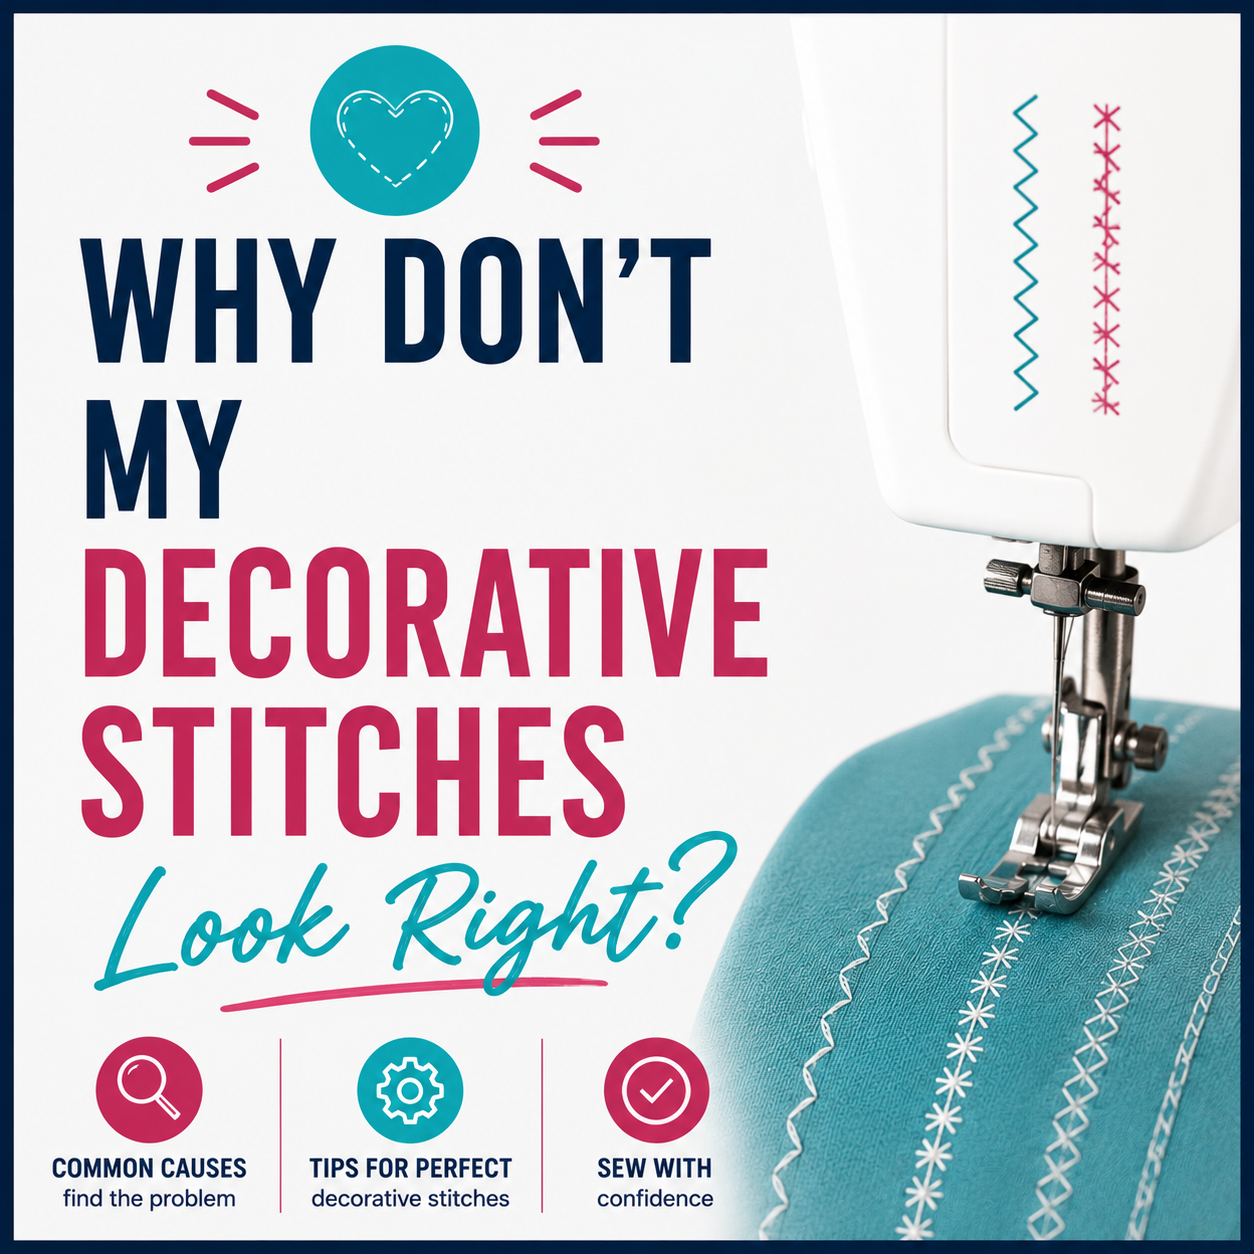
Decorative stitches add a professional, polished detail to hems, collars, and garment edges. When they look uneven, bunched, or just wrong, it is usually one of a handful of fixable problems. Here are the most common causes and what to do about each one.
1. The Machine Is Not Threaded Correctly
Incorrect threading is the first thing to check whenever any stitch looks off. Decorative stitches are more sensitive to threading errors than basic straight stitches because they involve more complex needle movements and tension requirements.
Unthread completely and start over. Make sure the take-up lever is at its highest position before you begin, then thread through every guide in the exact sequence shown in your user manual. Finish by threading the needle and leaving a four-inch tail of thread under the presser foot. Do not skip this step and simply replace the needle or adjust the tension first.
2. Thread Tension Is Off
Tension problems are the most common reason decorative stitches look uneven, loopy, or puckered. Many decorative stitches require slightly looser upper tension than you would use for a straight stitch, and using the same weight thread in both the upper spool and bobbin is important for balanced results.
Start by loosening the upper thread tension slightly by turning the dial counterclockwise. Make small adjustments and test on a scrap of the same fabric after each change. If loosening the upper tension does not help, the bobbin tension may be out of calibration. Bobbin tension should generally be left alone, but a sewing machine technician can reset it if needed.
Also consider your thread type. Embroidery thread or decorative thread behaves differently from all-purpose thread and may require tension adjustments specific to that thread weight.
3. The Stitch Length or Width Is Incorrect
Computerized machines typically set the stitch length and width automatically when you select a decorative stitch. On older mechanical machines, you need to set these manually, and getting them wrong will make the stitch unrecognizable.
Check your user manual for the recommended settings for the specific stitch you are trying to use. If the manual is not available, experiment on a scrap piece of fabric, adjusting the width and length incrementally until the stitch looks as expected. For some older machines, setting the stitch dial to "S" (stretch) can also help certain decorative stitch patterns form correctly.
4. The Bobbin Case Is Full of Lint
Lint buildup in the bobbin area is a frequently overlooked cause of stitch problems. When lint accumulates around the hook race, it interferes with the timing of the stitch formation. Decorative stitches are particularly affected because they rely on precise hook timing to create their pattern.
Remove the bobbin and clean out all lint from the bobbin case, hook race, and feed dog area with the brush that came with your machine. If you sew frequently or use high-linting fabrics, clean after every few projects rather than waiting for problems to appear.
5. You Are Using the Wrong Presser Foot
This is a cause the original post does not mention, but it is worth checking. Most decorative stitches require a specialty presser foot with a wider opening to accommodate the side-to-side needle movement. Attempting decorative stitches with a standard straight-stitch foot can cause the needle to strike the foot and produce misshapen or incomplete stitches.
Check your user manual to confirm which presser foot is recommended for the stitch you are using. A satin stitch foot, open-toe embroidery foot, or decorative stitch foot is commonly required.
6. The Fabric Is Not Stabilized
 Pin It
Decorative stitches involve dense stitching that can cause lightweight or stretchy fabrics to tunnel, pucker, or distort. Without stabilizer, the fabric cannot support the stitch density.
Use a tear-away or cut-away stabilizer under the fabric when sewing decorative stitches. For very dense stitching, a water-soluble stabilizer on top of the fabric prevents stitches from sinking into the surface. This is especially important on textured or pile fabrics.
Related reading: Why Does My Sewing Machine Keep Skipping Stitches?
AI Sewing Coach
Create a free account to chat with our AI Sewing Coach — trained to help with sewing techniques, troubleshooting, projects, fabric questions, and more!
Comments
Comments are screened by an AI moderator for spam and inappropriate content.
Sign in to join the conversation.
Loading comments…