February 16, 2026 · Sewing Society · 3 min read · Sewing Machine Help & Troubleshooting
Disclosure: As an Amazon Associate, we earn from qualifying purchases. Some links in this post may be affiliate links.
Why Is Thread Bunching on Top of My Fabric?
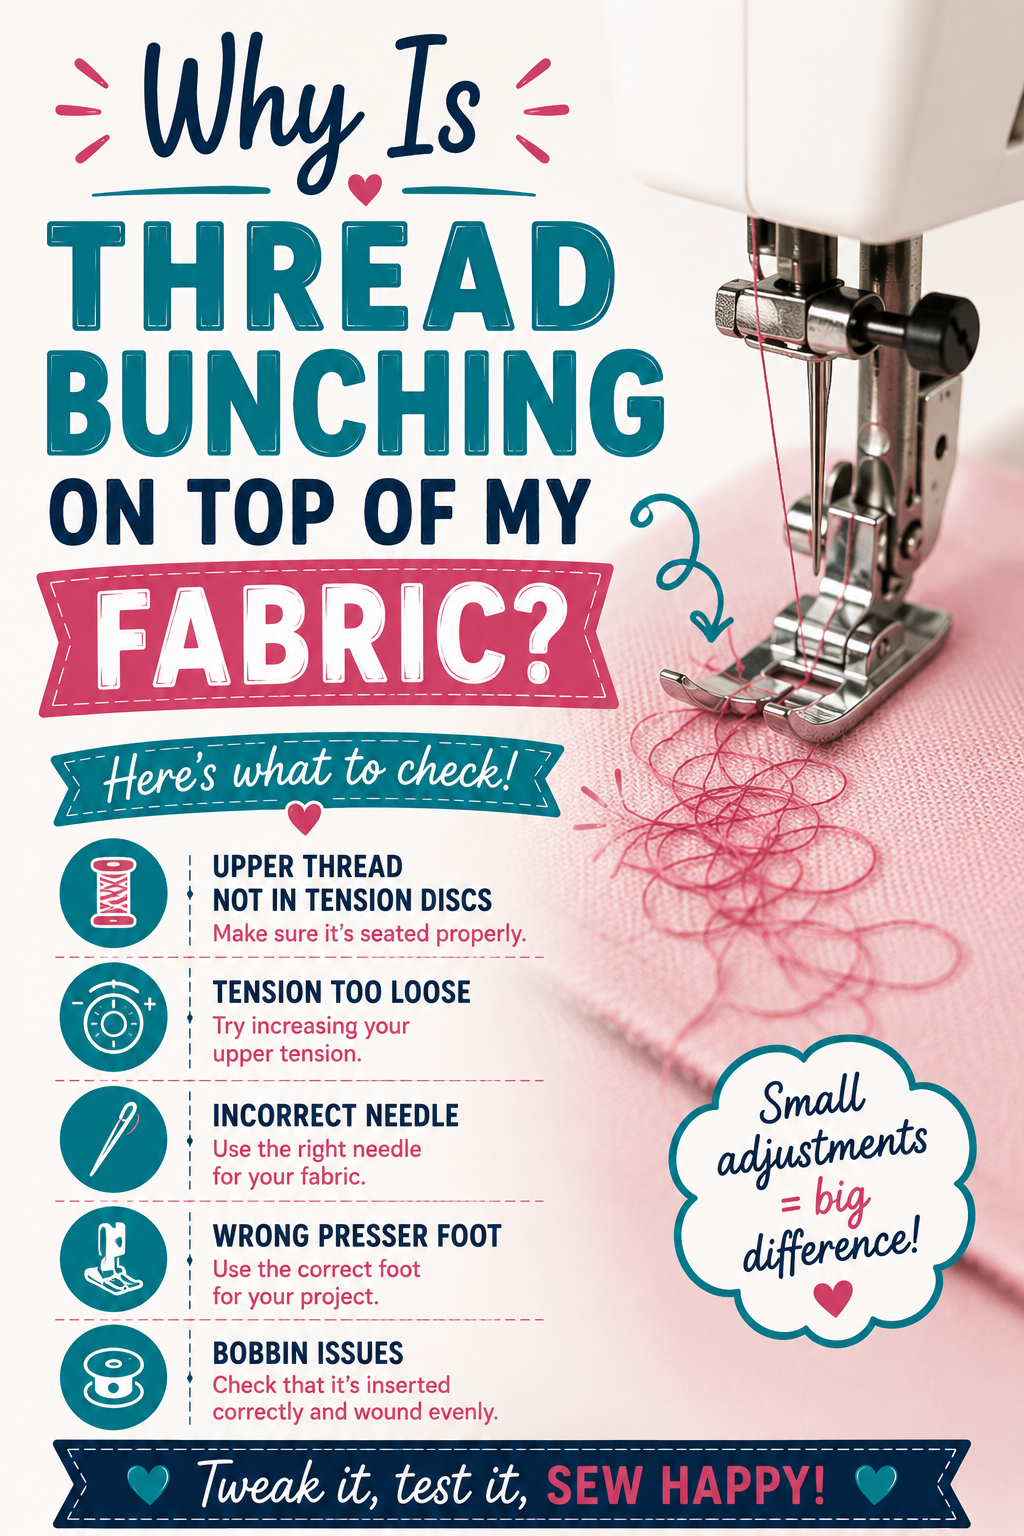
Thread bunching on the top of your fabric, also called bird nesting, almost always points to a bobbin or lower thread issue even though the mess appears on top. The most common causes are incorrect threading, a raised presser foot, mismatched thread weights, a backward bobbin, lint buildup, or upper tension that is too tight. This guide covers all six causes and how to fix each one.
Thread bunching on the top of your fabric, commonly called "bird nesting," is one of the most frustrating sewing machine problems. That tangled pile of looped threads under your seam can damage fabric and takes forever to unpick.
The good news: bird nesting on top of the fabric almost always points to a bobbin or lower thread problem, even though the mess shows up on top. Here is why it happens and how to fix it.
1. The Machine Is Not Threaded Correctly
Incorrect threading is the first thing to check. When the upper thread is not seated properly in the tension discs, it cannot create the correct amount of resistance, and the bobbin thread gets pulled up and loops on the surface.
Unthread completely and start over from scratch. Make sure the take-up lever is at its highest position before threading. Follow your user manual exactly, passing through every guide in order. Also rethread the bobbin and make sure the thread path through the bobbin case is correct for your machine.
2. The Presser Foot Is Not Lowered
This is one of the most common causes of bird nesting and one of the easiest to miss. When the presser foot is up, the tension discs are open and the upper thread passes through without any resistance. The result is a loose, looping mess on the underside of the fabric that appears as bunching on top.
Always lower the presser foot before you begin sewing. It sounds obvious, but it happens to experienced sewists regularly.
3. The Bobbin Thread Is a Different Weight Than the Upper Thread
Your stitch is formed by the upper thread and bobbin thread locking together at a precise balance point. If the two threads are different weights, that balance is off and the lighter thread gets pulled to the wrong side.
Use the same thread weight in both the upper spool and the bobbin for standard sewing. If you are using embroidery thread in the upper needle, make sure the bobbin thread matches the weight. Embroidery thread is lighter than all-purpose thread and commonly causes looping when paired with a regular-weight bobbin.
4. The Bobbin Is Not Inserted Correctly
A bobbin inserted in the wrong direction will still form stitches, but the thread tension will be off and bird nesting on top of the fabric is a common result. Some machines require the bobbin thread to unwind clockwise in the case, others counterclockwise.
Check your user manual for the correct bobbin orientation and the thread path through the tension slot in the bobbin case. Most machines have a diagram printed inside the bobbin compartment cover. Re-insert the bobbin and make sure the thread clicks into the tension slot as you close the case.
5. The Bobbin Case Is Full of Lint
Heavy lint buildup around the hook race interferes with hook timing. When the hook cannot move freely, it misses the upper thread loop and the bobbin thread gets pulled up to the surface and tangles.
Remove the bobbin and clean the bobbin case, hook race, and feed dog area thoroughly. Do this after every few projects. High-linting fabrics like fleece and flannel require more frequent cleaning.
6. The Upper Thread Tension Is Too Tight or Unbalanced
 Pin It
If the upper thread tension is too tight, it pulls the bobbin thread up through the fabric and creates loops on the surface. This is different from a threading problem — the tension setting itself is the issue.
Try loosening the upper tension by turning the dial counterclockwise one step at a time, testing on a scrap after each adjustment. The goal is a seam where neither thread is visible on the opposite side of the fabric. Avoid adjusting the bobbin tension unless you are experienced with it or have been directed to by a technician. If balanced tension is difficult to achieve across all fabrics, a technician can recalibrate the bobbin tension.
Related reading: How to Adjust the Tension on Your Sewing Machine
AI Sewing Coach
Create a free account to chat with our AI Sewing Coach — trained to help with sewing techniques, troubleshooting, projects, fabric questions, and more!
Comments
Comments are screened by an AI moderator for spam and inappropriate content.
Sign in to join the conversation.
Loading comments…