June 24, 2026 · Sewing Society · 2 min read · Quilting
Disclosure: As an Amazon Associate, we earn from qualifying purchases. Some links in this post may be affiliate links.
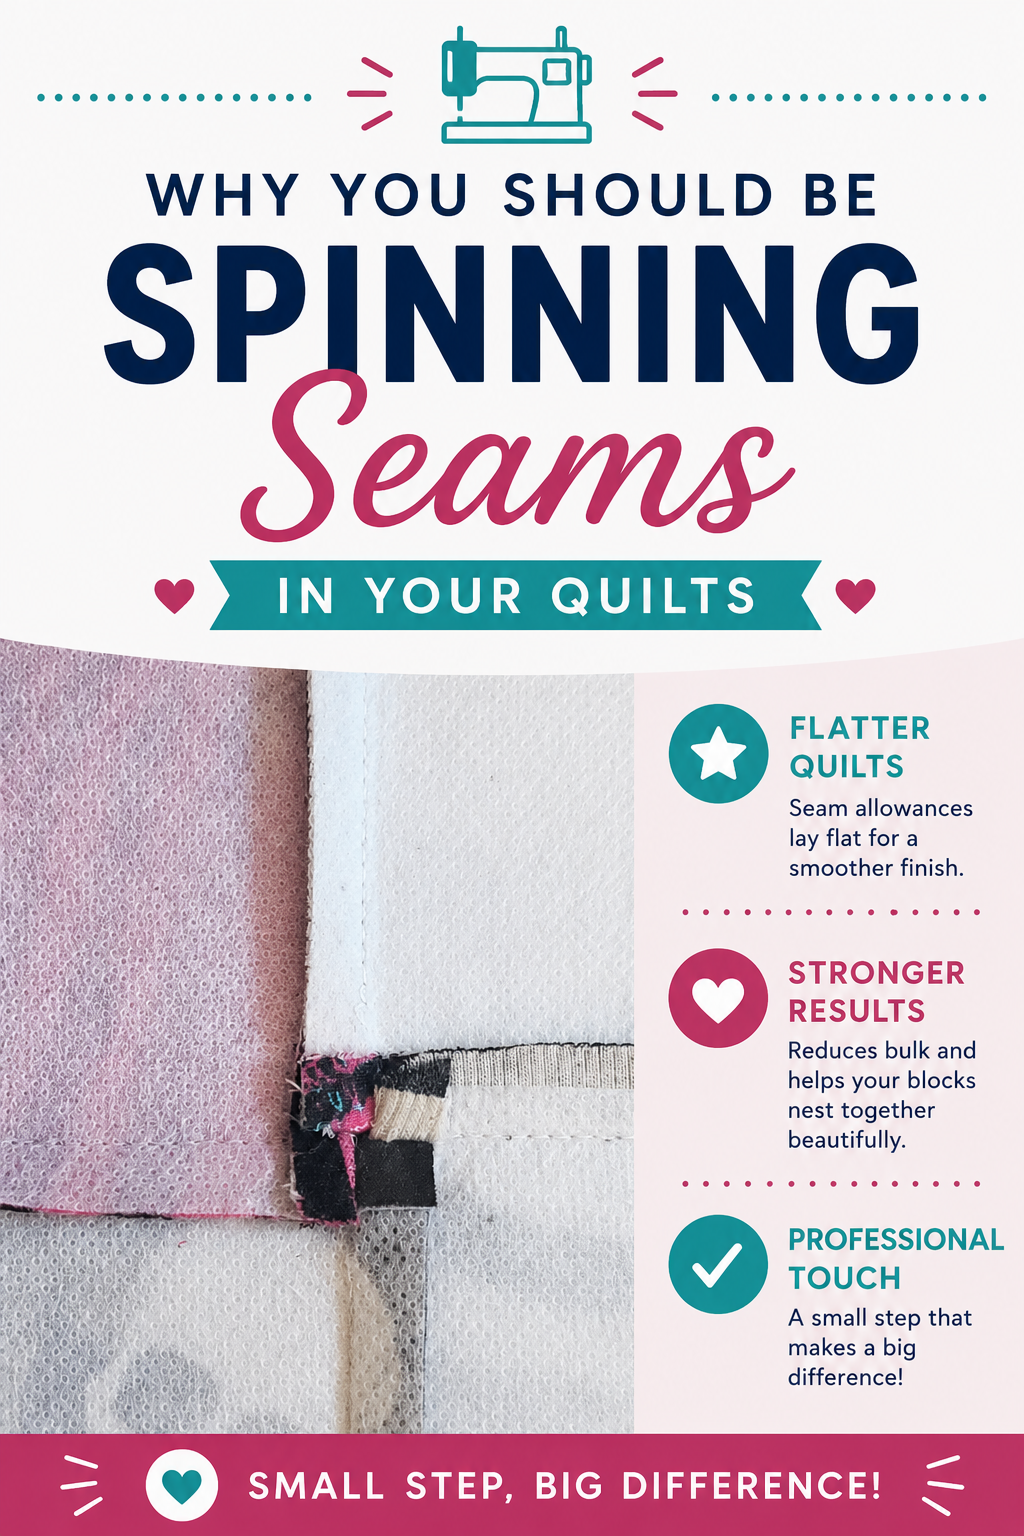
Why You Should Be Spinning Seams in Your Quilts
If your quilt blocks won't lie flat, spinning seams is the technique worth learning. It takes a little more time than traditional pressing, but the result is noticeably flatter blocks and smoother intersections. Here's exactly how to do it.

If your quilt blocks won't lie flat no matter what you do, spinning seams might be the fix you've been looking for.
Spinning seams is a technique used to reduce bulk at the intersections where four corners meet. Instead of sewing rows of blocks together and pressing seams to one side, you work in four-patch units and spin the seam allowances at each intersection before moving on. It takes a little more time than traditional chain piecing, but the result is noticeably flatter blocks and a smoother quilt top.
I think it's worth the extra effort for a few reasons. You get flatter blocks, yes, but you also reduce the tugging and stretching that can happen when you're working with longer rows. And there's a bonus: sewing in four-patch units lets you see your quilt coming together more clearly as you go, which makes it easier to catch mistakes before they become a problem.
Here's how to do it.
How to Spin Seam Allowances
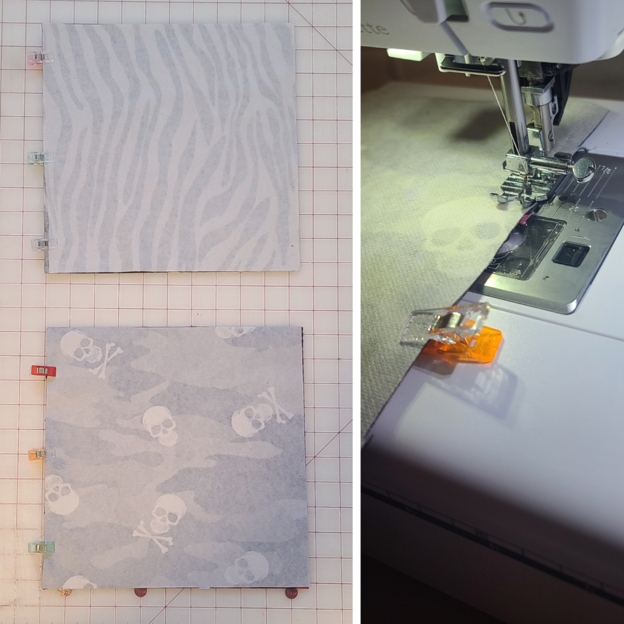
Step 1: Lay Out Your Four-Patch Squares
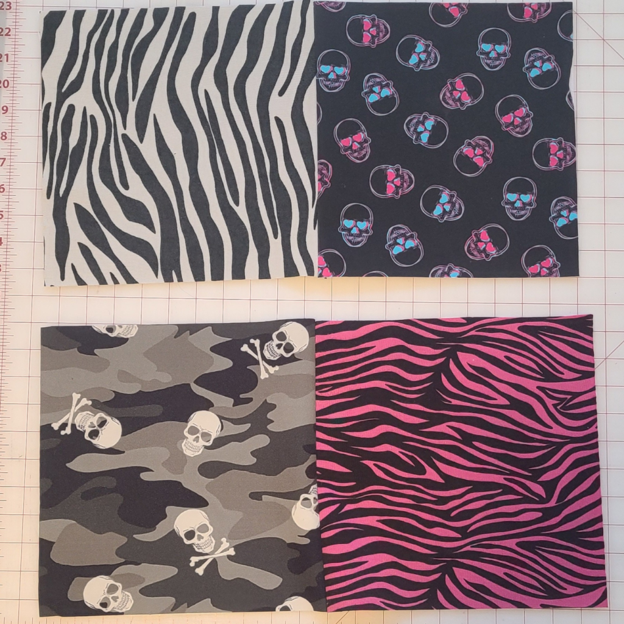
Spinning seams works best when attaching four squares together. Lay them out on a flat surface in the arrangement you want to sew them.

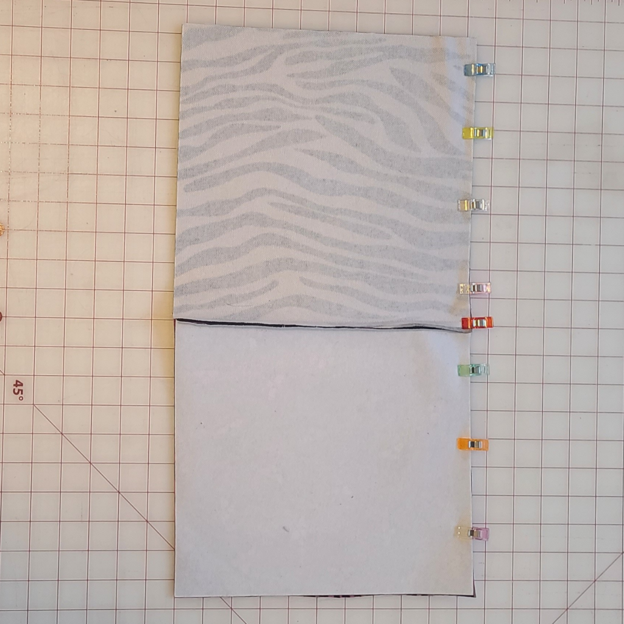
Step 2: Sew the Blocks into Two Units
Attach a ¼" presser foot to your sewing machine, or use a magnetic seam guide to keep your seam allowances consistent. Sew the top two squares together right sides facing, then do the same for the bottom two squares.
Step 3: Press the Seams in Opposite Directions
Before joining the two units, press the seam on the top unit to the left and the seam on the bottom unit to the right. This lets the seams nest together at the intersection when you sew them, making it much easier to get a clean match.
Step 4: Sew the Units into a Four-Patch
Place the two units right sides together, nesting the seams so the intersection lines up. Pin to prevent shifting, then sew along the edge.
Step 5: Unpick the Stitches in the Seam Allowance
This is the step that makes spinning possible, and yes, it's why this method takes a little longer. On both sides of the unit, carefully unpick the small section of stitches in the seam allowance that sits right next to the seam you just sewed. This frees up the seam allowance so it can be spun. Just remove what you need and no more.

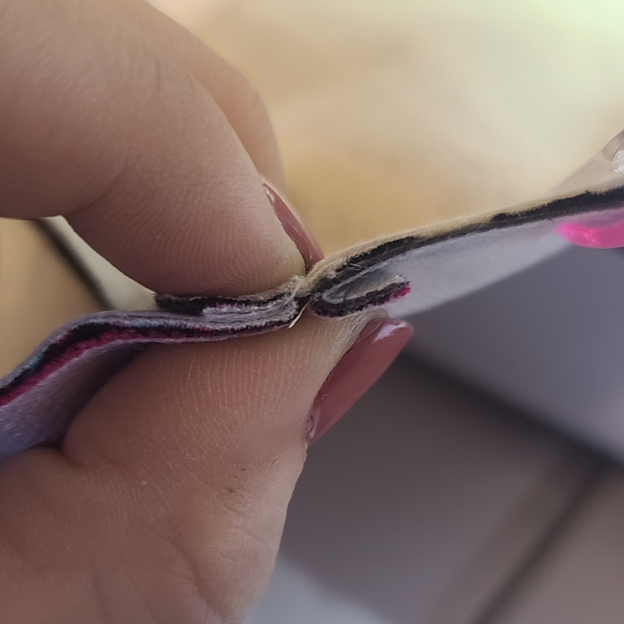
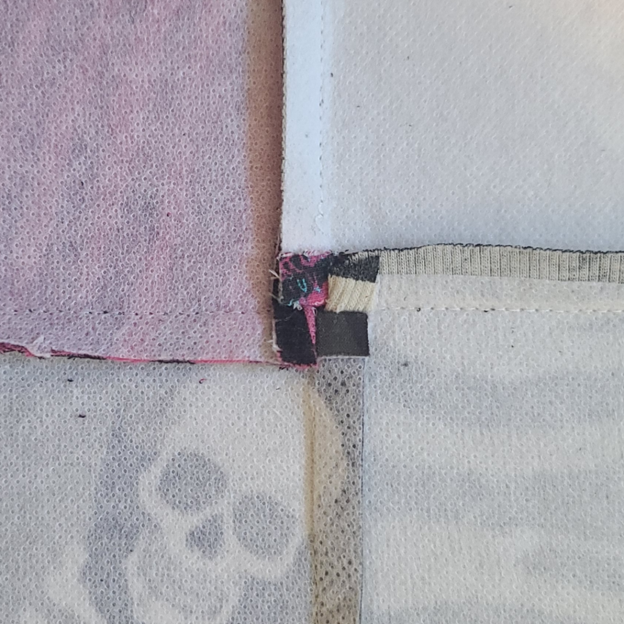
Step 6: Spin Your Seam Allowances
Place the four-patch block face down on a pressing mat. Press all four seam allowances in a clockwise direction at the center intersection. They should fall that way naturally. Use a clapper to set the seams nice and flat.
 Pin It
That's it!

Repeat this process for each four-patch unit as you piece your quilt. It adds a step, but the payoff is a flatter quilt top that's easier to quilt and looks more polished overall. I'm currently using this method on a t-shirt quilt, and the difference is noticeable. Have you tried spinning seams before?
Related reading: The Secret to Super-Flat Quilt Blocks (It's Not Starch)
AI Sewing Coach
Create a free account to chat with our AI Sewing Coach — trained to help with sewing techniques, troubleshooting, projects, fabric questions, and more!
Comments
Comments are screened by an AI moderator for spam and inappropriate content.
Sign in to join the conversation.
Loading comments…