September 19, 2025 · Sewing Society · 5 min read · Learn to Sew
Disclosure: As an Amazon Associate, we earn from qualifying purchases. Some links in this post may be affiliate links.
A Beginner's Guide to Laying Out Sewing Pattern Pieces
Laying out pattern pieces correctly is one of the most important steps in garment sewing. From pressing your pattern pieces flat to aligning grainlines and cutting on the fold, this beginner-friendly guide walks you through every step so you can cut accurately and sew with confidence.
When you're eager to start a new sewing project, it's tempting to skip ahead and just start cutting. Don't do it!
Laying out pattern pieces haphazardly, without checking the grain or following a layout guide, is one of the most common beginner mistakes, and it can result in a finished garment that twists, pulls, or just doesn't hang right on your body. The good news? Taking a little extra time at the cutting stage makes a huge difference in your final results.
Here's everything you need to know to lay out your pattern pieces correctly and cut with confidence.
Step 1: Cut and Press Your Pattern Pieces
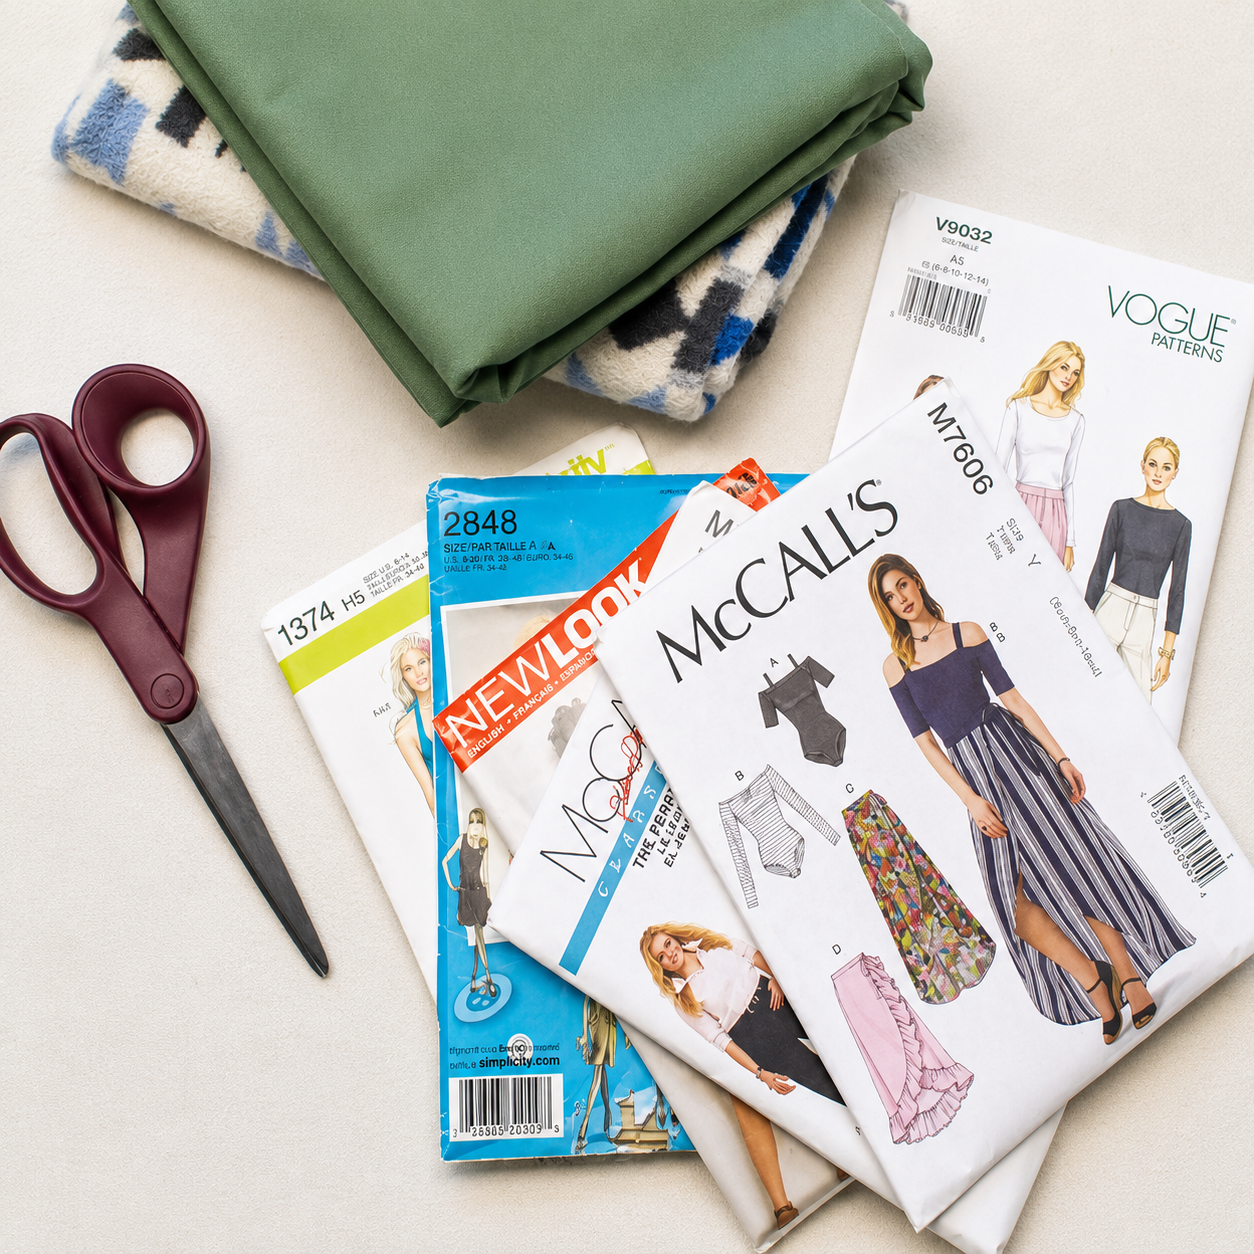
When you pull a pattern out of its envelope (or finish taping together a printed PDF), the first step is cutting out your pattern pieces. Check your instructions to make sure you're cutting everything you need, and use paper scissors, not your fabric scissors, for this step. You should cut just outside the line of the size you want.
Quick Tip: If you want to save the pattern and reuse it in different sizes, cut out the largest size and fold the edges to the size you want for cutting.
Once cut, your pattern pieces will likely have wrinkles from being folded or printed. This matters more than it sounds. Wrinkled pattern pieces lead to inaccurate cuts, so it's worth taking a moment to press them flat.
Set your iron to a low heat setting with no steam, and gently press each piece to smooth out the wrinkles. Be careful not to hold the iron in one spot for too long, especially on delicate tissue paper patterns. A quick, light pass is all you need.
Step 2: Check the Pattern Layout Guide
Before placing a single pattern piece on your fabric, find the cutting layout section in your pattern instructions. This diagram shows recommended arrangements for your pattern pieces based on the garment view you're making and the width of your fabric.
Think of it as a road map. Following it ensures your pieces fit on the fabric and are oriented correctly. That said, once you understand the principles behind a good layout — especially grainlines — you're free to adjust the arrangement to suit your needs.
New to reading patterns altogether? Check out the post on How to Read a Sewing Pattern before continuing.
Step 3: Prepare Your Fabric
Lay your fabric out on a table, the floor, or a cutting mat. For most fabrics, you'll be cutting through two layers at once. To do this, fold your fabric in half lengthwise so the selvage edges — the finished edges that run along the sides of the yardage — are aligned.
Traditionally, fabric is folded with right sides together for cutting. Practically speaking, it doesn't make a difference for fit or accuracy, and if you're working with a printed fabric, folding it right side out can actually make it easier to position your pieces exactly where you want them.
Once folded, make sure the fabric is lying completely flat and that the fold at the bottom is straight. If your fabric has wrinkles, press it before laying it out. Even minor puckers can throw off your cuts.
Step 4: Lay Out Your Pattern Pieces
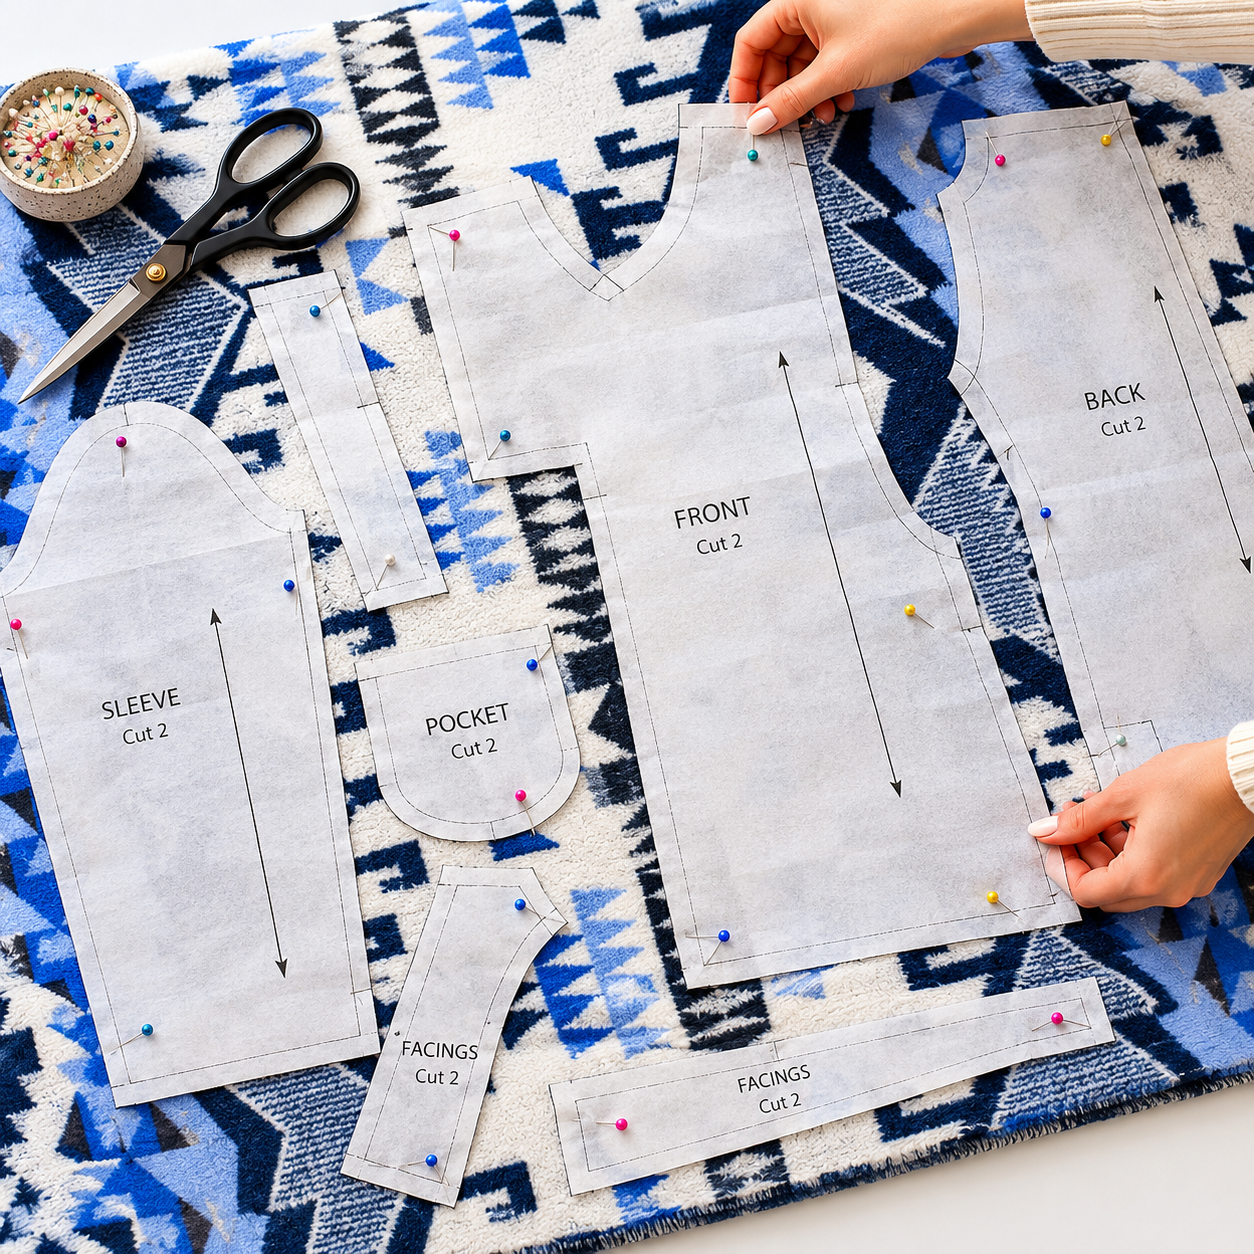
With your fabric ready, start arranging your pattern pieces using your layout guide as a reference. As long as you respect the grainlines (more on that in the next step), you have flexibility in how you arrange things.
A few general tips:
Place larger pieces first, then fit the smaller ones around them
Leave enough room between pieces to cut cleanly without overlapping
Don't hang any pieces off the edge of your fabric
Step 5: Check the Grainlines
Checking the grainline is a critical step in the layout process.
Every pattern piece has a grainline arrow printed on it — a straight, double-sided arrow that needs to be aligned with the straight grain of your fabric. The straight grain runs parallel to the selvage edge, and if you look closely at your fabric, you can usually see the threads running in that direction.
To align your grainline arrow accurately, measure the distance from the selvage to one end of the arrow, then measure to the other end. Both measurements should be identical. Adjust the piece until they match, then pin it or place a pattern weight on top.
Cutting pieces off grain, even slightly, can cause a finished garment to twist, pull, or hang unevenly. It's the kind of mistake that's invisible at the cutting stage but painfully obvious once the garment is sewn. Taking an extra minute here is always worth it.
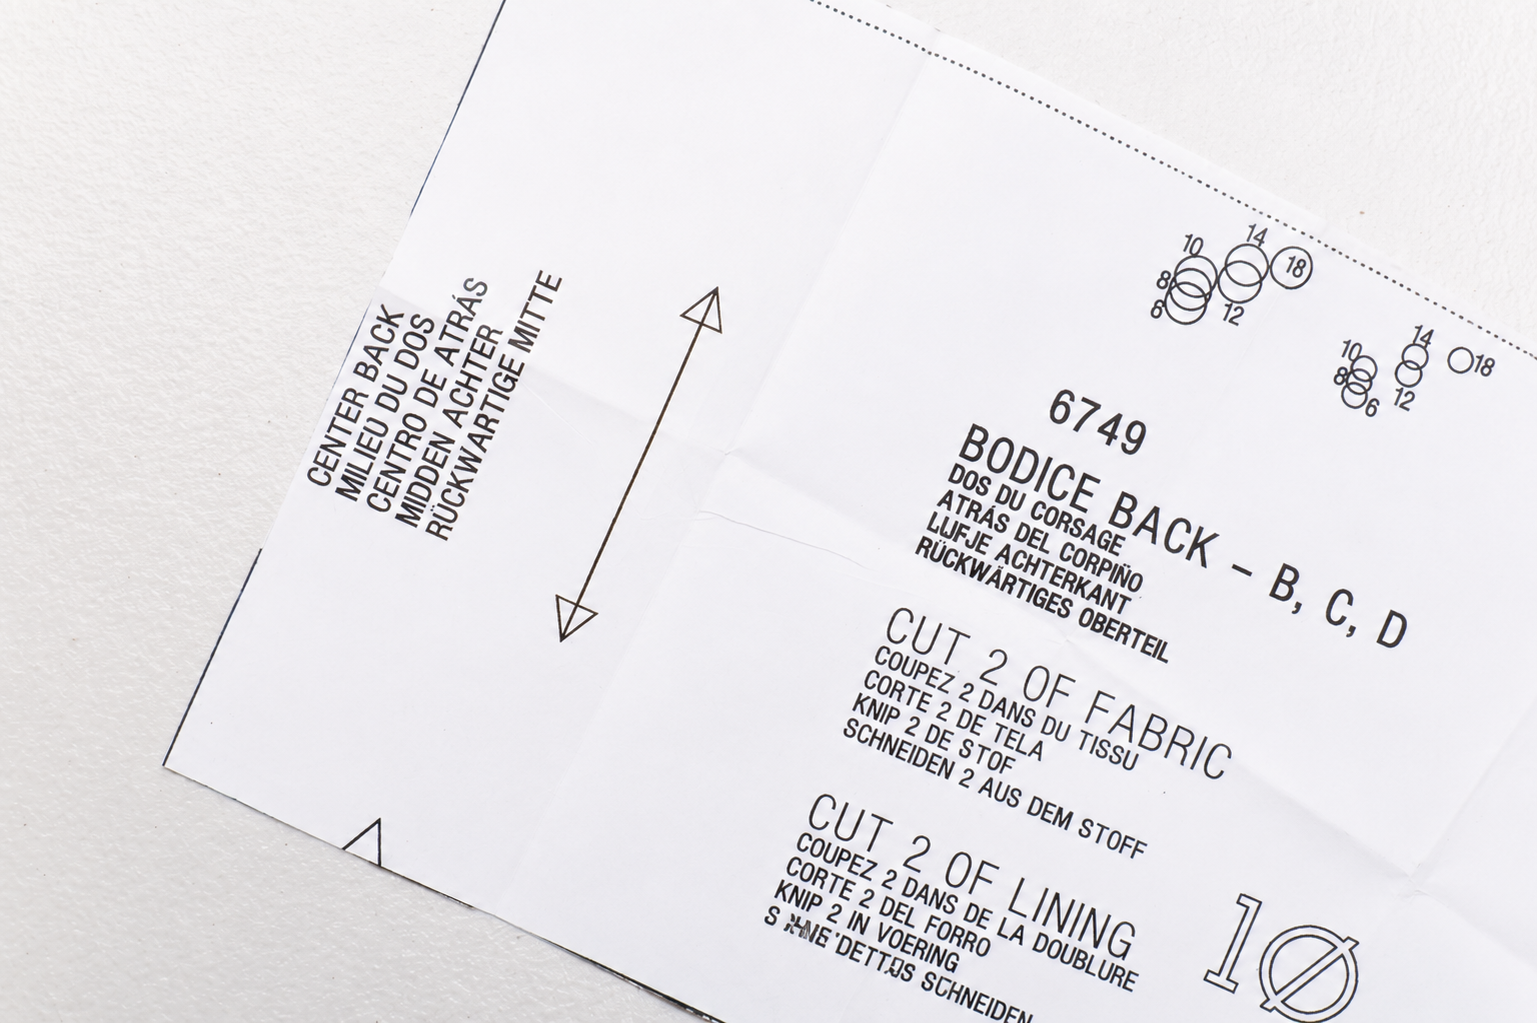
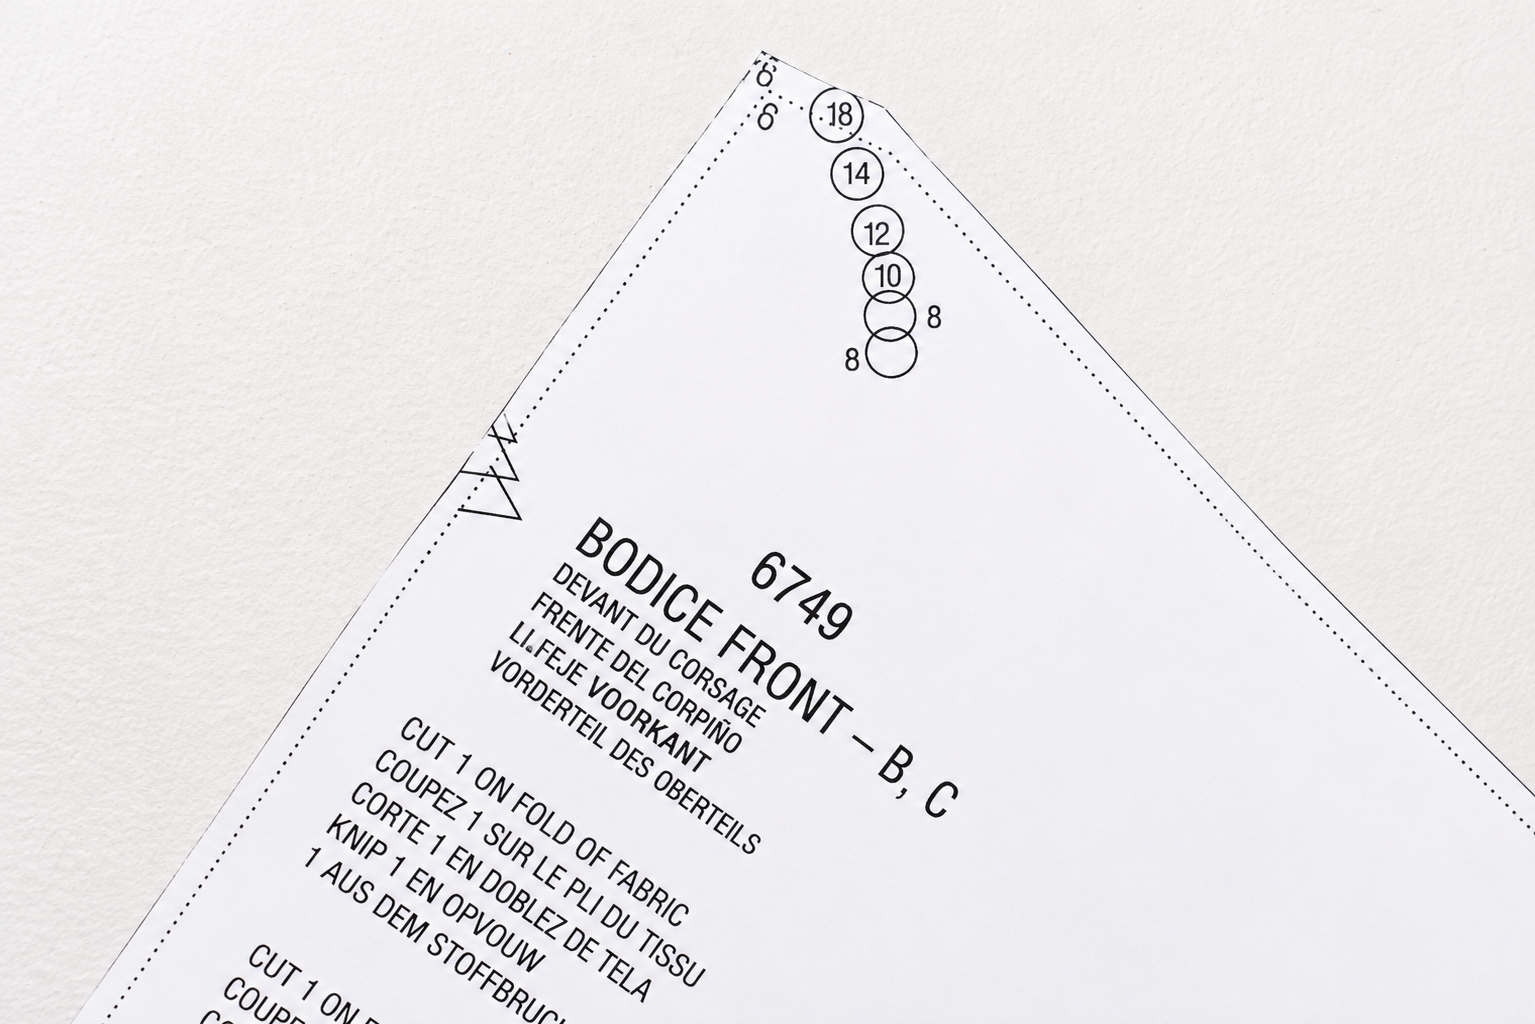
Step 6: Check for Pieces Cut on the Fold
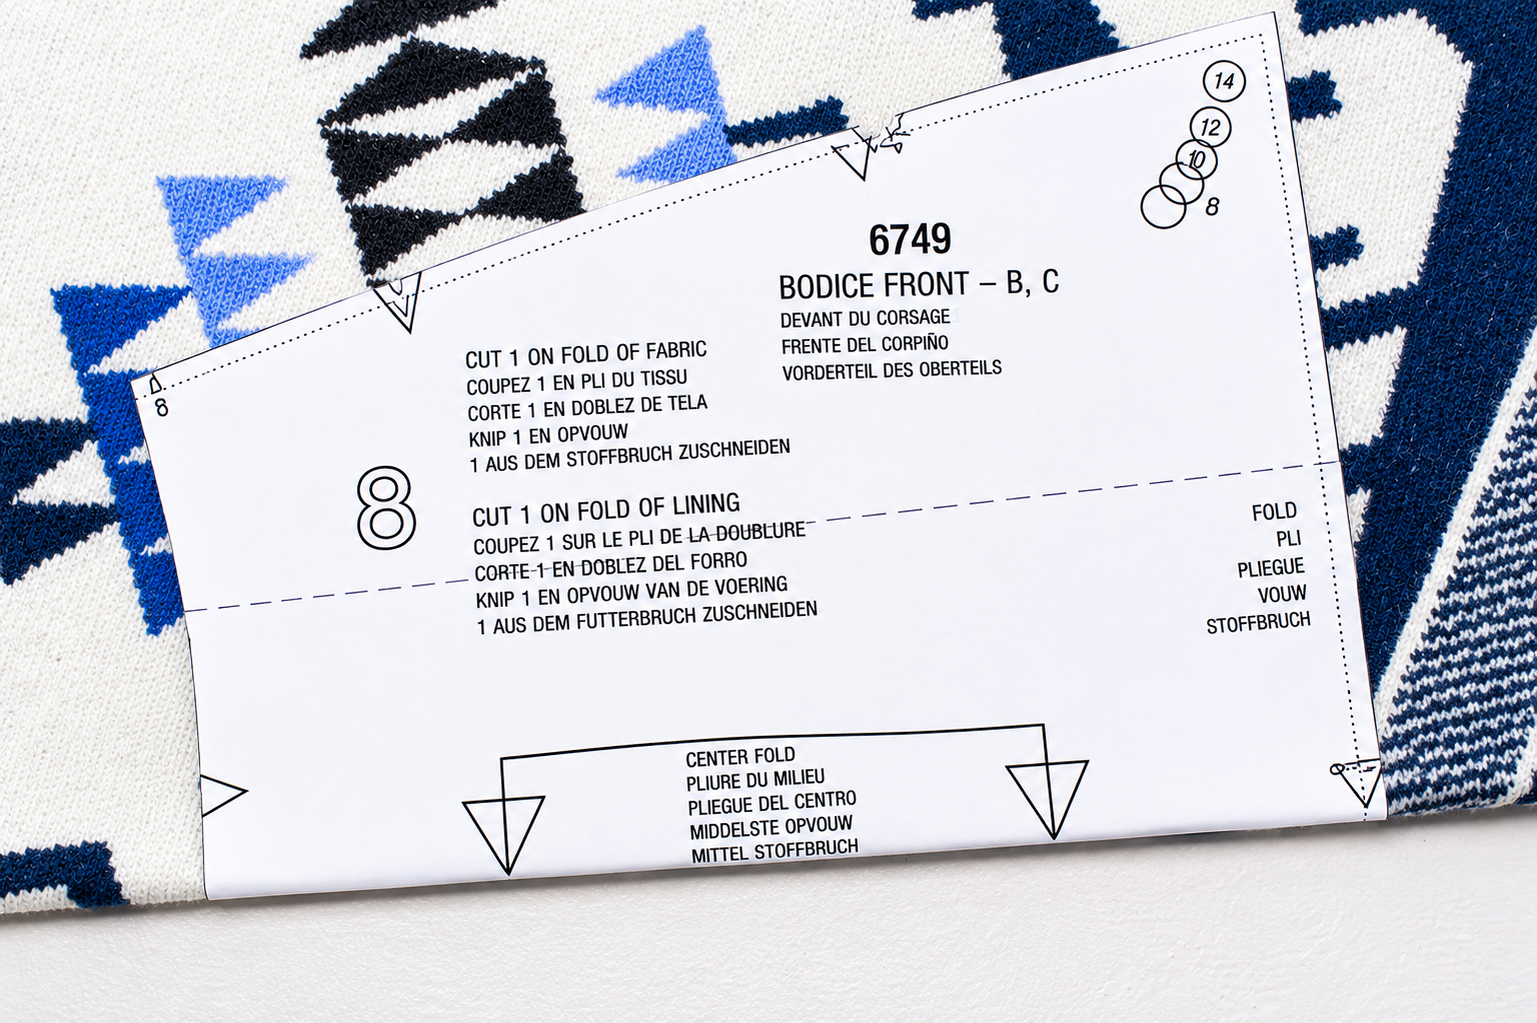
Some pattern pieces are designed to be cut on the fold rather than cut as two separate pieces. This is how you end up with perfectly symmetrical pieces — once cut and unfolded, the piece opens into one large, even shape. Bodice fronts and backs, skirt panels, sleeves, and waistbands are often cut this way.
You'll know a piece needs to be cut on the fold when you see a double-sided arrow with angled ends along one edge, usually labeled "place on fold" or "center fold." That edge must be aligned exactly with the fold in your fabric before you cut.
Step 7: Secure and Cut
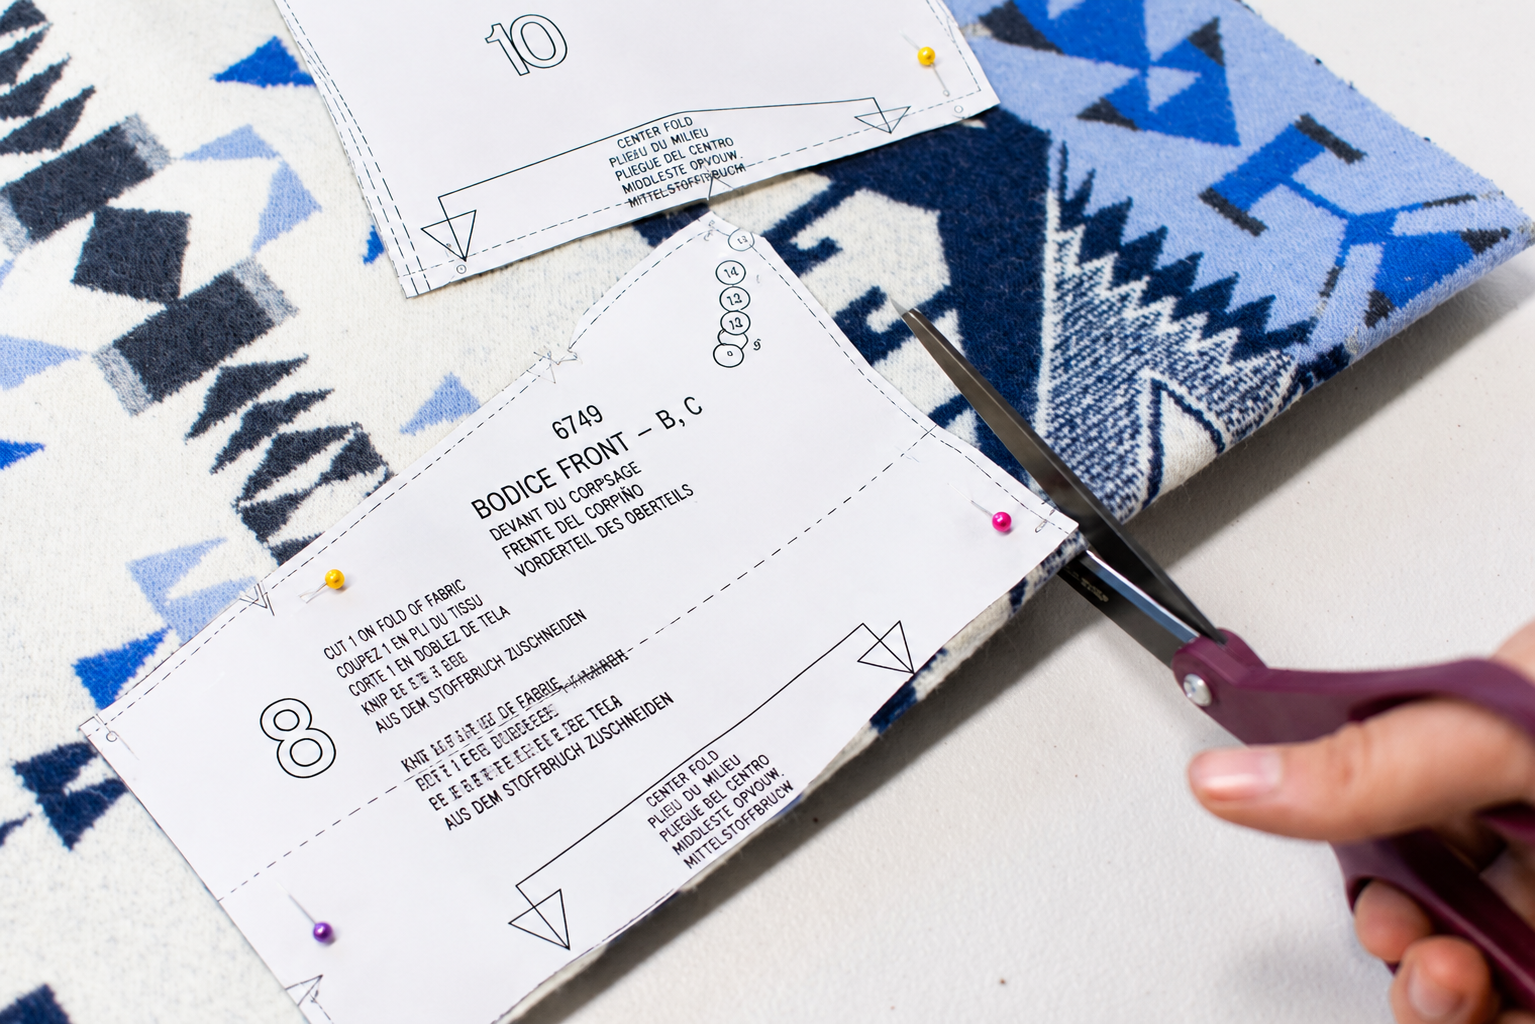
Once all your pattern pieces are arranged and grainlines are checked, secure them in place with sewing pins or pattern weights before cutting.
Cut carefully along the edges of each pattern piece, staying as close to the cutting line as possible. Accuracy here directly affects how well your seams match up later and how your finished project will look.
Also read: 4 Mistakes to Avoid When Cutting Out Pattern Pieces
Step 8: Transfer Pattern Markings
After all your pieces are cut, transfer any markings from the pattern onto your fabric before you move anything. It's easy to forget which piece is which once they're separated from the pattern piece.
Here's a simple system that works well:
Notches: Notch out triangles or clip about ¼ inch into each marked notch along the edges of your pieces
Circles and dots: Use a fabric marker to dot directly below each marked circle, making sure to mark through both layers of fabric
Stitching lines: Transfer any marked stitching lines with a fabric marker or heat-erasable pen
Fold lines: Transfer any marked fold lines with a fabric marker or heat-erasable pen.
Heat-erasable markers are great for this. The marks disappear with a quick press of the iron, so there's no need to worry about them showing up on your finished garment!
With your pieces cut and marked, you're ready to sew. If you have a lot of pieces, I suggest numbering them to stay organized. Take your time with this stage and the rest of the project will go so much more smoothly.
Looking for a pattern to try? Browse this massive list of indie pattern companies for some great options.
Have questions about laying out pattern pieces? Drop them in the comments or ask our AI Sewing Coach!
AI Sewing Coach
Create a free account to chat with our AI Sewing Coach — trained to help with sewing techniques, troubleshooting, projects, fabric questions, and more!
Comments
Comments are screened by an AI moderator for spam and inappropriate content.
Sign in to join the conversation.
Loading comments…