Are you intimidated by sewing patterns?
We’ve all been there — you enthusiastically open a new pattern and find directions with foreign words and confusing lines and symbols.
That’s normal… You have to start somewhere.
We want to help you approach sewing patterns with confidence. That’s why we created this beginner’s guide. Learning how to read a sewing pattern will help you create so many amazing things!
Step 1: Find Your Size
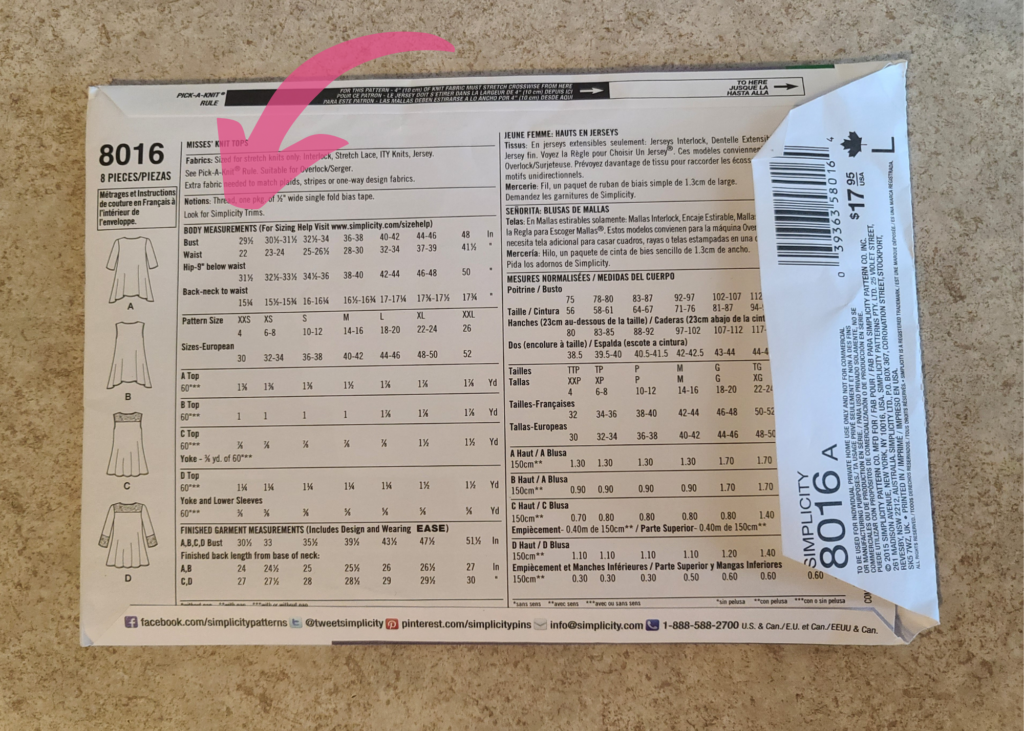
When you get a sewing pattern, the first thing you’ll want to do is determine the size you want to sew and what view to make. Most sewing patterns have a size chart on the back of the envelope. If you’re using a PDF sewing pattern, the size chart will be on one of the first few pages. It will be labeled something like, “Body Measurements.”
Some pattern companies will put the body measurements chart on the envelope tab. Watch out for this with Butterick sewing patterns.
If you’re sewing something for a small child, choosing the size is usually easy because the patterns go by height and weight. If you’re sewing something for bigger kids or adults, you’ll need to take body measurements to determine the right size.
Tip: Take the time to measure accurately with a tailor’s tape. Depending on what you’re making, you may need a bust, waist, hips, and possibly height measurements.
You may notice that your measurements line up with a few different sizes. For example, your bust may be a medium, your waist a large, and your hips a medium. If this is the case, you have a couple of options:
- Modify the Patten to Fit: This an advanced sewing skill that you typically learn with time, but the basic premise is that you draw a line on your pattern from one size mark to the next so that your measurements all fit. You’ll feel more comfortable adjusting patterns as you sew more and more projects…
- Choose the Size that Fits Your Largest Measurement: Your garment will not fit if you don’t accommodate your largest measurement. It’s much easier to take in a seam later than it is to make a garment larger.
If your measurements are significantly different than the sizes listed on your pattern, consider choosing a different pattern. It’s likely that your pattern will not look good on your body type.
Tip: Never assume that you will wear the same size on a pattern as you wear in store-bought clothes. There are no standardized sizes/measurements. Every pattern company is different. Always measure!
Step 2: Buy Your Fabric and Notions
Once you know what size you need to sew, look at the measurement chart and write down the amount of fabric you need for the size and view you are making. Most patterns list different yardage requirements for 45” and 60” fabric.
If you choose fabric with a directional pattern or nap, buy extra fabric so you can match stripes and patterns. I typically always buy ¼ to ½ yards more fabric than I need for my sewing projects just in case I make a mistake. Having extra fabric also makes laying out your pattern pieces less stressful.
Read the back of your pattern carefully because you may need lining fabric and/or interfacing, too. Your pattern will also suggest what type of fabric to buy. It’s important to pay attention to this information so that your project turns out well.
Tip: If your pattern suggests using knits, do not use wovens. It will not work!
There is also a section on the back of your pattern that lists the notions you’ll need, such as buttons, zippers, thread and elastic. Write all these items down before you start to shop.
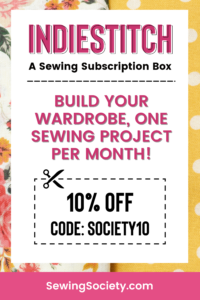
If you have a really hard time choosing fabric for your sewing projects, I am a major fan of sewing subscription boxes. They send you a pattern, fabric, and all the notions you need to sew something each month. That eliminates all the guesswork!.
My personal favorite subscription box is IndieStitch. If you want to give it a try, you can get 10% off at checkout with the code: Society10.
ThreadCrate is great because there is a Facebook community you can join to ask questions about the pattern and see what everyone is making.
Sewing subscription boxes make sewing so much more fun!
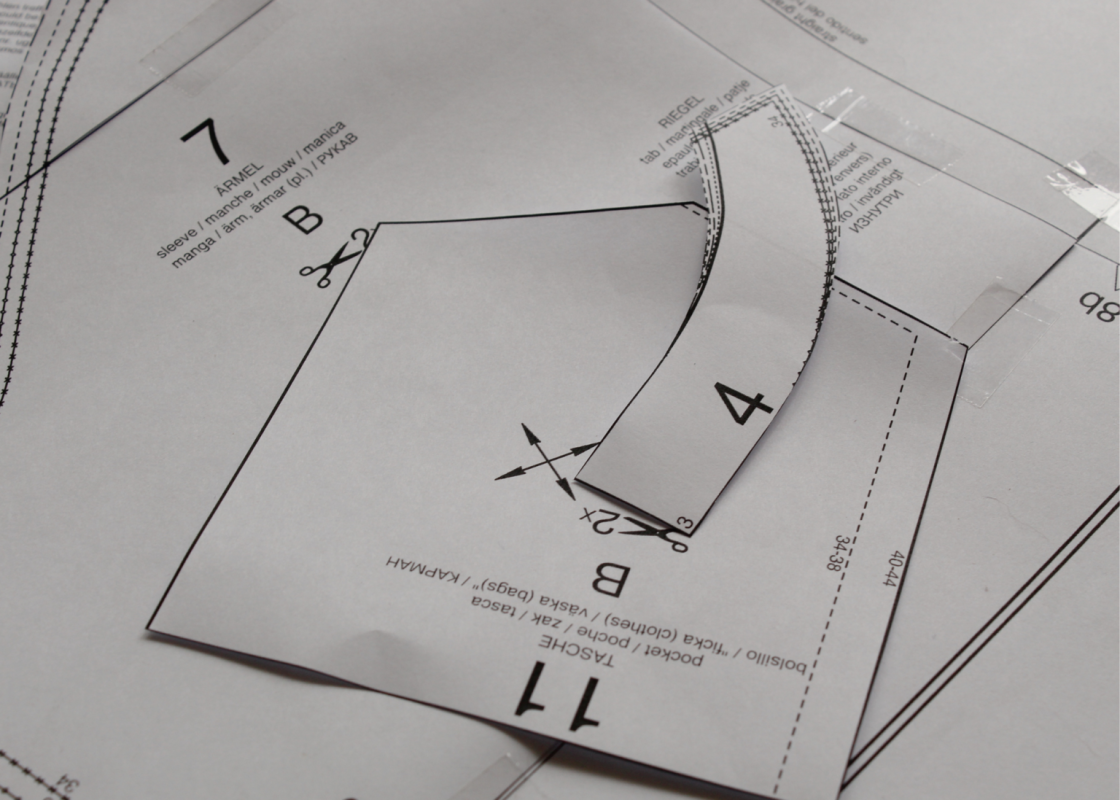
Step 3: Read Your Pattern and Cut Out the Pieces
After you know what size and view you are going to sew, unfold the paper pattern and cut out the pieces. Patterns typically come on 1-2 large sheets of paper.
Now, you have a few choices…
You can simply cut out the size you need or cut out the largest size. If you plan to reuse your pattern, I suggest you cut out the largest size and then simply fold your pattern over at the edges to the right size when you cut out your fabric. This way you can make any size at a later date.
This is one reason why I like to use PDF sewing patterns. You can print them as many times as you want and you can choose to print just the size you need.
Also Read: Which Type of Sewing Pattern is the Best?
Tip: You don’t need to cut out your entire pattern, unless you want to. I typically just cut out the pattern pieces I need for the view I am making. It saves time. You can find this information at the beginning of your pattern instructions. It will show something like: “View A: pieces 1,2, 4, 6, & 10.”
PDF sewing patterns require a little more assembly work. You have to print them on regular 8.5×11 paper and then tape everything together before you can cut out your pieces. This is a lot of work, and the main reason why some people avoid PDF patterns. However, you can get PDF sewing patterns printed on large sheets of paper through companies like PDFPlotting.com. Just keep in mind that it is an extra cost (about $3/sheet).
<<< Browse This Massive List of Indie Pattern Companies >>>
Tip: This is also a good time to read through your entire sewing pattern. It will give you a better idea of how your project will come together. It will also help you spot potential problems or confusing steps.
Join Our Facebook Group!
If you ever have questions about pattern instructions, join Sewing Society’s Facebook page. You can ask questions and we will try to help you. Sewing is more fun when you’re part of a community where people share the same interests. We’d love to have you!
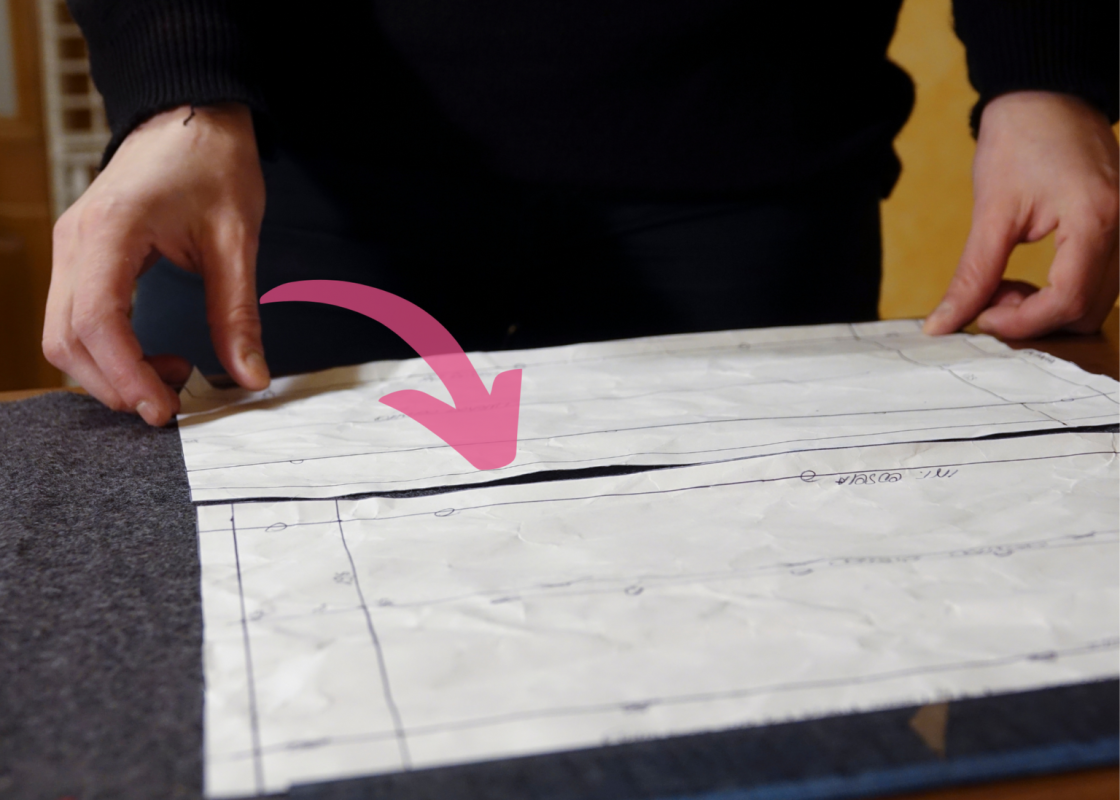
Step 4: Cut Out Your Fabric
Now that you have all your paper pattern pieces ready, it’s time to lay them out on your fabric and cut everything out. Just make sure you have prepped your fabric first!
It’s best to lay out your fabric on a large table so you can cut out several pattern pieces at once. You can use pins to attach your paper pieces to your fabric or use a large rotary cutting mat and some pattern weights.
I have the Sew Studio Designs Folding Table with a Sullivans 36”x59” cutting mat on top. (Read more about it HERE!) It works out really well when I am cutting out my patterns. Plus, I can fold up the table and roll it out of the way when I’m not using it!
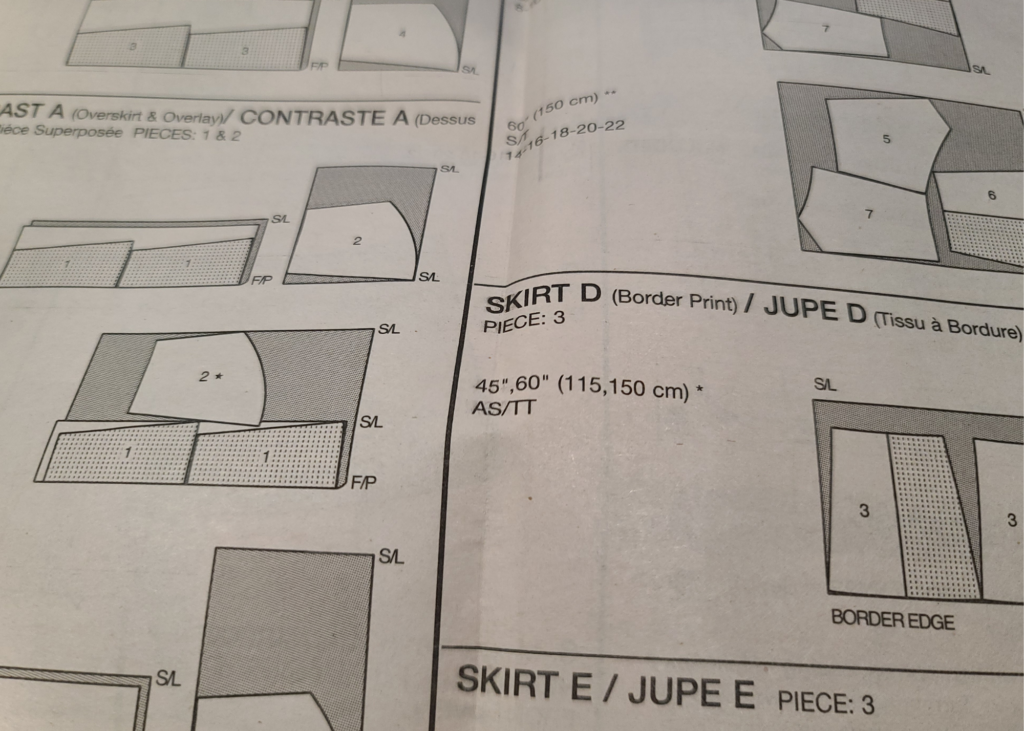
Most sewing patterns will show you a few suggested layout diagrams at the beginning of your instructions. If you’re using fabric with a directional pattern or nap, be especially careful to make sure the top of each pattern piece is going the same direction on your fabric. Also look for the “with nap” layout diagram.
You also need to pay attention to pattern markings. Here is a list of the most important ones (it’s not a complete list):
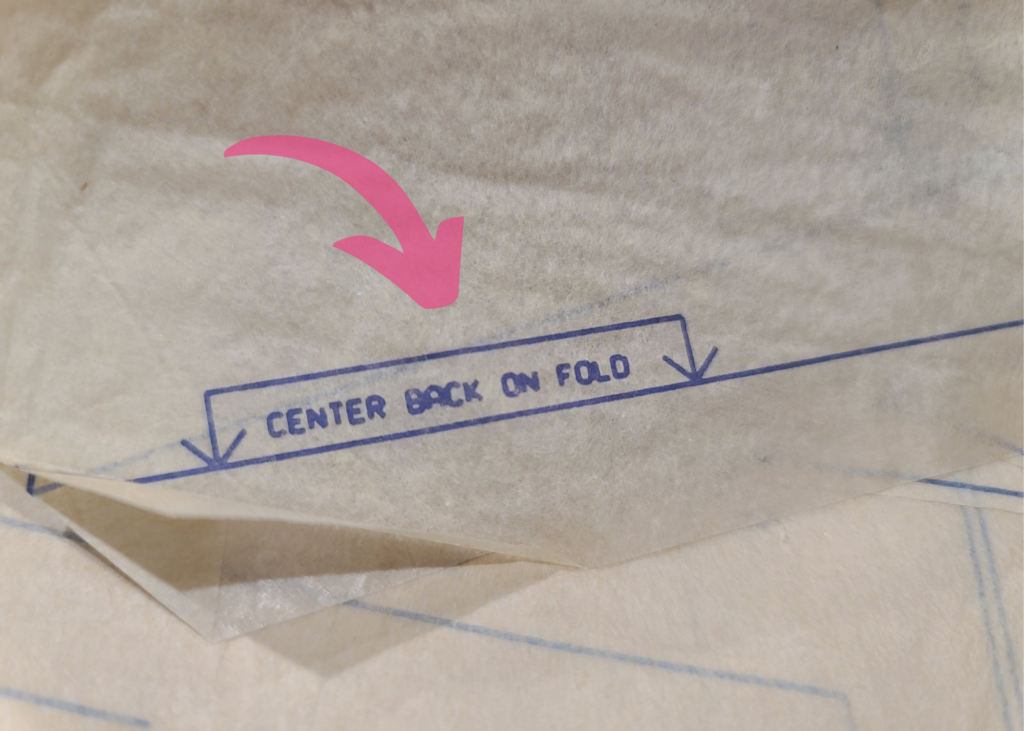
Cut on Fold
It’s common for sewing patterns to have a ‘Cut on Fold’ marking, especially front bodice pieces and skirts. It looks like a double-sided arrow pointing to one edge of your pattern piece. When you see this, you need to fold your fabric in half and place that piece along your fold line with the arrows pointing to the fold.
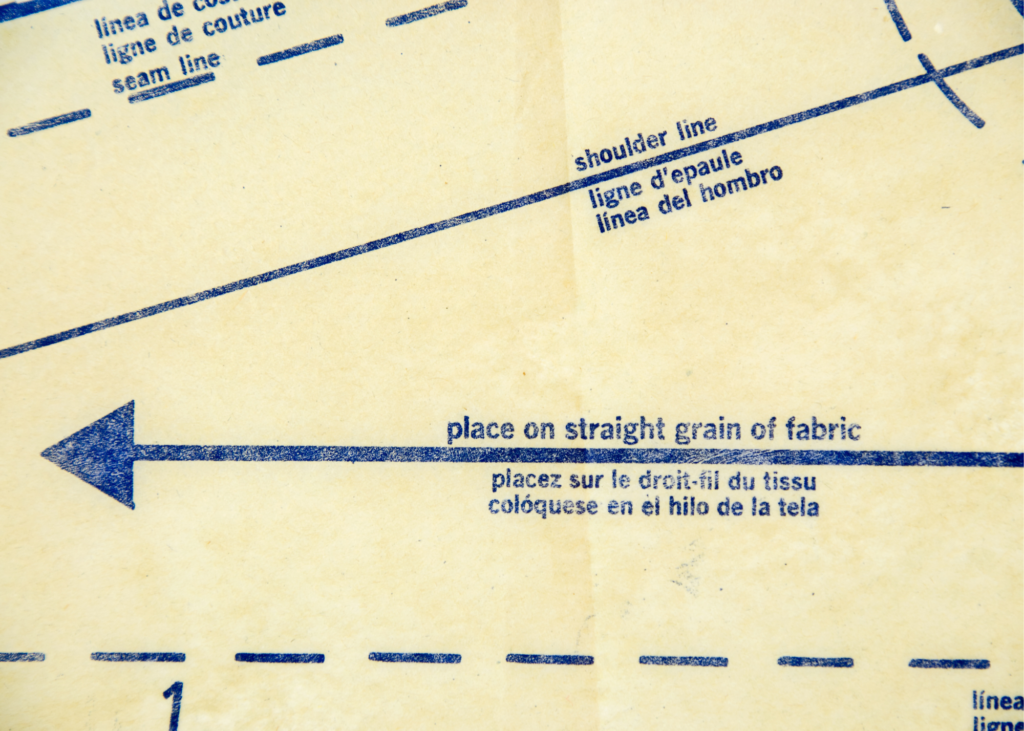
Grainline
Almost all pattern pieces have a “Grainline” marking. It is usually in the center of your piece. The arrows on this mark indicate the direction you should place your pattern pieces — typically parallel to your selvage edges.
When fabric is manufactured, it is usually cut on the cross grain, which is the grain running the width of the fabric. The grainline is very important because it determines how your garment hangs when worn. It also determines the amount of stretch.
Lengthen/Shorten lines
Sewing patterns are usually made for a standard height. If you are shorter or taller than the intended height of your pattern, you have the option to lengthen or shorten your pattern pieces. The best place to do this is indicated with the lengthen/shorten lines.
To lengthen your pattern, you cut along the lengthen line and add a sheet of paper between your pieces the length needed. If shortening, you fold at the printed lines to form a pleat that is half the length you want shortened. For example, if you want to take off 1”, you fold/pleat the pattern ½”.
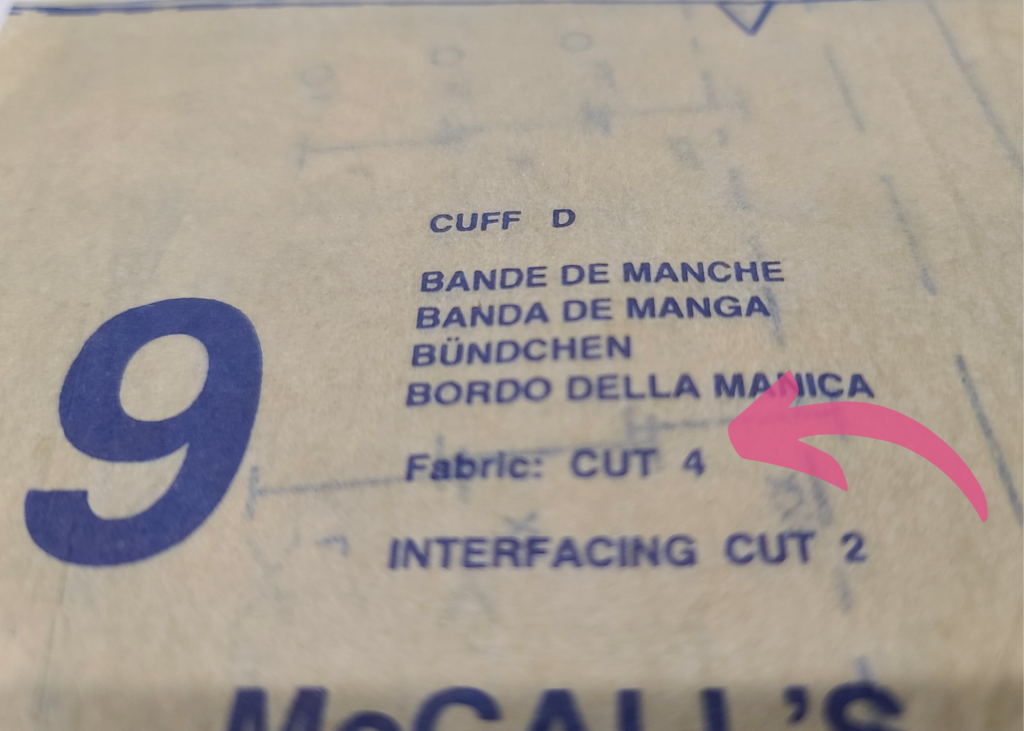
Number of Pieces to Cut
Be aware of how many pieces you need to cut. Many pattern pieces will indicate you need to cut 2. This is common when you need to create a lining.
Sometimes a pattern may indicate you need to cut two pieces mirrored. This simply means that you should fold your fabric either right or wrong sides together and cut two pieces from the same pattern piece.
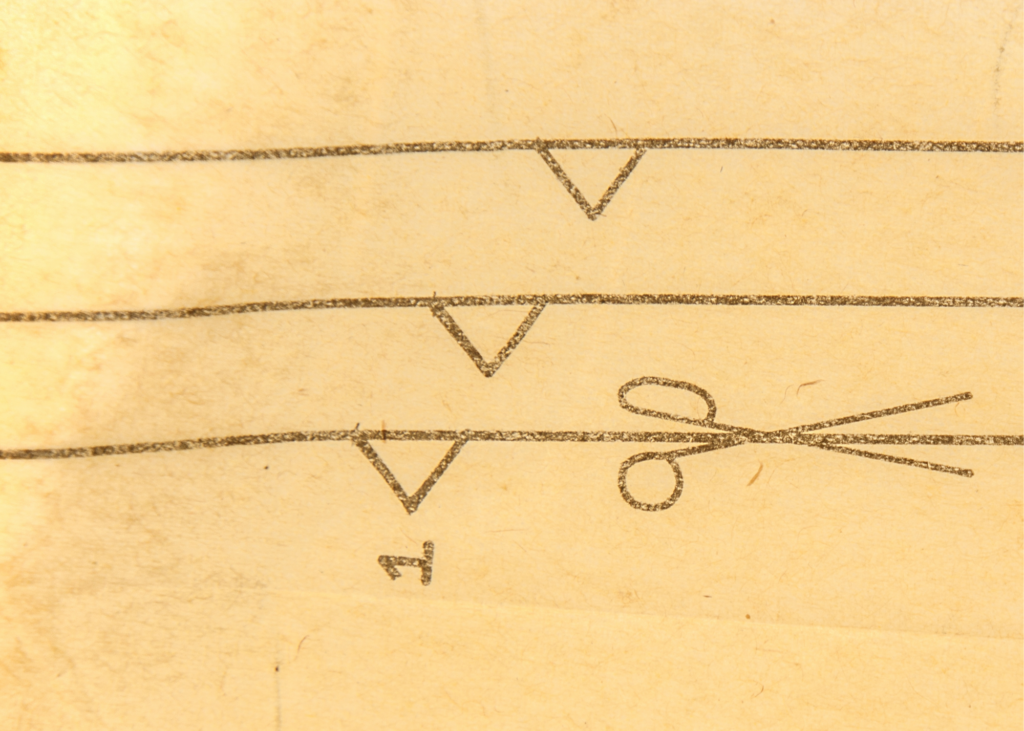
Notches
Notches indicate where you should match points on your pattern. They typically look like little triangles close to the edge of the cut line.
When you cut out your pattern, you should mark these notches either with a fabric pen or chalk. Some people may even cut these notches out of the fabric by cutting a small triangle above the notch so that the triangle notch in the pattern and the fabric notch make a diamond shape.
Fun and Useful Fact: It is normal to have single notches for front pieces and double notches for back pieces. For example, the sleeve of a shirt may have a single notch for the piece that should be sewn to the front bodice and a double notch to the piece sewn to the back bodice.
Also Read: 4 Mistakes to Avoid When Cutting Out Pattern Pieces
Step 5: Follow the Steps to Construct Your Garment
We’ve covered a lot in this post so far…
Next is learning how to read the instructions in your sewing pattern. Almost every pattern comes with detailed step-by-step directions (with pictures) on how to assemble your garment. The instructions usually come on a large sheet of paper that is folded up. Don’t be confused if your pattern is printed in several languages, just find the right one.
Start with step one and carefully read and follow the directions. Remember what view on your pattern you are sewing so you can skip the appropriate steps.
There are a few sewing terms you need to know to read a sewing pattern:
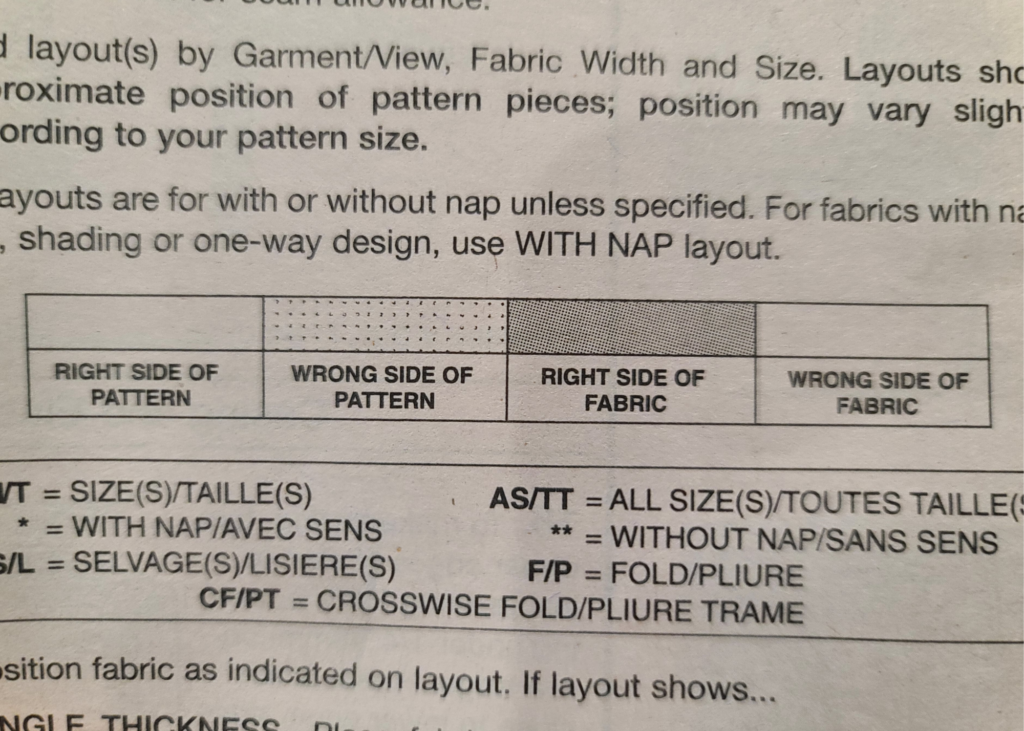
Right Side/Wrong Side of Fabric
Make sure you understand the difference between the right side and wrong side of fabric. The right side is the side that has the pattern, or the side you want to be on the outside of your finished product. The wrong side is the opposite.
Many times, a pattern will ask you to put “right sides together” when sewing. This is how you create a seam on the inside of your garment. Often, the right side is shown in your directions as gray and the wrong side is shown as white.
Gathers
Some sewing patterns want you to gather certain sections of a garment. This is noted on your pattern with a straight line or a wavy line between two dots. To create gathers, use the longest stitch available on your sewing machine (basting stitch) and sew between the two points without backstitching. Then, pull the thread at the end to create gathers in your fabric.
Darts/Pleats
Some sewing patterns have you make darts or pleats in your fabric. If your pattern requires darts, these are usually marked as a dashed line in the shape of a long triangle on your pattern. These can be found on the front bodice of a shirt to shape the bust or waist, the back bodice to shape around the shoulders, or all around a skirt to shape the waist. To make a dart, you simply fold your fabric inside itself where the triangle/dart indicates on your pattern. You can mark this with chalk or a fabric marking pen. Next, you sew a line on the wrong side of your fabric that will hold the dart together.
Step 6: Enjoy Your Masterpiece and Show It Off
Once you’ve completed all the steps in your sewing pattern, it’s time to celebrate! Your sewing project is complete.
Part of the fun of sewing is showing off the things you make. It’s so satisfying to say, “I made that!” We’d love for you to post pictures of your sewing projects in our Facebook group — Sewing Society!
We home this guide to reading a sewing pattern has been helpful. What other questions do you have? Ask them in the comments below.