October 31, 2025 · Sewing Society · 3 min read · Sewing Machine Help & Troubleshooting
Disclosure: As an Amazon Associate, we earn from qualifying purchases. Some links in this post may be affiliate links.
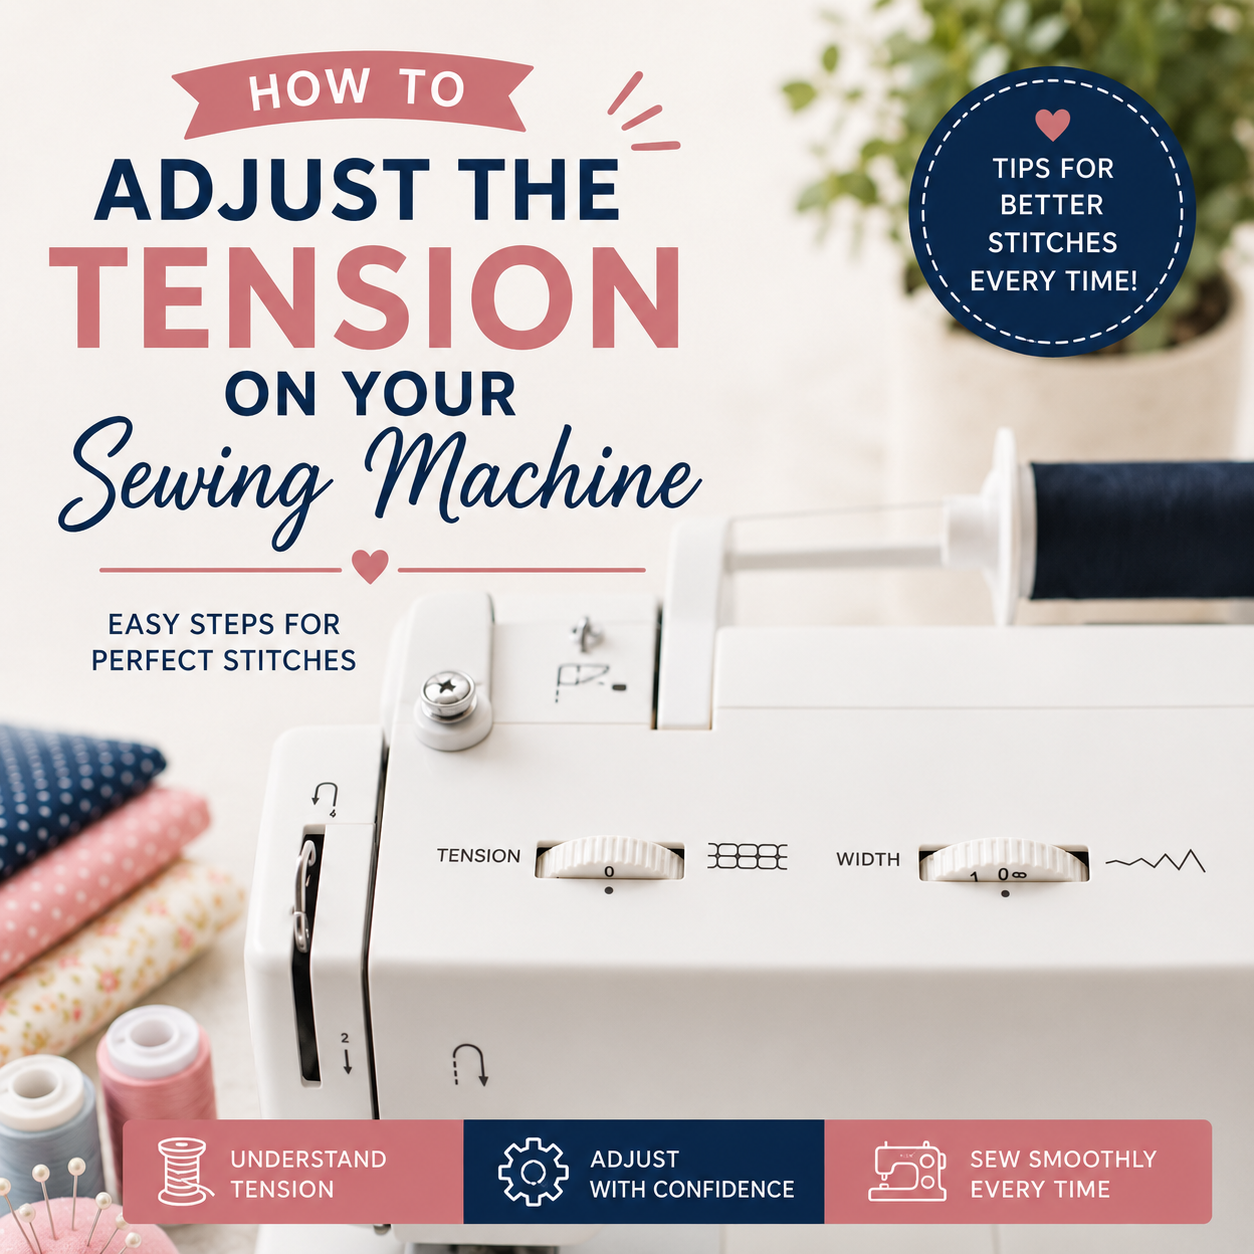
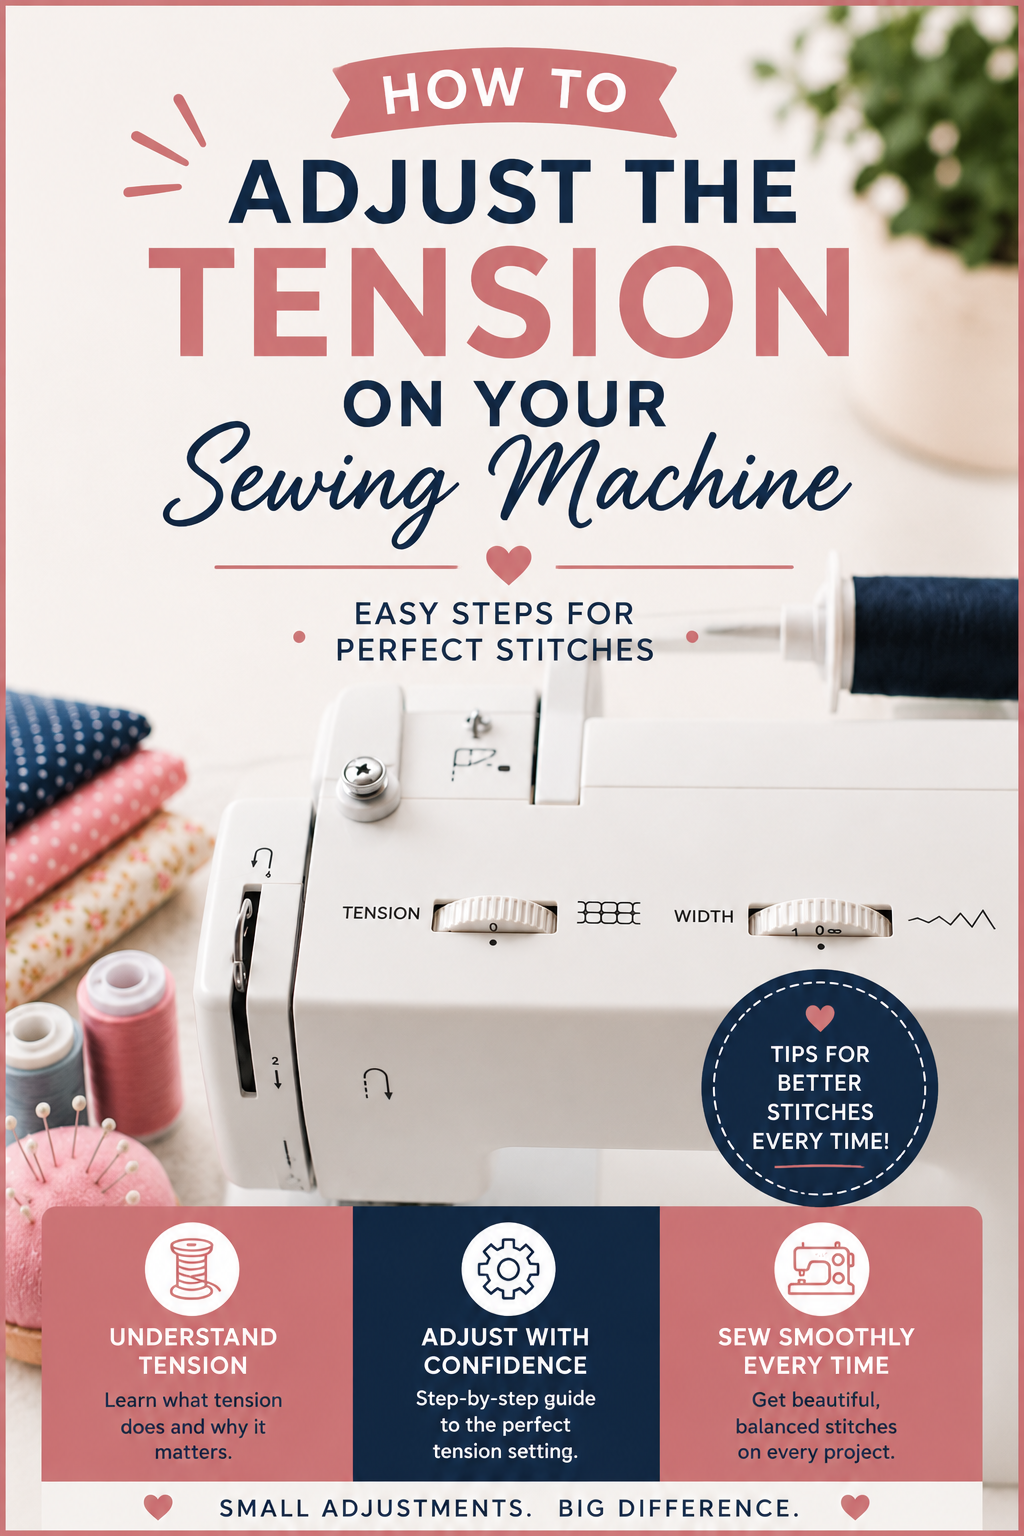
How to Adjust the Tension on Your Sewing Machine
Sewing machine tension issues are one of the most common frustrations in sewing. Before you touch those dials, there are three things you should always try first. Here's a straightforward guide to diagnosing and fixing top thread and bobbin tension problems, with simple adjustments that actually work.
If you've been sewing for a while, chances are you've dealt with sewing machine tension issues at some point. It's so frustrating when your stitches don't look right!
I know it can feel scary to touch those tension dials, but I promise it's more straightforward than you think. Sometimes you just need to adjust the tension for different fabric types or when you're sewing through multiple layers. Once you understand what's happening, it's really not a big deal.
Here's how it works: your sewing machine puts tension on both threads as it sews — the top thread and the bobbin thread. This controls how easily each thread flows through your machine and how tight each stitch comes out. The goal is to balance the tension between both threads so they're taut to the fabric and look identical on both sides.
Before You Touch the Tension Dials
First things first — thread tension is not always the culprit when your stitches look off. Before you adjust anything, do these three things:
1. Rethread your machine completely. Even experienced sewists make threading mistakes. It's also very common for thread to pop out of the tension disks on its own without you realizing it. Rethreading your entire machine — bobbin included — fixes this more often than you'd think.
2. Check your needle. Are you using the right type and size for your fabric? A thick fabric needs a larger needle. A stretch fabric needs a ballpoint or stretch needle. It really does make a difference, and the wrong needle can cause all kinds of stitch problems that have nothing to do with tension.
3. Clean your machine. Lint and stray threads caught in the tension disks or bobbin area can cause uneven stitches. Give your machine a quick clean before assuming it's a tension problem.
If you've done all three of those things and your stitches still look off, then it's time to start adjusting tension.
How to Adjust the Top Thread Tension
This is always where you should start. The top thread comes from the spool on the top of your machine, and there should be a dial on the top, front, or side that controls its tension. On some computerized machines, you adjust it on the screen instead. Turn the dial to a higher number to tighten the tension, or a lower number to loosen it.
Top thread too loose? If the top thread is too loose on a project, the stitches on top won't lie flat against the fabric, and you'll see the top thread pulling through to the bottom. That's because the tighter bobbin thread is dragging the looser top thread down. Try increasing the tension by ½ to 1 number, test on scrap fabric, and keep adjusting until the stitches look even on both sides.
Top thread too tight? If the top thread is too tight, you'll see the opposite — the top stitches look pulled, and the bobbin thread shows on the top side of your fabric. Decrease the tension in ½ to 1 number increments until things even out.
Balanced tension should look like this:

How to Adjust the Bottom Thread (Bobbin) Tension
If adjusting the top thread didn't fix things, you might need to look at your bobbin tension. That said, most sewing machine repair technicians do caution against messing with it yourself. It gets set during regular servicing and adjusting it incorrectly can cause bigger problems. But if you feel confident and need to try it, here's what to look for.
Every machine has either a top-loading (drop-in) bobbin or a front-loading bobbin, and the tension is adjusted differently for each.
Bobbin tension too loose? You'll see bobbin thread on the top side of your seam, and the bottom stitches won't sit flat against the fabric. Try adjusting the bobbin tension slightly higher, then test on scrap fabric.
Bobbin tension too tight? The top of your seam will look loose, and your top thread will be pulled through to the bottom. Loosen the bobbin tension in small increments until the stitches balance out.
 Pin It
Every sewing machine is a little different, but they all have tension controls, even the fancy ones with automatic tension settings let you override them manually if you need to. Once you understand what balanced tension looks like and what to look for when it's off, troubleshooting becomes a lot less intimidating.
You've got this! And if you’re still having issues, chat with our FREE AI Sewing Coach. (Bottom right of page).
Related reading: Are Sewing Machine Bobbins Universal? (Spoiler: They're Not)
AI Sewing Coach
Create a free account to chat with our AI Sewing Coach — trained to help with sewing techniques, troubleshooting, projects, fabric questions, and more!
Comments
Comments are screened by an AI moderator for spam and inappropriate content.
Sign in to join the conversation.
Loading comments…