If you’ve been sewing for a while, chances are good that you’ve encountered sewing machine tension issues at one point or another…
It’s so frustrating when your stitches don’t look right!
We understand that it can be scary to touch the tension dials on your sewing machine, but it’s more straightforward than you think. Sometimes you’ll need to adjust the tension for different types of fabrics or when you’re sewing through multiple layers.
Your sewing machine puts ‘tension’ on both threads as it sews — both the top thread and the bobbin thread. This affects how easily each thread flows through your machine and how tight each stitch comes out. The goal is to balance the tension between your threads so that they are taut to your fabric and look identical on both sides.
In this post, I’ll help you identify sewing machine tension issues and show you how to fix them.
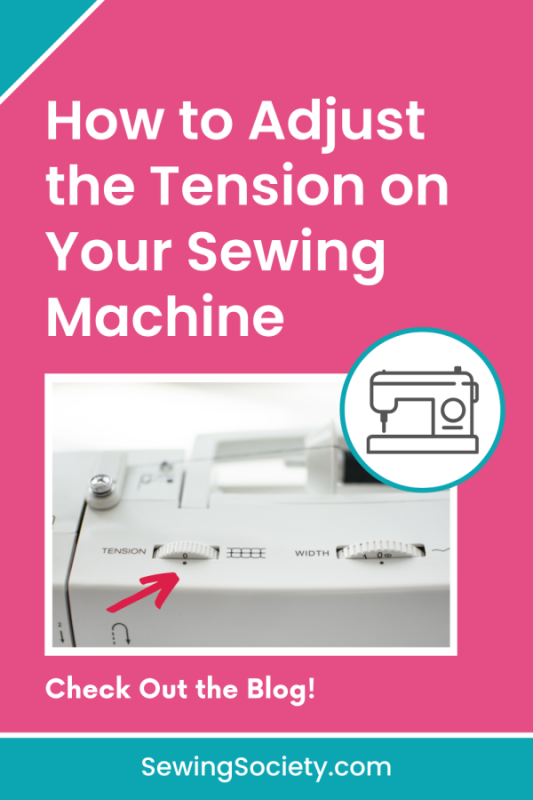
When to Adjust the Tension on Your Sewing Machine
First, it’s important to recognize that your thread tension is not always the problem when your stitches don’t look right. Whenever you’re having problems with your stitches, always do the following three things before touching your tension dials:
- Rethread Your Sewing Machine Completely: Even people who have been sewing for decades sometimes make a mistake when threading their machine. It’s also possible for your threads to pop out of the tension disks on their own. This can be easily resolved by simply rethreading your whole machine, bobbin included.
- Make Sure You’re Using the Appropriate Type and Size of Needle: If you are sewing a thick fabric, you may need a larger needle. If you are sewing a stretch fabric, you need a stretch or ballpoint needle. It really does make a difference.
- Clean Your Sewing Machine: Make sure there aren’t threads or lint caught in the tension disks or stuck in the bobbin area. This can cause all sorts of sewing machine problems, including uneven stitches.
Tension issues can usually be identified by fabric puckering or loose threads. If you’re confident you’re facing a tension issue, it’s time to get some scrap fabric and start to make tension adjustments. Most of the time, you will only need to adjust your top thread tension. This is where you should start.
How to Adjust the Top Thread Tension
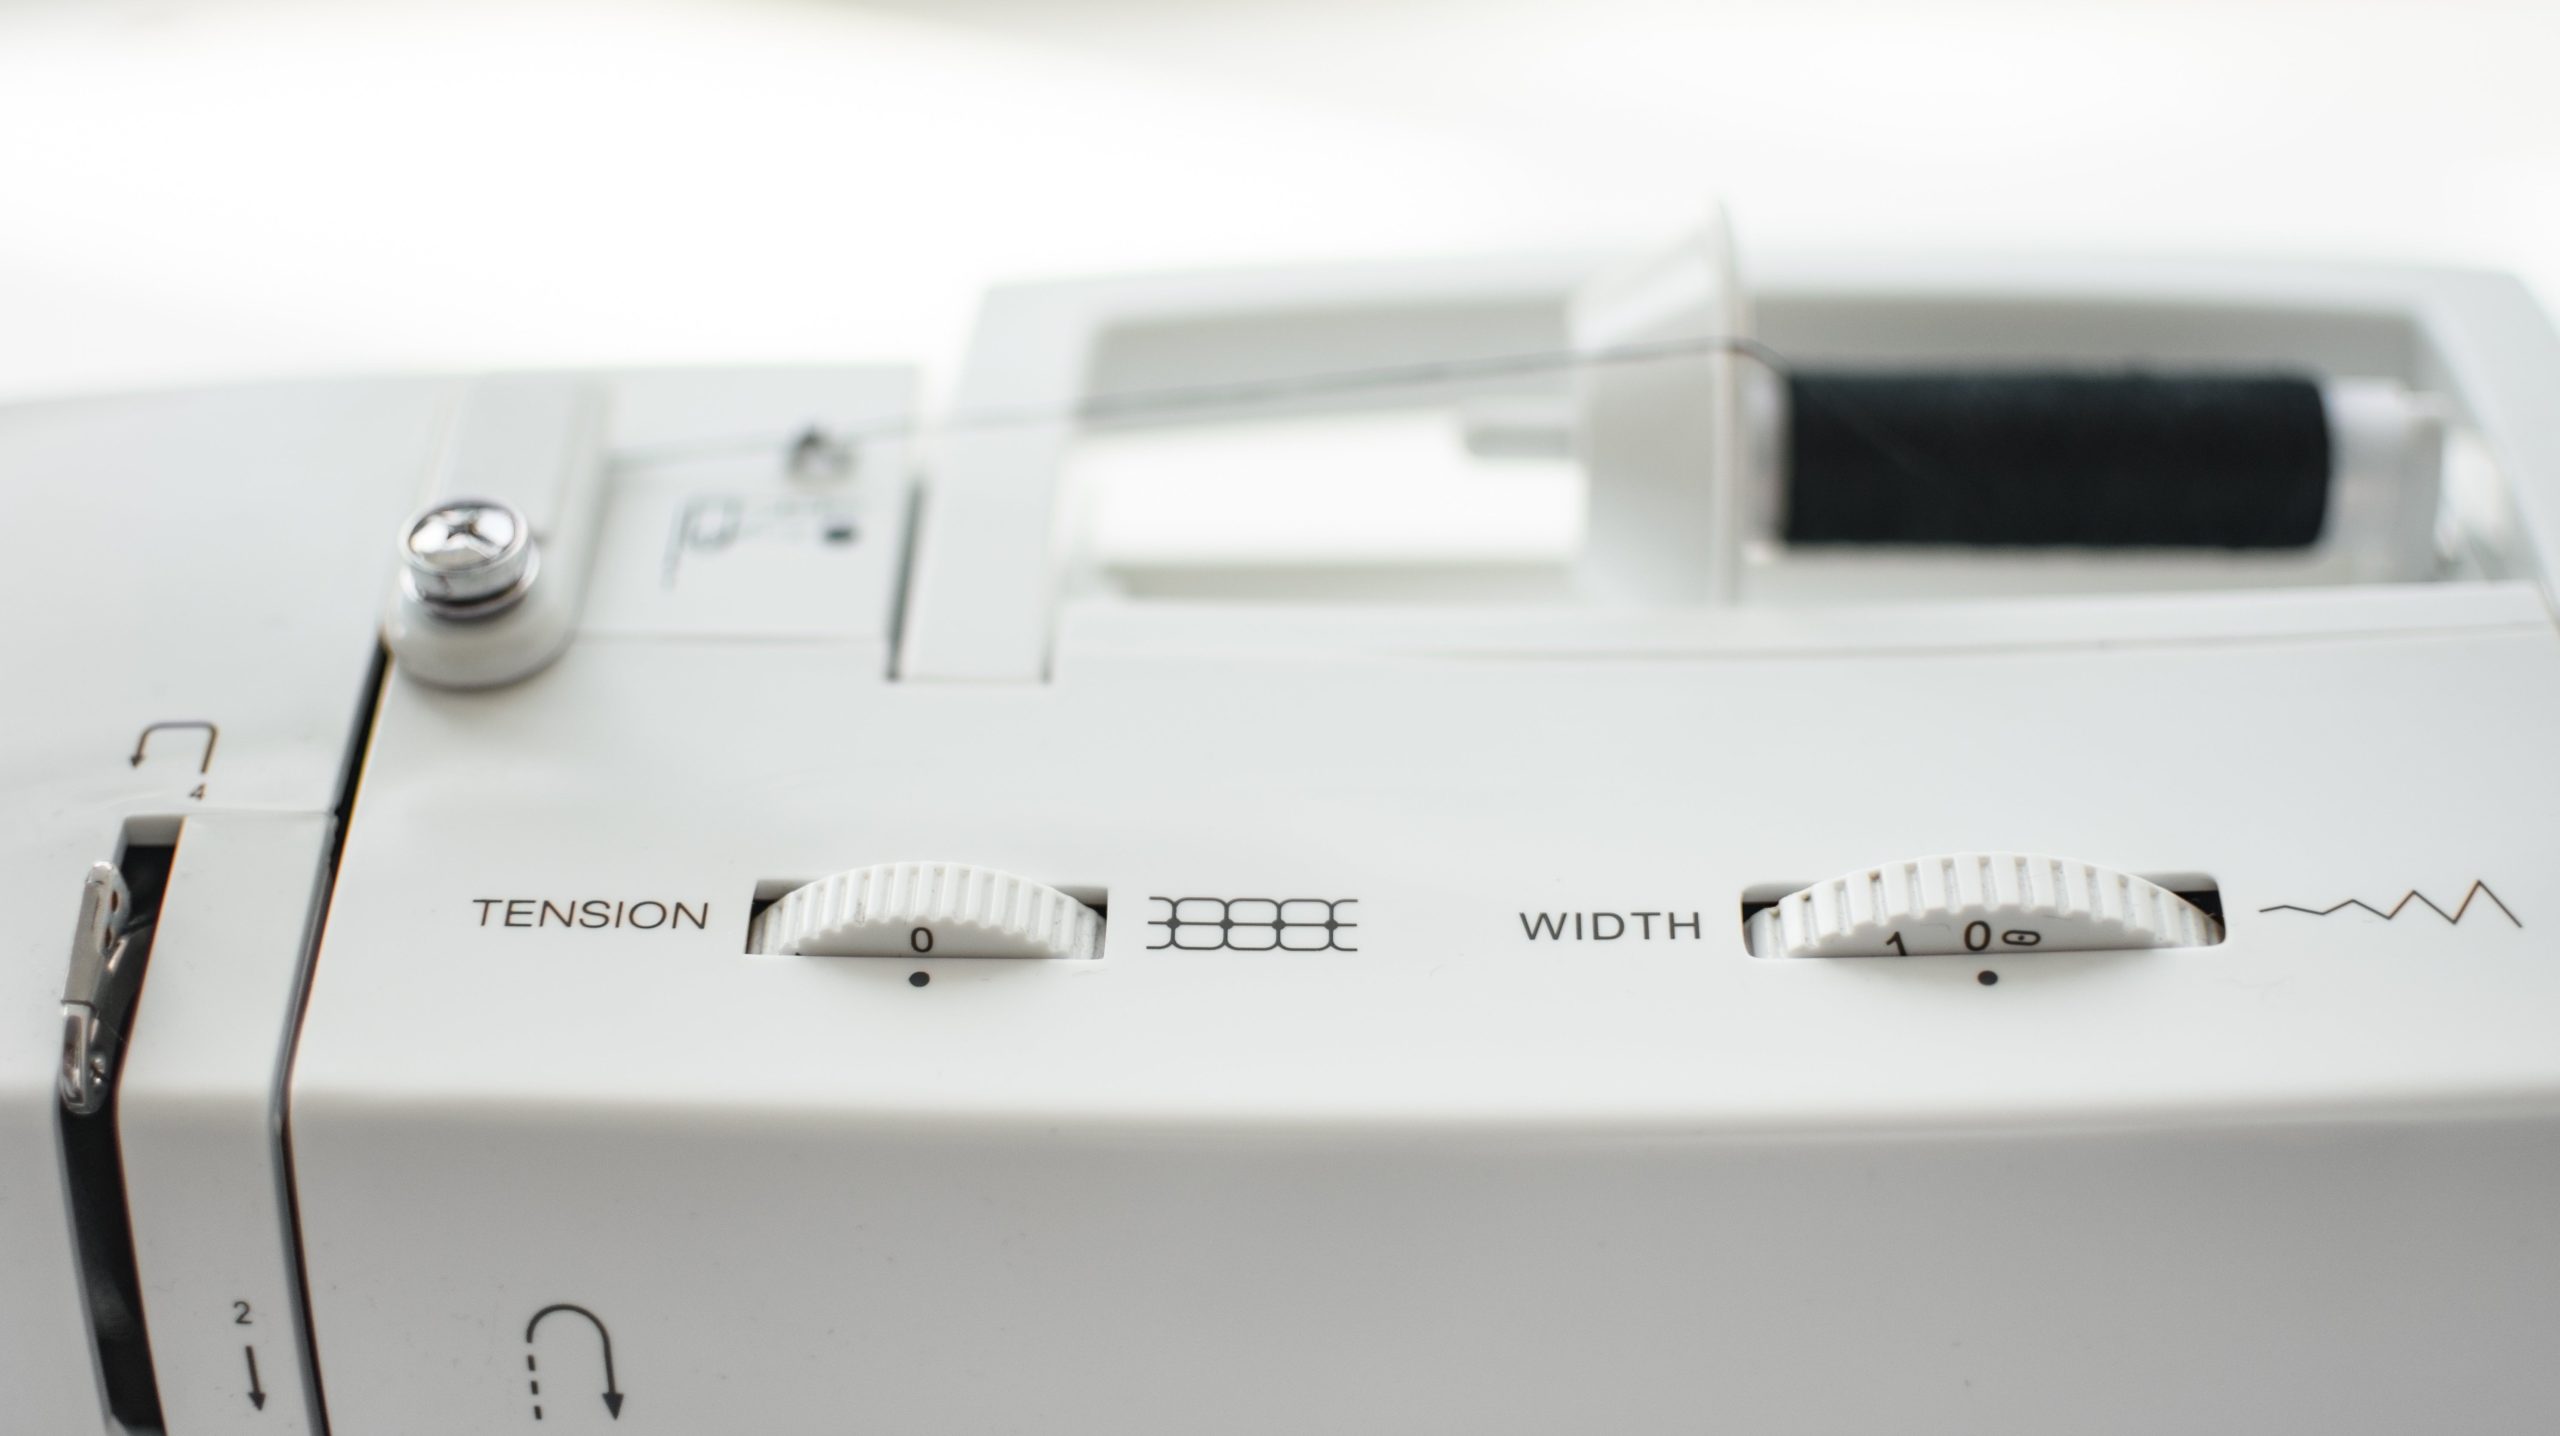
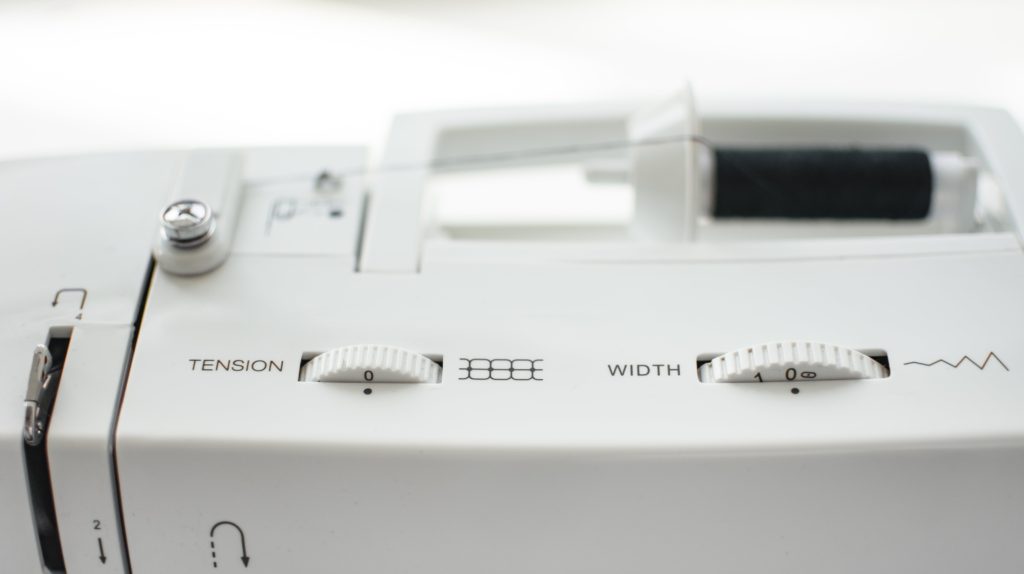
The top thread is the one coming from the spool on top of your machine. Your sewing machine should have a dial somewhere on the top, front, or side that adjusts the top thread tension. If you have a computerized machine, you may need to adjust the tension on a screen. To change this setting, simply turn the dial to a higher number to tighten the tension or a lower number to loosen it.
Is your top thread tension too loose?
If your top thread tension is too loose, the stitches will not be tight to the fabric from the top and the top thread will be visible from the bottom. This is because the tighter bottom thread is pulling the looser top thread through the bottom of the fabric.
If this is what you are observing, try increasing the tension ½ to 1 number higher on the dial, and then test it out on scrap fabric. You can continue adjusting it up until the stitches look even and identical from both sides.
Is your top thread tension too tight?
On the other hand, if your top thread tension is too tight, you will see the opposite of what we just discussed. In this case, the top stitches will appear tight, and the bobbin thread will be visible from the top.
Try adjusting your tension dial down in ½ to 1 number increments until you get balanced stitches.
How to Adjust the Bottom Thread Tension
The bottom thread is the one originating from the bobbin in the lower part of your machine. If you aren’t able to get an even tension by adjusting the top thread, you may need to change the bobbin tension. However, most sewing machine repair technicians do caution against messing with it. They set it during your sewing machine’s regular service/maintenance appointment.
Every sewing machine will have either 1) a top-loading/drop-in bobbin, or 2) a front-loading bobbin. The tension for these two bobbin types is adjusted differently.
For a top-loading bobbin, this tutorial will walk you through how to adjust your bobbin tension. If you have a front-loading bobbin, check out this tutorial to learn how to change your tension.
Is your bobbin tension too loose?
If your bobbin tension is too loose, the thread on the bottom of your stitches will not be taut to your fabric and you will be able to see bobbin thread on the top of your seam. If this is the case, try adjusting your bobbin tension slightly higher. Then, test it on scrap fabric.
Is your bobbin tension too tight?
If instead, your bobbin tension is too tight, the top of your seam will be loose, and your top thread will be pulled through to the bottom of your fabric. Loosen your bobbin tension in small increments until you get balanced stitches.
I hope this post has been helpful. Every sewing machine is a little different, but they all have tension controls. Even the fancier sewing machines that have automatic tension settings will allow you to make your own adjustments, if necessary.
Did you find this article helpful?
I can help you solve other sewing machine problems, too! Get a copy of my book, Sewing Machine Problems and How to Solve Them on Amazon.
Your sewing machine is going to give you troubles again.
It’s inevitable…
My troubleshooting book walks you through how to solve the 20 most common sewing machine problems. You’ll be prepared to tackle anything your sewing machine throws at you. That means more time sewing and less time crying.
The ebook version only costs $2.99. You’d easily pay between $75 and $150 to take your sewing machine to a repair technician. Learn how to do a lot of the sewing machine troubleshooting yourself and save money.
For more information, visit our Sewing Machine Troubleshooting Page.
Share this post on Pinterest!