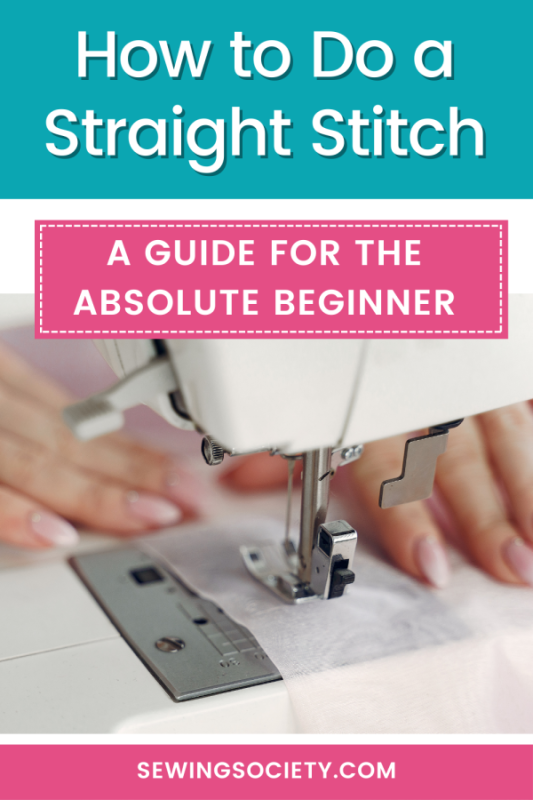
One of the first sewing skills you need to learn is how to do a straight stitch. If you’ve never used a sewing machine before, this can be a little intimidating. Don’t worry, though. I’m going to give you some tips so you’ll be sewing straight in no time at all.
The Trick to Sewing Straight Lines Is Knowing Where to Look!
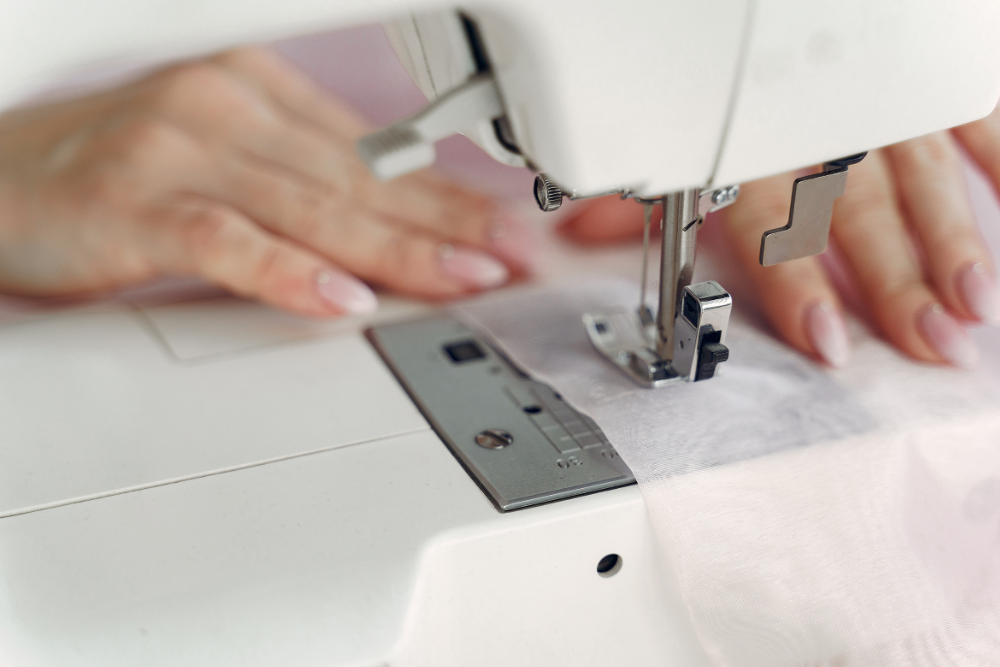
Many beginners mistakenly stare at their needle as they sew. This doesn’t work because you’re not thinking about where your fabric is going…
Instead, you should look at the edge of your fabric and keep it lined up with one of the seam markings on the plate underneath your presser foot. Those seam markings tell you how far your stitching line is from the edge of your fabric when your needle is in the center position.
Your sewing pattern will typically tell you which seam line to follow. ½ inch and 5/8 inches are the most common seams when you’re sewing clothing because the larger seam allowance can hold up to more wear. If you’re making a quilt, your pattern typically recommends using a ¼ inch seam allowance.
If you’re having a hard time remembering which seam line to look at as you sew, you can put a magnetic seam guide on your needle plate to help. You simply line the magnetic guide up with the seam line you want to follow and attach it to your needle plate. As you sew, you can then keep your fabric matched up to the edge of the magnetic seam guide to keep your stitches straight. I think the magnetic seam guide is quite handy because it gives you one less thing to think about as you sew.
Note: An from Madam Sew says that it is perfectly safe to use a magnetic seam guide on your sewing machine. The magnet is not strong enough to mess with the mechanics of your machine.
Several presser feet also have guides you can follow for stitching straight lines. I really like using an adjustable guide foot. If you don’t have one for your sewing machine, check out Madam Sew’s Sew Straight Set. The presser feet are compatible with most sewing machines.
Sewing Straight Lines Takes Practice
With practice, your stitches should get straighter and straighter. Sewing really is not hard!
Grab some scraps of fabric and practice using the seam guides on your needle plate until your stitches start to look straight. If you don’t have scraps, I created some FREE Sewing Practice Sheets that you can print out and use to build some sewing confidence. You stitch directly on the paper as if it were fabric. Yes, it will dull your needle, but you should be changing your needle frequently anyway.
The straight stitch is the most common stitch you’ll be using when working on sewing projects. It’s something you need to master whether you want to sew quilts, clothes, bags, or anything else.
I hope you found this post on how to sew a straight line helpful. Let me know if you have any questions in the comments below.