June 30, 2026 · Sewing Society · 4 min read · Learn to Sew, Sewing Tips & Hacks
Disclosure: As an Amazon Associate, we earn from qualifying purchases. Some links in this post may be affiliate links.
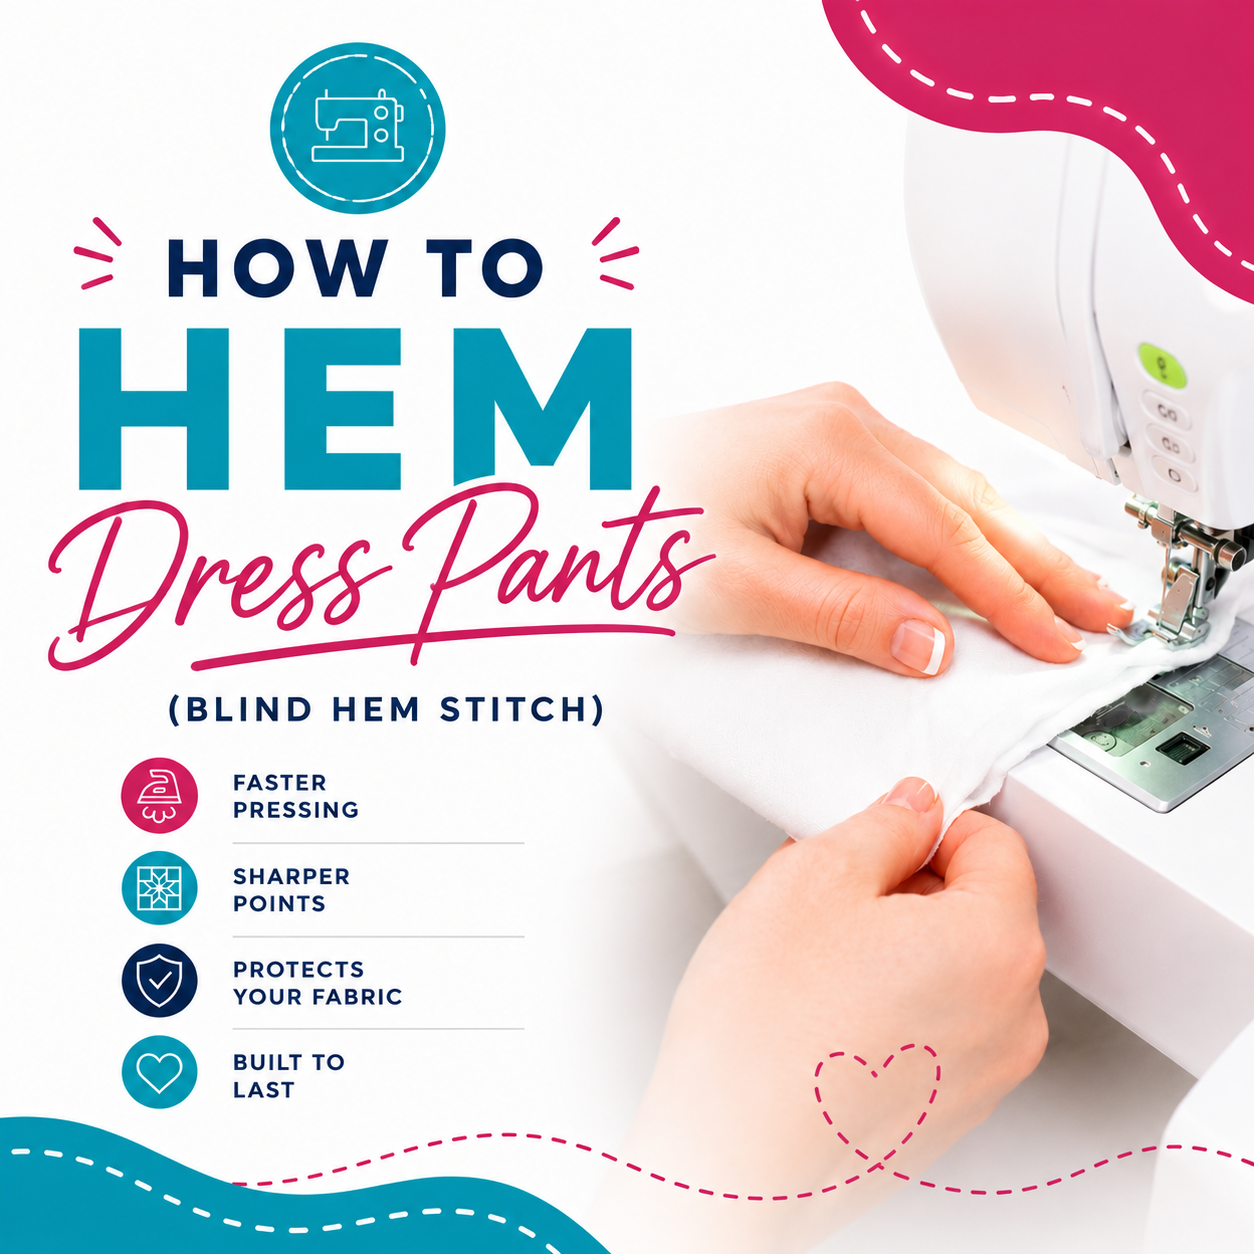
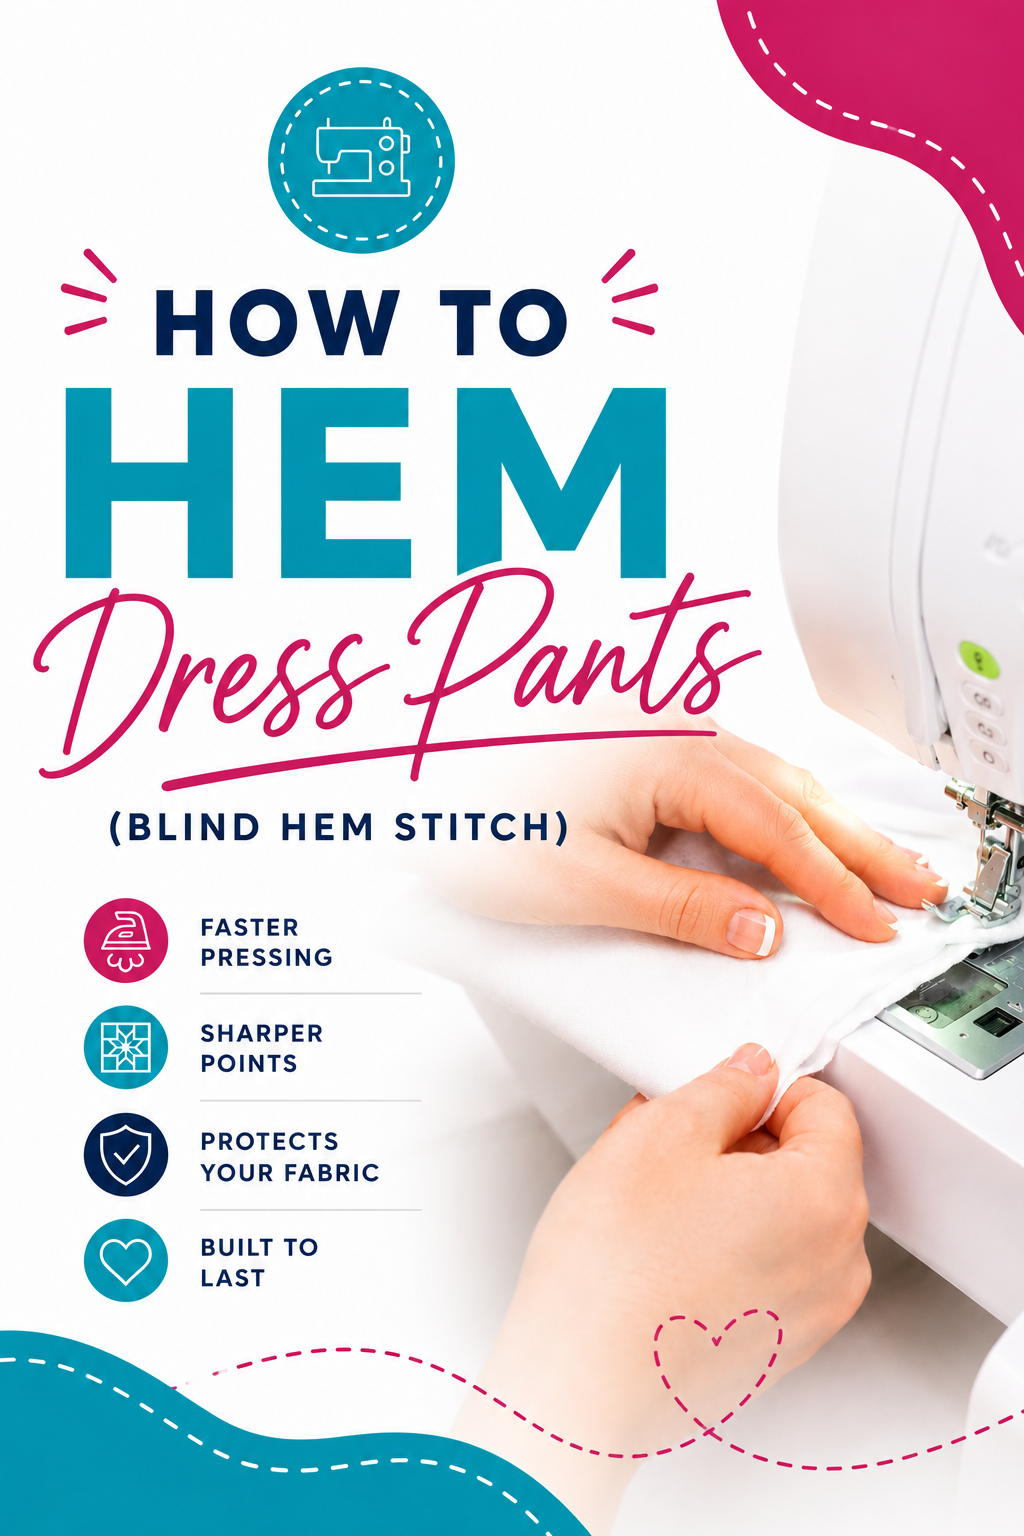
How to Hem Dress Pants (Blind Hem Stitch)
Hemming dress pants is one of the most requested alterations there is, and once you know how to sew a blind hem stitch, it's surprisingly fast. Here's a step-by-step guide to getting a clean, nearly invisible hem at home.
This might be an unpopular opinion, but I genuinely enjoy helping friends and family with mending and clothing alterations. I love being useful, and sewing is one of those skills that comes in handy for the people around you more than you'd expect. So when my brother asked if I could hem some dress pants for him, I said sure, bring them over.
Hemming dress pants is one of the most common alterations people ask me to do. If sewing for others isn't your thing, I completely understand — that's your call. But I want to show you how quick and easy it is once you know how to sew a blind hem stitch. I've done it so many times it barely feels like work anymore.
The blind hem stitch is the technique you use when you don't want any visible stitches on the outside of a garment. You fold the fabric back on itself in a specific way, then sew along the seam allowance while a periodic zigzag stitch barely catches the fold of the hem. It sounds fussier than it is. All you need is a blind hem presser foot, and if you don't already have one, it's a great addition to your presser foot collection.
In this tutorial, I'm hemming a pair of white dress pants my brother bought unhemmed, so there was plenty of extra fabric to work with. The blind hem stitch works on almost any hem length, but you'll want at least 1 inch of extra fabric to work with.
Step 1: Mark the Hem Length
For dress pants, the hem typically sits 2 to 3 inches from the ground at the heel. This creates a slight "break" at the front of the pants, which is the traditional look for men's dress trousers.
Have the person wearing the pants stand up straight with their arms at their sides. If you don't want to work on the floor, have them stand on a chair. Mark the desired hem length with chalk or a safety pin at the back, both sides, and the front of each leg.
If you're hemming pants for yourself, put them on and have someone else do the marking. It's very difficult to mark your own hem accurately.

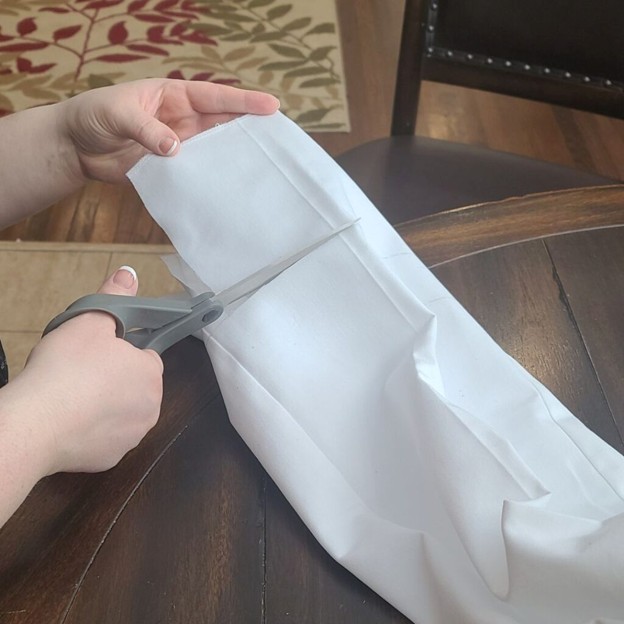
Step 2: Trim and Press the Hem
Take the pants off and trim the bottom so that each leg is 2 to 3 inches longer than your desired finished length. This gives you enough fabric for the hem allowance.
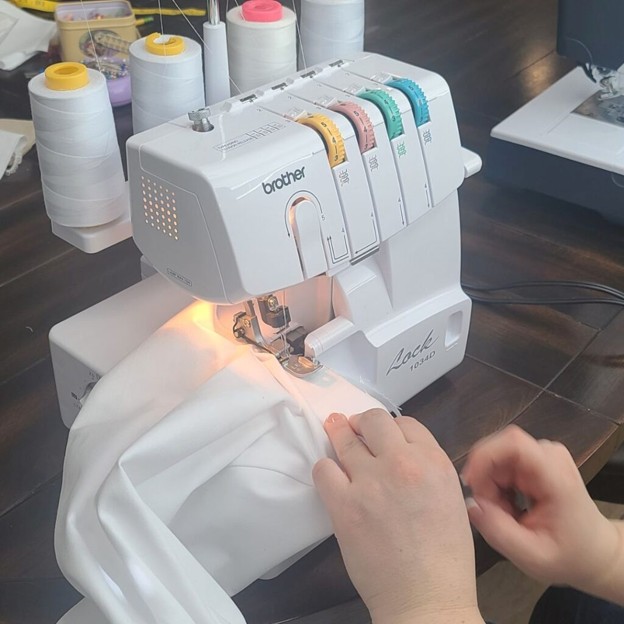
If you trimmed the fabric and created a raw edge, finish it with a serger or overlock stitch to prevent fraying. Then turn the pants inside out and press the hem up to the correct length with your iron. A well-pressed crease makes the next steps much easier.
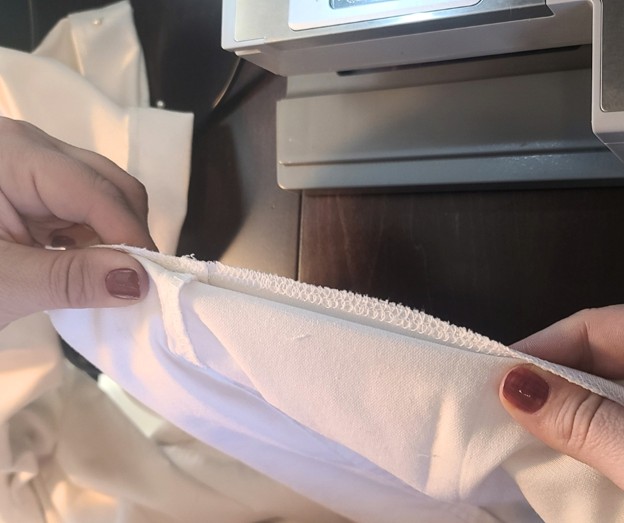
Step 3: Fold the Hem Back on Itself
With the hem pressed in place, pin it to hold everything secure. Place your pins at least ½ inch from the bottom edge of the hem so they don't interfere with the fold you're about to make.
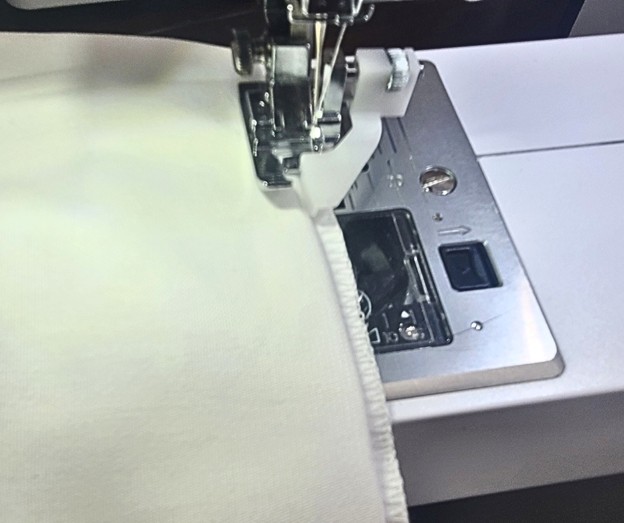
With the pants still inside out, fold the hem back up toward the inside of the pants, leaving about ¼ inch of the serged edge exposed along the bottom. That little strip of exposed serged edge is exactly where the blind hem stitch will be sewn.

Step 4: Sew the Blind Hem Stitch
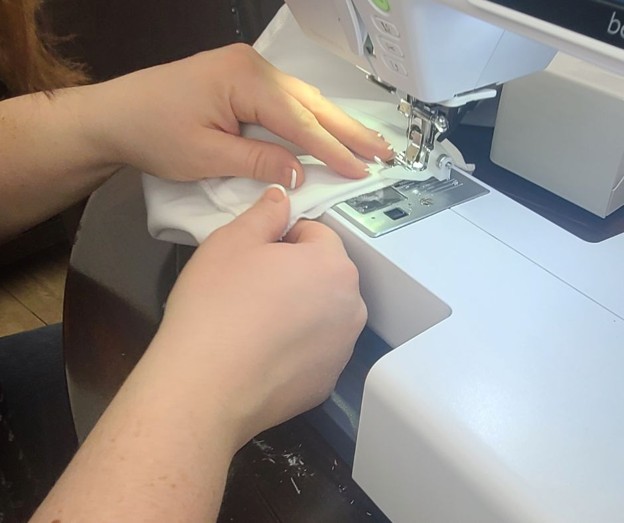
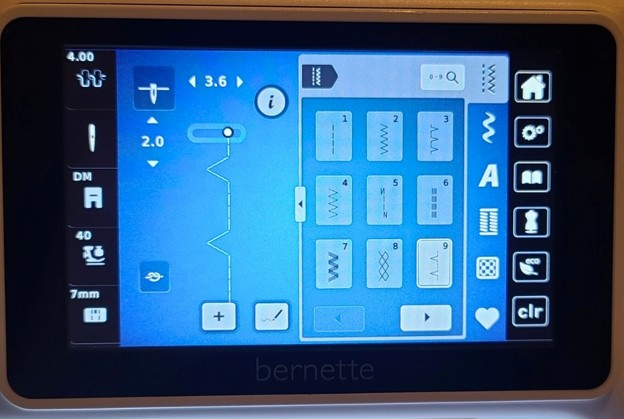
Attach your blind hem presser foot to your sewing machine and select the blind hem stitch. If your machine has a removable extension arm, take it off so the pants leg can fit around the bed of the machine more easily.
Place the folded fabric under the presser foot with the small fold to the left and the serged edge sitting directly beneath the needle. The straight stitches will land in the seam allowance, and the zigzag will periodically catch the small fold of the main fabric. You may need to adjust the guide on the presser foot with its small screw to get the positioning just right.
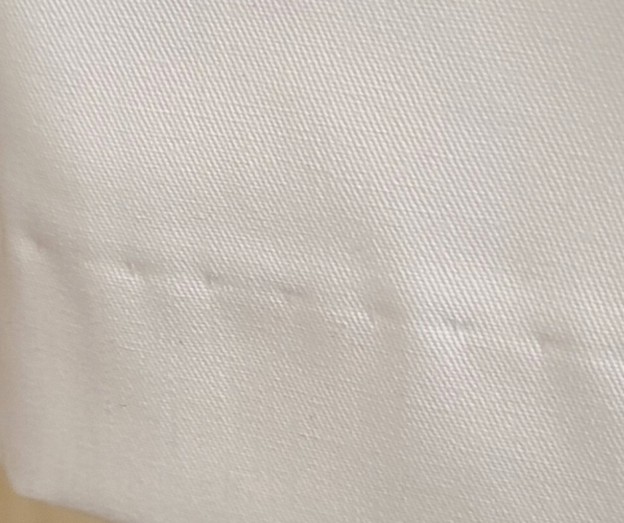
Sew slowly. The goal is for the zigzag stitch to just barely catch the fold, which creates nearly invisible stitches on the outside of the pants.
Step 5: Press the Finished Hem
Turn the pants right side out and give the hem a thorough press with your iron. If the blind hem stitch was sewn correctly, the stitches should practically disappear into the fabric.
 Pin It
Learning to hem pants is one of the most practical sewing skills you can have. It saves money on alterations and takes less time than a trip to the tailor once you've done it a few times.
That said, if you'd rather skip the machine altogether, fusible hem tape is a great alternative for most fabric types. You simply fold the hem to your desired length, tuck the tape under the fold, and press it in place with an iron for a permanent bond. I used it recently when I cut a pair of pants into shorts. You can see how that works here: How to Cut Off Pants to Make Shorts.
Related reading: How Do I Prevent Fabric from Fraying?
AI Sewing Coach
Create a free account to chat with our AI Sewing Coach — trained to help with sewing techniques, troubleshooting, projects, fabric questions, and more!
Comments
Comments are screened by an AI moderator for spam and inappropriate content.
Sign in to join the conversation.
Loading comments…