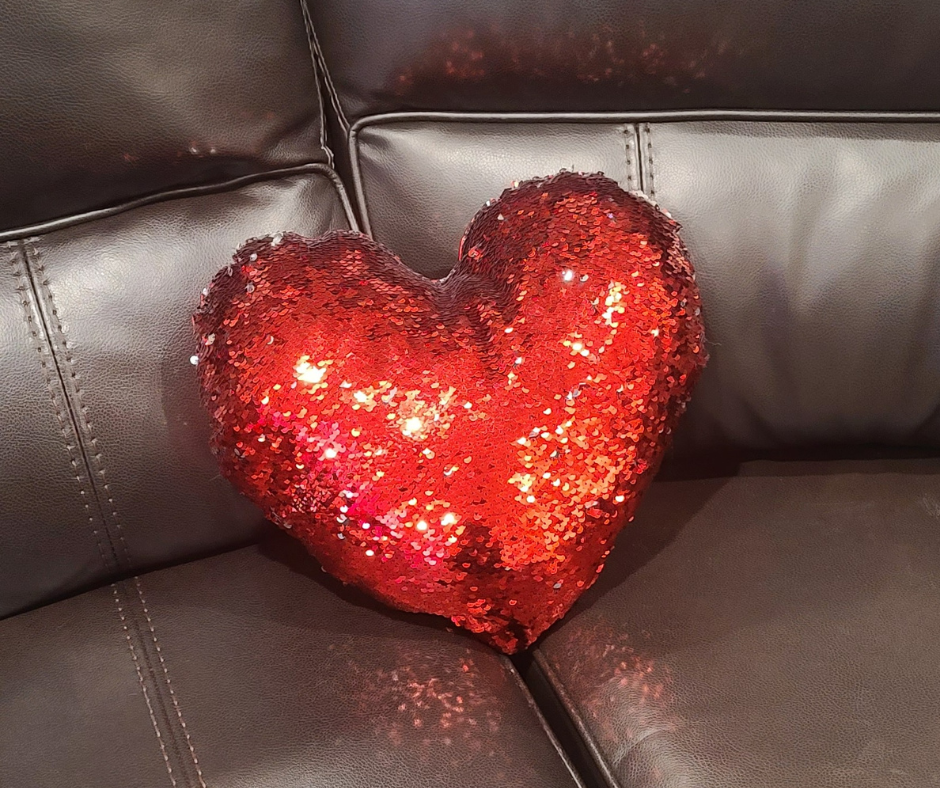
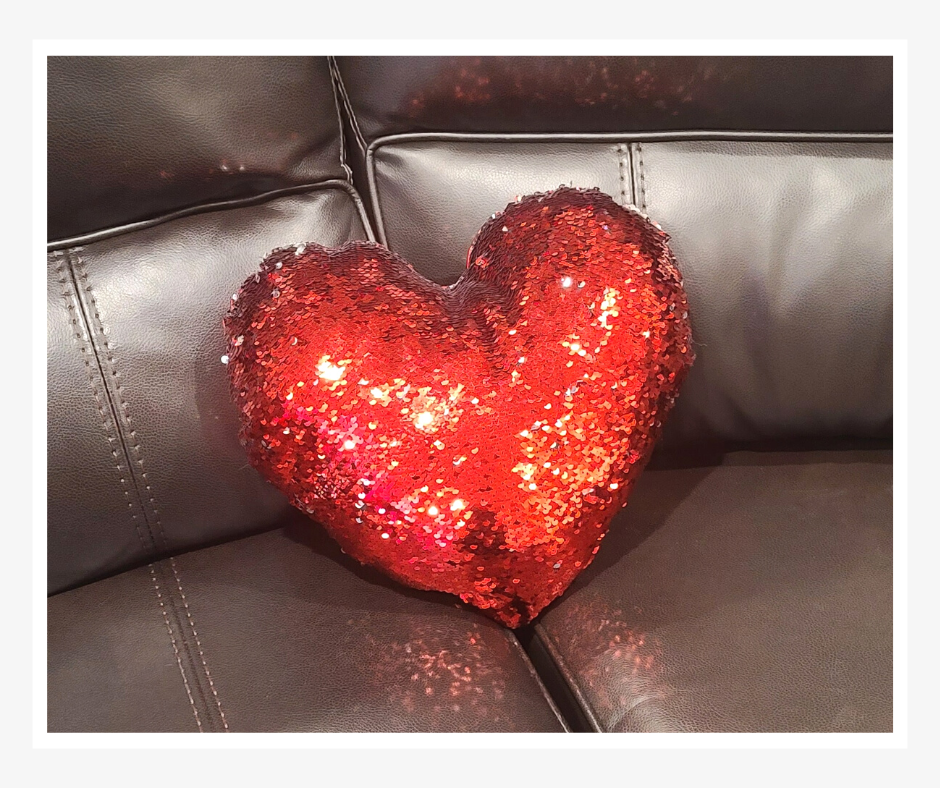
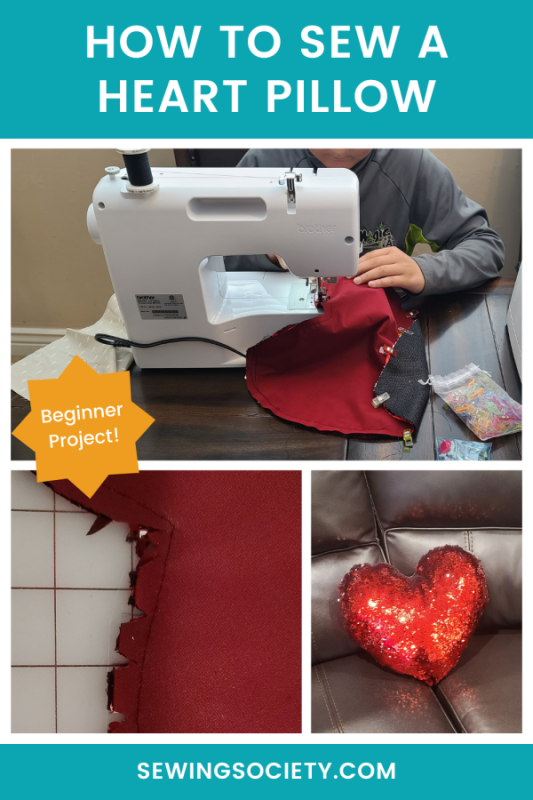
A heart pillow is the perfect sewing project for Valentine’s Day, or anytime. It’s super fun and easy. This post will walk you through all the steps, so grab some cute fabric and let’s get sewing.
This heart-shaped pillow is one of the first projects in my FREE Learn to Sew class. If you’re a beginner looking to improve your sewing skills, I hope you’ll sign up!
Step 1: Gather Materials
½ Yard Woven Fabric
Coordinating Thread
Hand Sewing Needle
Stuffing: Standard Poly-Fil works just fine.
Heart Pillow Pattern
You can totally draw your own heart to use as a pattern, but if you want something perfect, there are a few heart pillow patterns on Etsy you can get for cheap.
I used a red sequin fabric for my heart pillow that is reversible and fun to play with. However, you can use whatever you want. Standard cotton fabric works just fine.
Step 2: Cut the Pieces
If you’re not using a pattern, trace the outline of a heart onto your fabric with chalk or a fabric marker. Then, cut it out. You’ll need to cut two — one for the front and one for the back.
Note: If you plan to add embellishments or embroidery to the front of your heart pillow, you need to do it before sewing the edges.
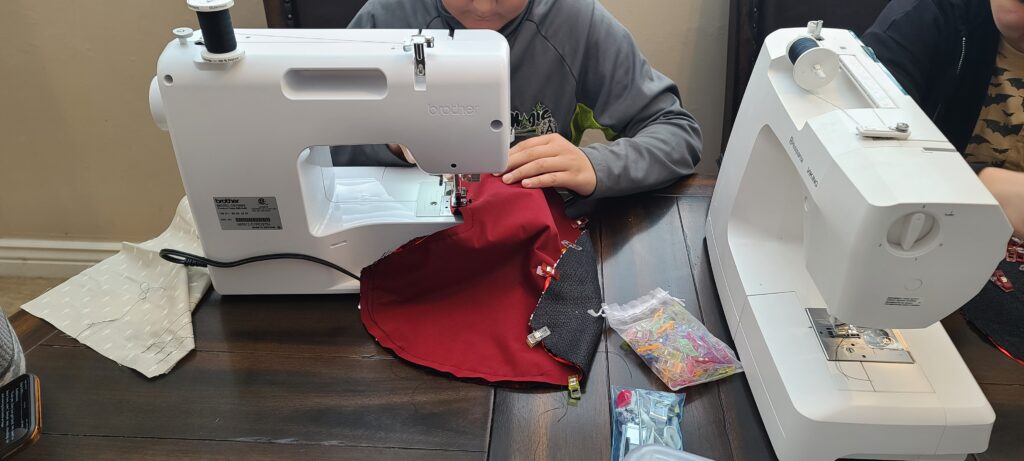
Step 3: Sew the Edges
Place your two heart-shaped pieces right sides together and pin along the edges to keep them aligned. Head to your sewing machine and sew along the edges using a quarter-inch seam allowance.
Make sure to leave a 4-inch opening in one section so you can turn it inside out later. The best place to leave the gap is on one of the long edges near the point of the heart.
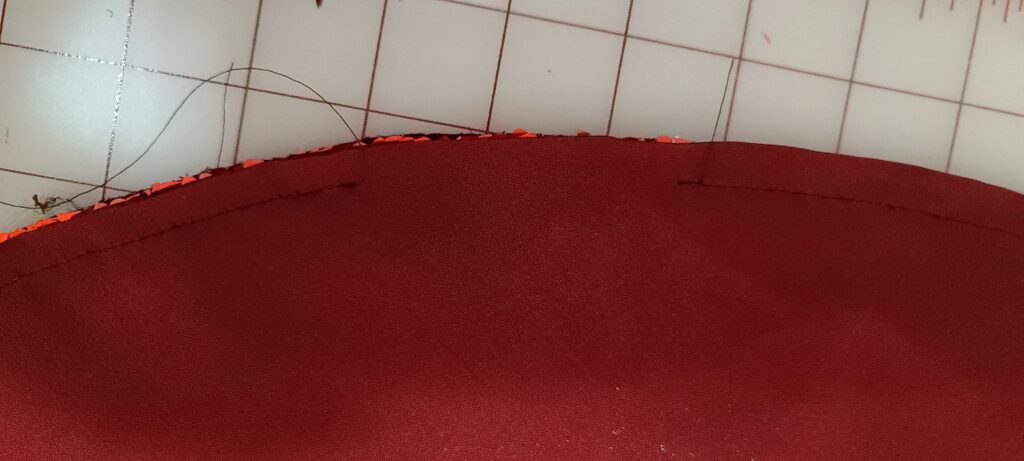
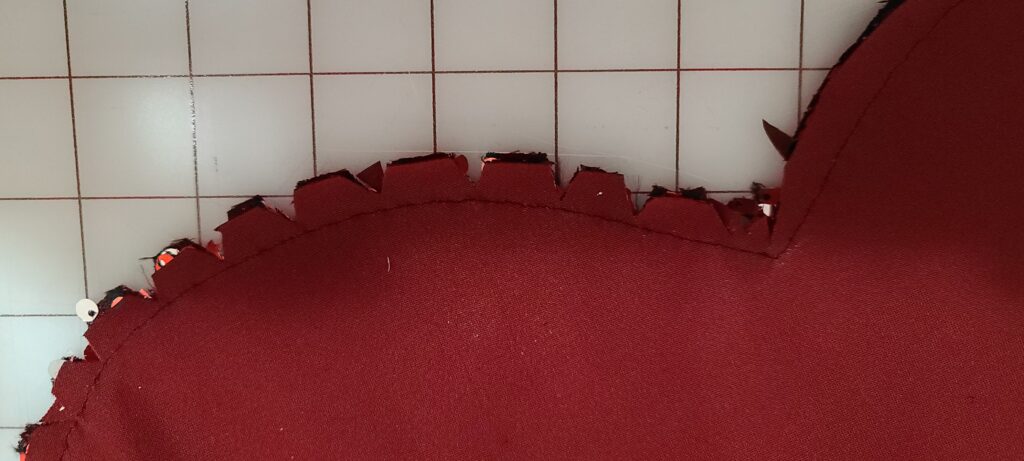
Step 4: Clip the Curves
Before turning your pillow right side out, you need to clip the curves so that there won’t be bulk and your curves will appear smooth. To do this, use a small pair of scissors and cut out little triangles along the curves. You need to clip right up next to the stitch line, but be careful not to clip through it. The closer you cut the triangles, the smoother your curves will turn out.
Step 5: Stuff the Pillow
Turn the pillow right side out through the gap you left in the side. Then, take chunks of Poly-Fil and stuff your pillow until it is full and firm. Be sure not to overstuff it as this will make it difficult to sew up later on.
Step 6: Sew the Opening Shut
Thread a needle with thread and sew the opening shut by hand. It’s best to use a ladder stitch for this step so that your stitches are invisible.
To create a ladder stitch, your thread must be passed back and forth through two parallel rows of stitches in a uniform pattern until the desired length is reached. The result looks like rungs on a ladder; hence its name!
I hope you found this heart pillow tutorial helpful. Share pics of your heart pillows in the comments below.