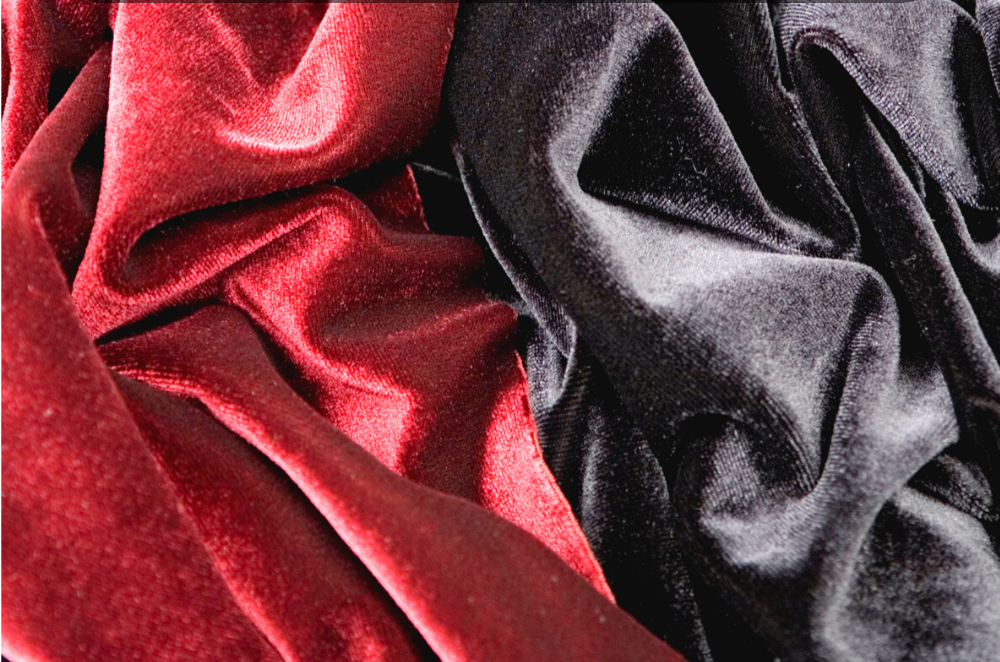
Don’t you just love the luxurious texture and sheen of velvet? It is a beautiful fabric for eveningwear and home furnishings, especially drapes.
However, velvet is a beast to sew… I would not recommend it to beginners.
Velvet is made from silk or synthetic blends that are woven as a double cloth and cut to create a short, soft pile. The surface has a fuzzy, hair-like texture. Some velvet is stretchy, but most is not.
Preparation and Care of Velvet
Velvet should be treated according to the care instructions on the fabric bolt. Handwashing is typically recommended, but it should be ok in a ‘delicate’ cycle in your washer. Some high-end velvet does requires dry cleaning.
If pressing is needed, use steam and press on the wrong side over a needle board (velvet board) or a towel to avoid flattening the pile.
Layout, Marking, and Cutting Tips for Velvet
Since velvet has a nap, pay extra attention when laying out pattern pieces. Use the “with nap” layout in your pattern, and check to be sure the tops of all pattern pieces are facing the same direction before cutting into your fabric.
Instead of folding velvet, it is best to cut it in a single layer. Pattern weights and a rotary cutter work best, but if you use pins, place them in the seam allowances to avoid damaging your fabric.
Transfer pattern markings to the wrong side of your fabric using tailor’s chalk or other fabric-safe marking tools. Tailor’s tacks of contrasting thread can be used for markings that need to be visible on the right side of the fabric.
Use sew-in interfacing on velvet to minimize the need for pressing (and the risk of flattening the pile.) For in-seam pockets, use a matching lining fabric instead of velvet to minimize bulk.
Sewing Machine Setup for Velvet
You do not need a special sewing machine to sew velvet, but using the right needle and presser foot makes a huge difference in how your sewing project turns out.
- Needle: Use a jeans/sharp needle or microtex needle. A size 70/10 or 75/11 is best for lighter velvet, while heavier velvet could use a size 80/12. Sew a few test seams on scraps and use the smallest needle that gives you good stitch quality.
- Presser Foot: A straight stitch foot or zigzag foot may be used, depending on the stitches you plan to use. If the thick layers do not feed evenly, however, a walking foot will solve the problem. Be sure the pressure on your presser foot is adjusted to accommodate the thicker fabric.
- Stitch Length/Width: Set your stitch length between 3.0mm and 4.0mm. Be sure to use a stretch stitch if your velvet has a stretch.
Sewing Tips for Velvet
Velvet has a pile, so expect lint to accumulate around your feed dogs. Take time to clean that area with a small brush periodically and check the bobbin area for lint buildup, as well. You don’t want to sew a clump of fuzzies into your seams!
When pressing seams open, use a seam roll and scraps of paper between your fabric layers to avoid leaving marks on the right side of your fabric.
Finish the raw edges of velvet with a serger. Pinking shears will also work. If buttonholes are part of your project, make sample buttonholes on scraps of fabric first. A button and loop closure or zipper may be a better alternative.
What have you sewn with velvet? Show us your sewing projects in the comments below.
Share this post on Pinterest!