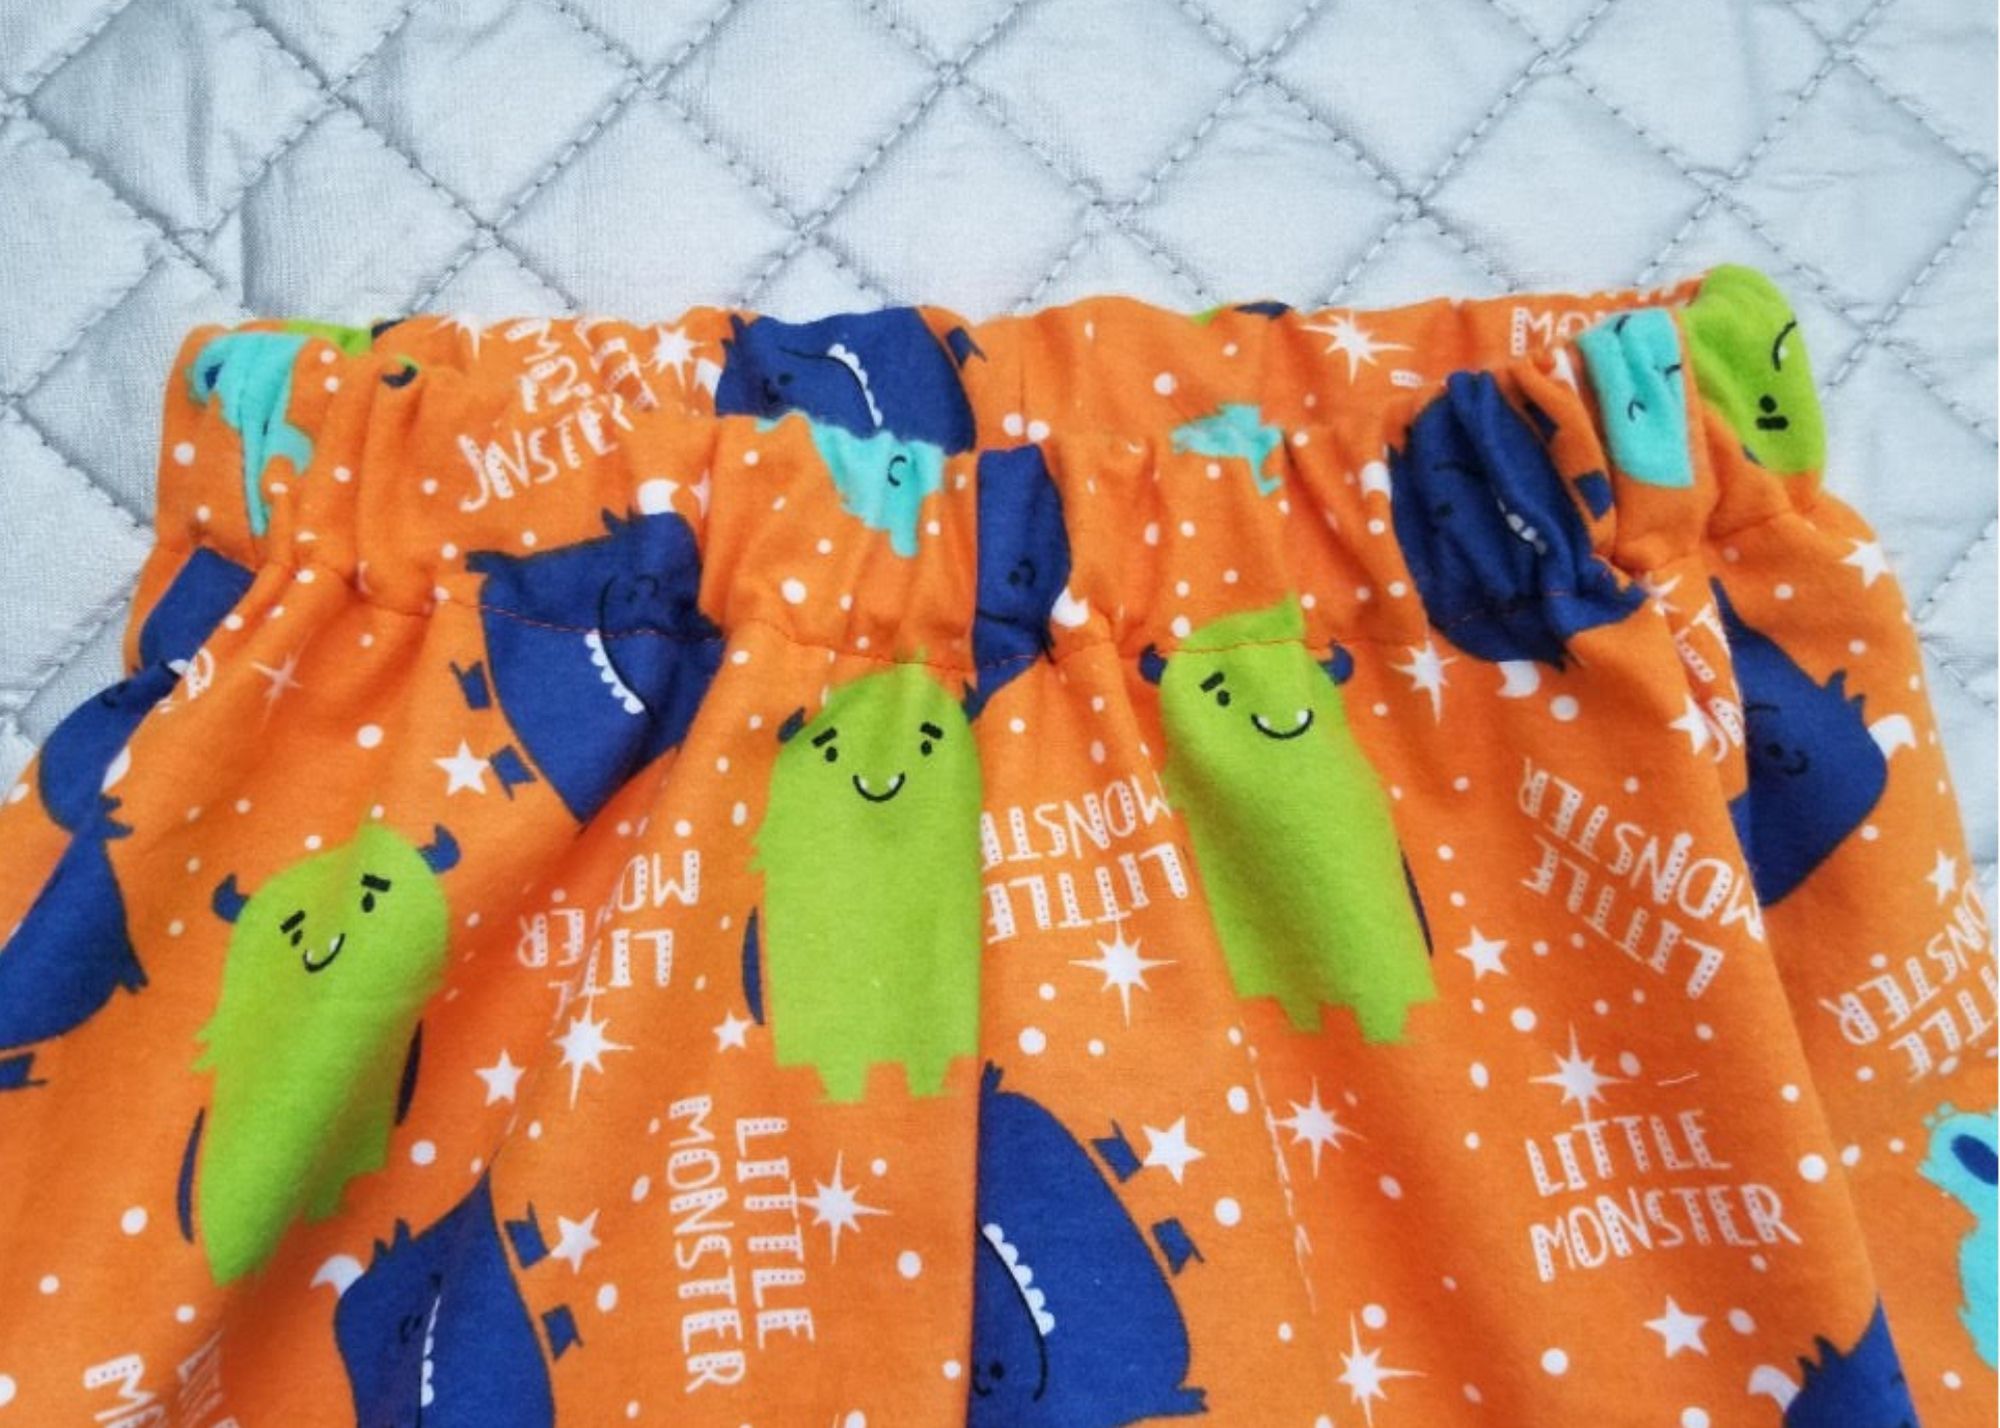
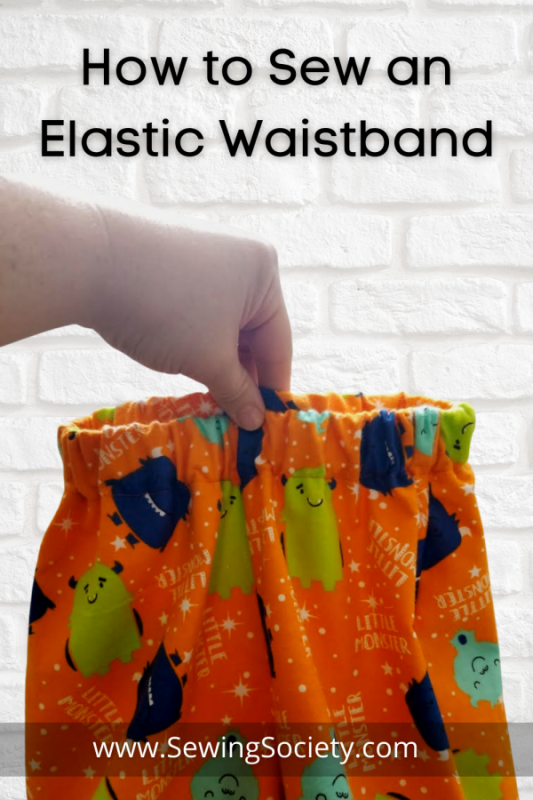
One of the first sewing skills you need to learn is how to create a casing for elastic and drawstrings. It is a common technique used for waistbands. You also sometimes see casings on sleeves and bags. But don’t fret, it’s not too difficult. Let me show you how it’s done.
I recently used this method for sewing an elastic waistband on pajama pants for my boys. If you’re looking for an easy pajama pants pattern to try this skill, I recommend the one from Peek-A-Boo Pattern Shop. It’s super easy!
Steps for Creating a Casing
Step 1: Finish the Raw Edge of Your Fabric
You will be folding your fabric down, so zigzag or serge the edge of your waist hem first. Alternatively, you can fold the edge of your fabric over twice so that your seam is not exposed. To do this, turn it ½ inch now and sew along the edge.
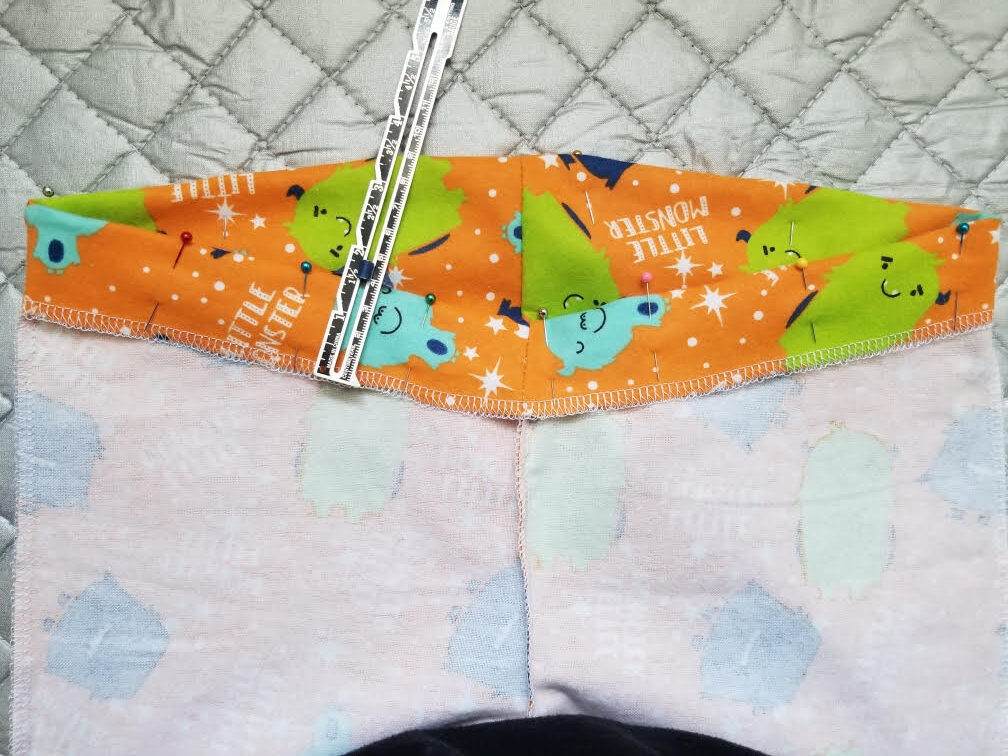
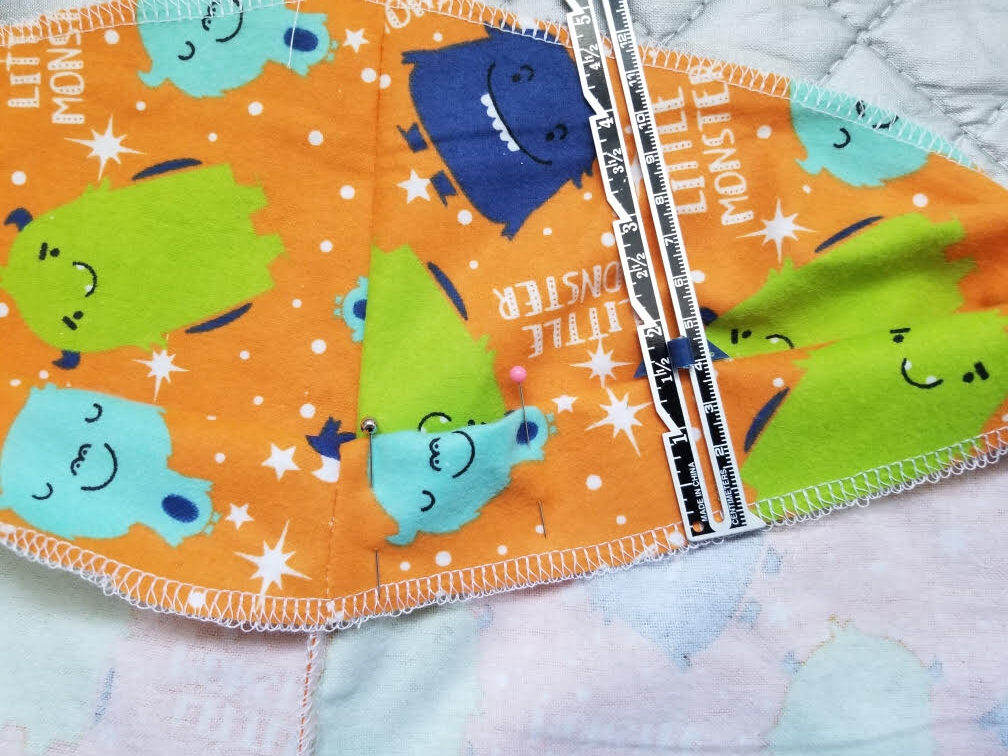
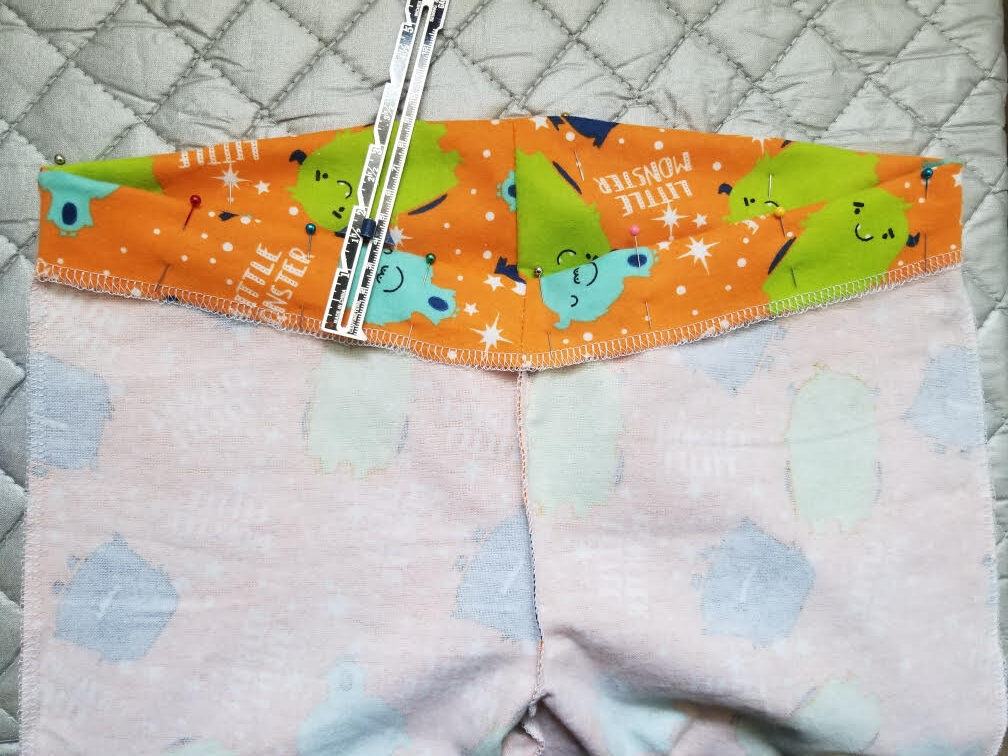
Step 2: Fold and Pin Your Waist Hem
Fold your fabric down (wrong sides together) at the waist so that it is about ½-inch bigger than your elastic. For example, if you are using 1-inch elastic, your fold should be 1.5 inches. This gives you space for a small seam allowance and room enough to insert your elastic. Pin the fold in place about every 2 inches. Press, if desired. A small seam gauge is a handy tool for completing this step.
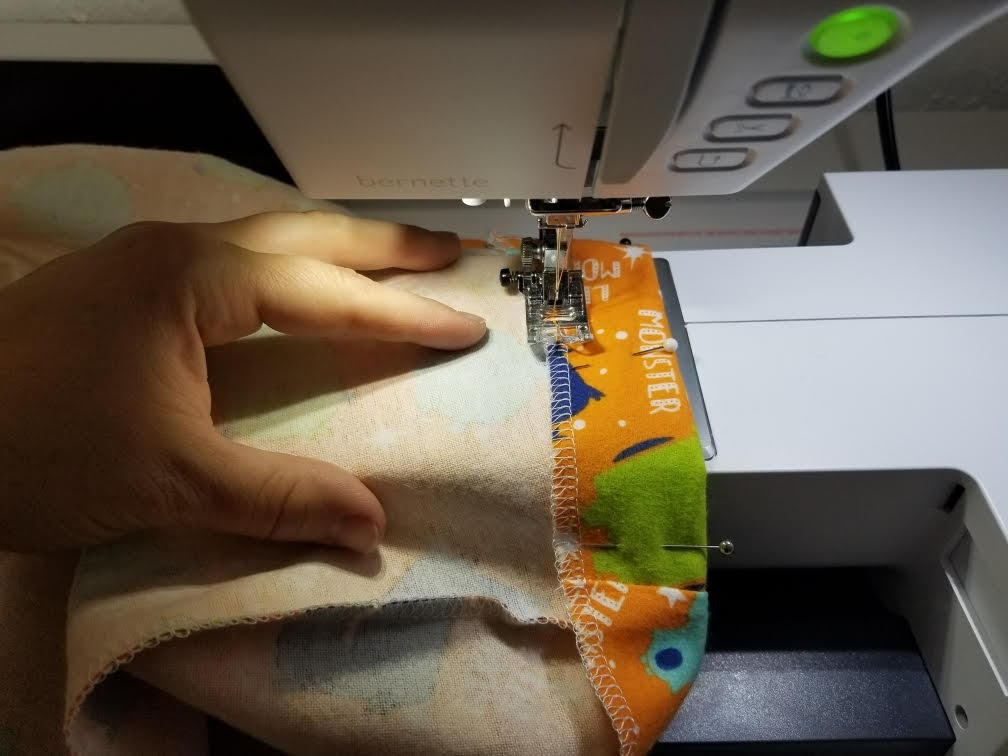
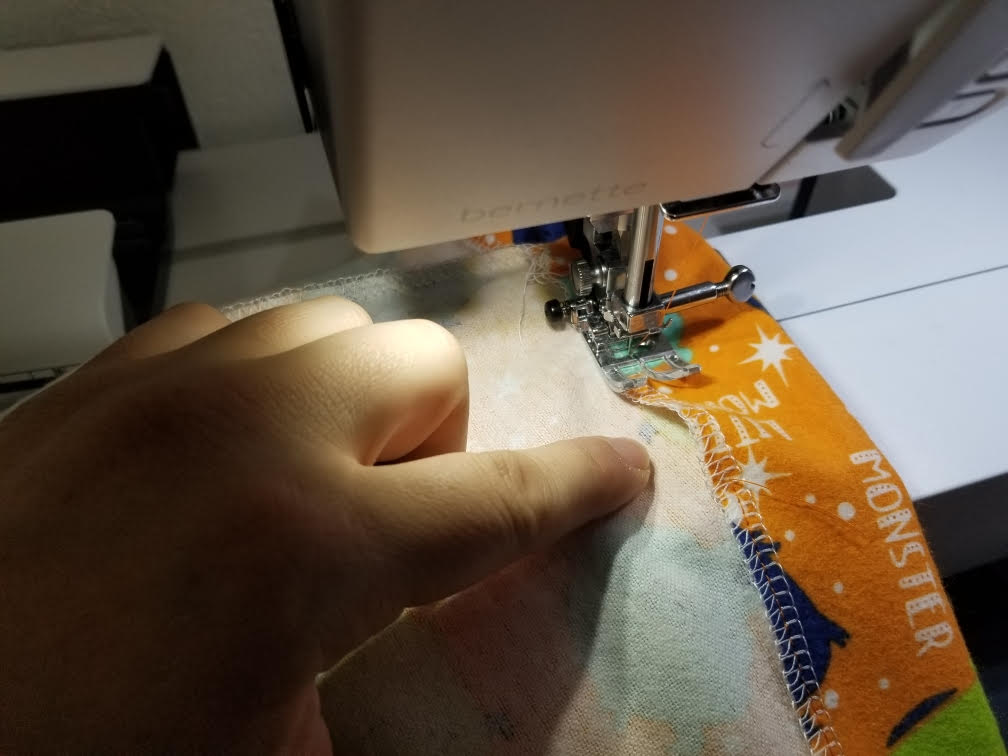
Step 3: Sew Along the Bottom of the Fold, Leaving a Gap
Sew close to the edge of your folded fabric around the bottom of your fold. Carefully select where you begin to sew because you need to leave a 2-inch opening somewhere along this seam. I like to do it in the back, but you can choose to have your opening anywhere. The opening is where you will insert your elastic into the casing later. The opening will be closed at a later step.
Sew Close to Edge of Fabric Fold
Steps for Inserting Elastic into Your Casing
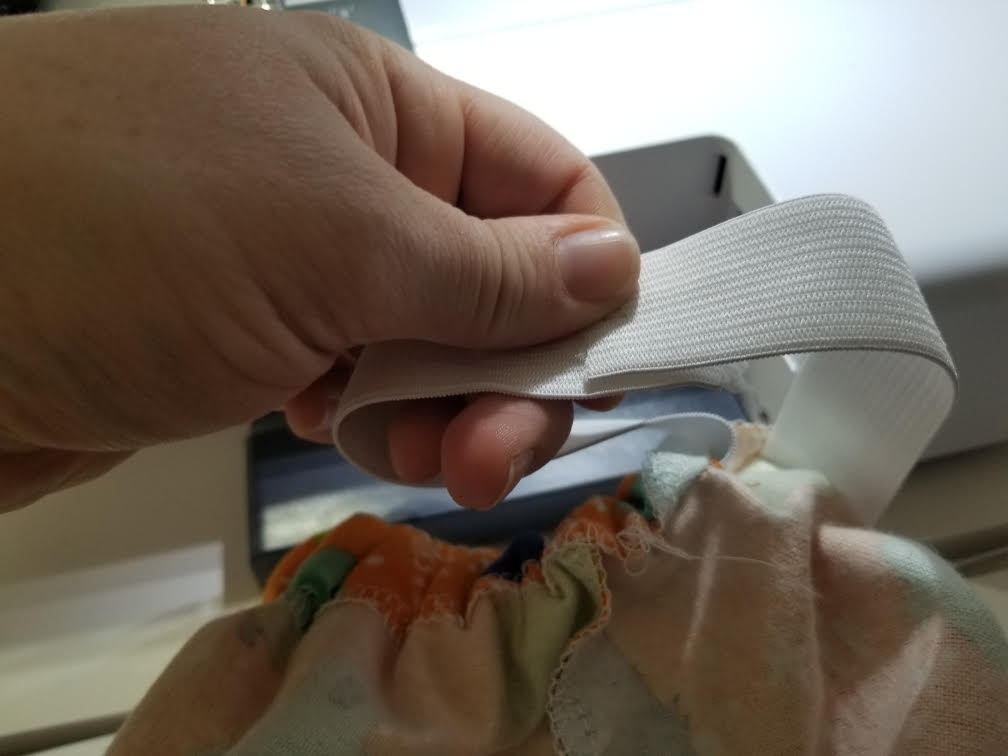
Step 1: Cut Your Elastic to Fit
Keep in mind that some elastic stretches more than others. Therefore, the best way to determine how much elastic to use for a waistband is to wrap the uncut elastic around your waist (or the person you’re making the garment for) and stretch it until it is comfortable. Then, add one inch and cut the elastic. The extra inch gives you space to create a seam. If you’re using a pattern, it typically suggests what kind of elastic to use and how much.
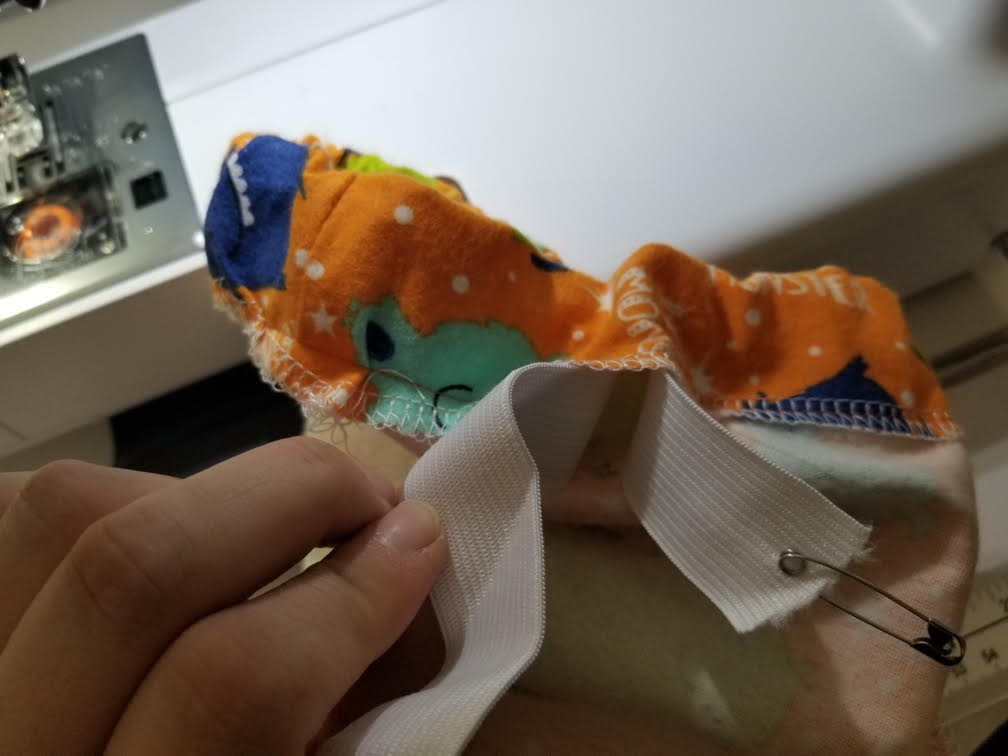
Step 2: Attach a Safety Pin to One End of Your Elastic
I like to use a large safety pin for this step so that it’s easy to feel, but any size will do.
Step 3: Feed Your Elastic Through the Casing
Use the safety pin as a guide for inserting the elastic into your casing. As you feed the elastic though, hold the other end of your elastic so you don’t lose it inside your casing. If you’re worried, you can use another safety pin to attach the end of your elastic to your fabric so it won’t slip inside your casing.
Step 4: Perform Quality Check
After you’ve inserted the elastic all the way through your casing, make sure that no twisting has occurred. You want your elastic to lay flat when you’re done, and it’s easier to correct problems now.
Note: Twisted elastic is annoying. To help prevent it, use non-roll elastic. If you’re having problems with twisting after your casing is finished, you can try sewing your elastic to your fabric at the side seams with a stitch in the ditch method. Alternatively, you can add topstitching along the top fold of your casing after you have inserted your elastic so that there is less space for your elastic to move around.
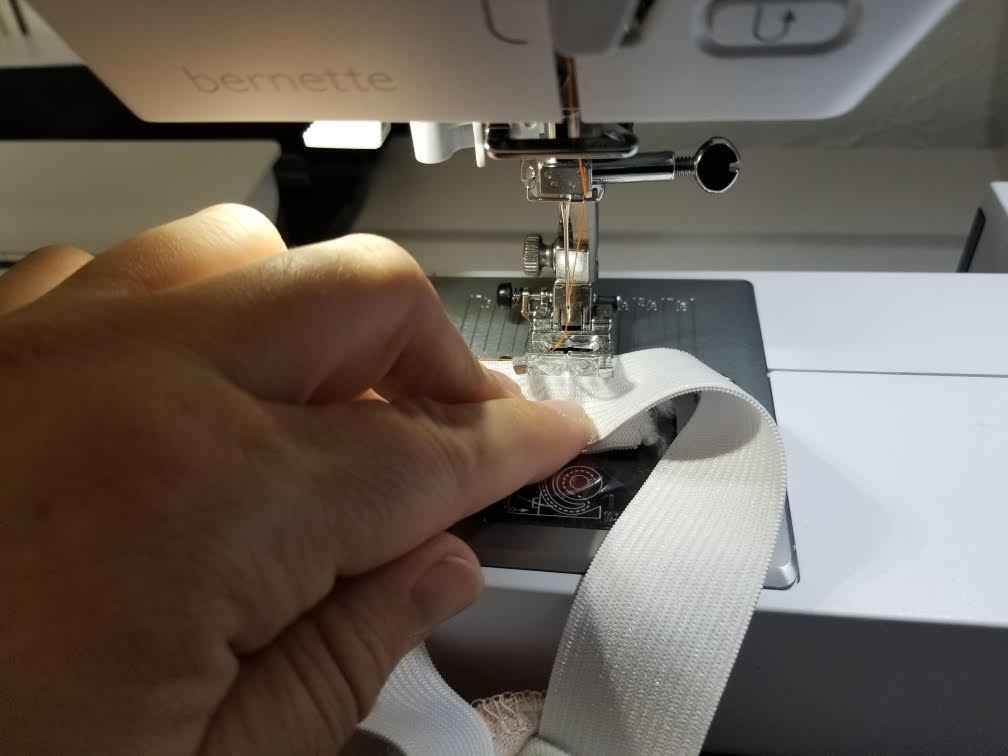
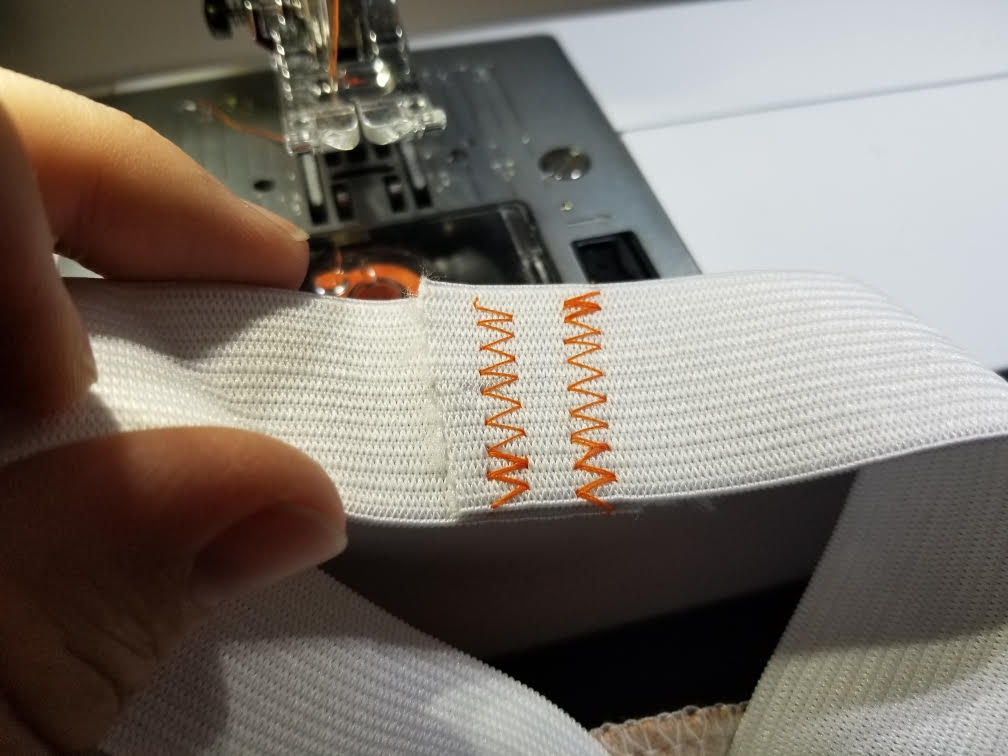
Step 5: Join the Ends of Your Elastic Together
Overlap your elastic by one inch and sew two or three rows of a zigzag stitches to secure the ends of your elastic together. Be sure to backstitch at the beginning and end of your zigzags.
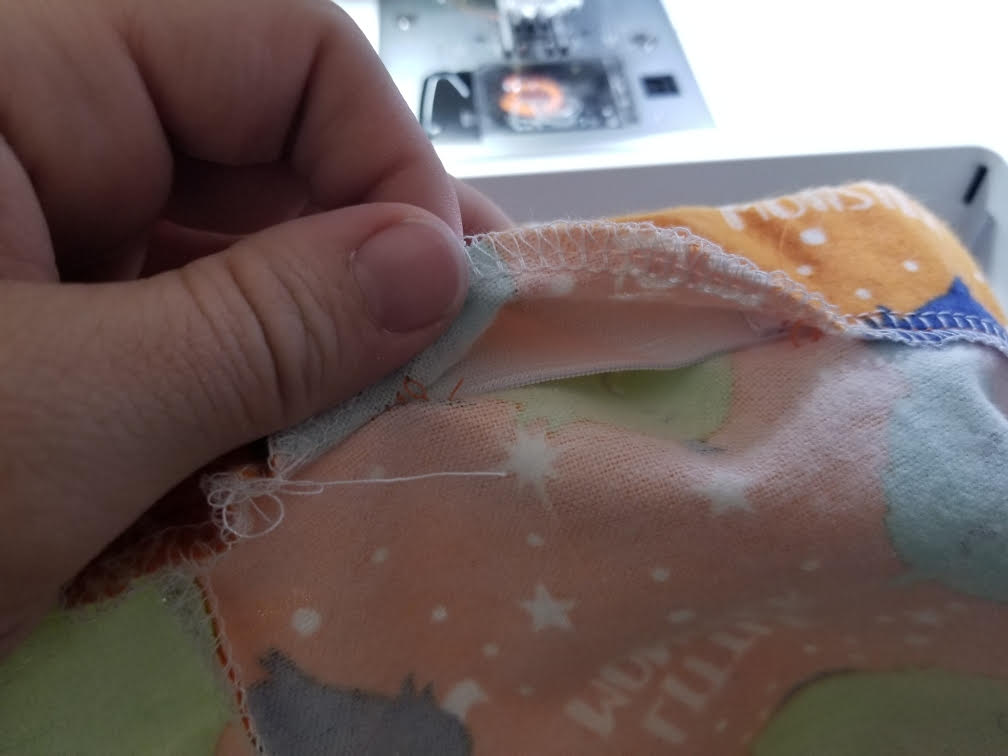
Step 6: Sew Your Casing Shut
After your elastic is inserted all the way, fold the remining portion of your casing down and stitch it closed along the hemline. Backstitch at the beginning and end of your stitch.
You’re done! I hope you found this tutorial on how to sew an elastic waistband helpful.