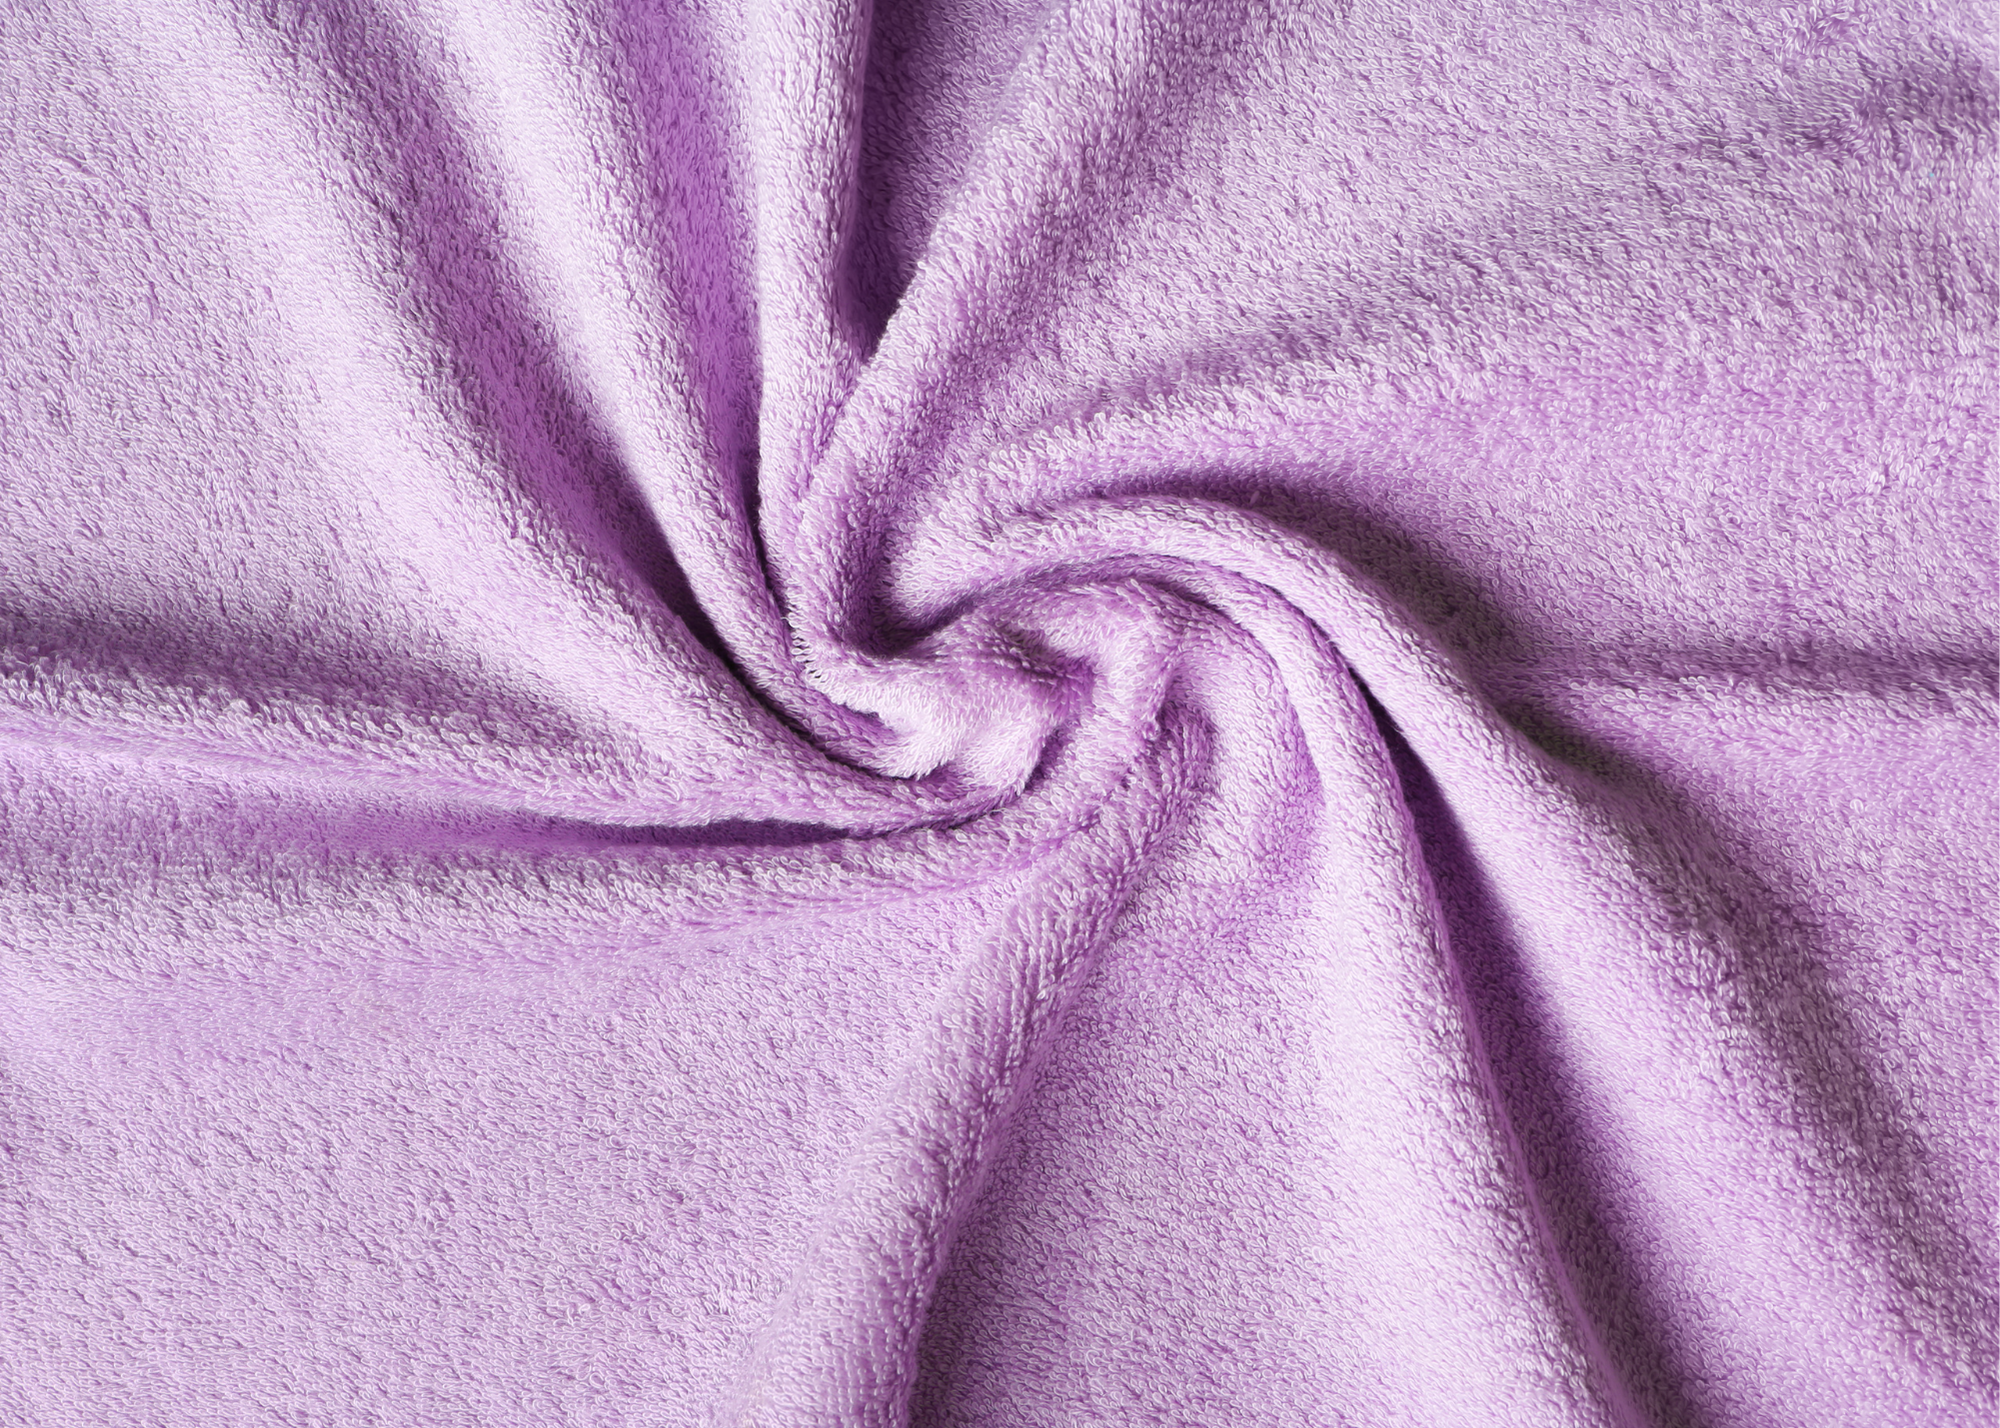
Did you know that ‘terrycloth’ is the name of the fabric used to make your towels? It is characterized by uncut loops that are woven in a plain or twill pattern. Most terrycloth is made from cotton or bamboo fibers. The distinctive pile makes terrycloth absorbent. That’s why it’s commonly used for towels, robes, and beach cover-ups.
Preparation and Care of Terrycloth
Terrycloth should be preshrunk by washing and drying it according to the care instructions on the fabric bolt. Typically, this is on a normal cycle without chlorine bleach. If possible, serge the edges before putting terrycloth in your washer because it frays easily.
When pressing seams open, use a seam roll to avoid leaving marks on the right side of your fabric.
Whenever I want to sew something with terrycloth, I typically just buy towels to use as fabric because it’s hard to find a variety of terry at my fabric store.
Layout, Marking, and Cutting Tips for Terrycloth
Since terrycloth has a nap, use the “with nap” layout in your pattern. Fold the fabric with right sides together and straighten the ends as needed. Pin pattern pieces to your fabric using long, sharp pins such as quilter’s pins. Check to be sure the tops of all pattern pieces are facing the same direction before cutting into your fabric.
Because of the heavy weight and texture of terrycloth, marking with chalk or pencil will not work well. Tailor’s tacks of a contrasting color thread are the best choice. Additionally, use sew-in interfacing because the pile of terrycloth can make it difficult to get a strong bond with fusibles.
Sewing Machine Setup for Terrycloth
Terrycloth is thick, but you don’t need a special sewing machine to sew it. However, using the right needle and setting up your machine properly will make a huge difference in your how your terrycloth sewing projects turn out.
- Needle: Use a jeans/sharp needle. A size 90/14 or 100/16 needle is best for terrycloth. A universal needle may not penetrate the thick fabric layers, leading to broken needles or skipped stitches. Stretch terry should be sewn with a jersey/stretch needle, size 90/14 or 80/12.
- Presser Foot: A straight stitch foot or zigzag foot may be used, depending on the stitches you plan to use. If the thick layers do not feed evenly, however, a walking foot will solve that problem. Be sure the pressure on the foot is adjusted to accommodate the thicker fabric or your stitches will sink.
- Stitch Length/Width: Set your stitch length between 3.0mm and 4.0mm. Adjust up or down, if needed, after sewing a sample seam on some scraps of terrycloth. For stretch terry, be sure to use a stretch stitch or a narrow zigzag stitch so your seams will stretch with your fabric.
Sewing Tips for Terrycloth
It’s important to note that the small loops on terrycloth can get caught on the front of your presser foot. Wrapping the front prongs of your presser foot with tape or a small rubber band can help prevent this. If you’re having a lot of problems, sew extra slowly.
Topstitched seams and hems look good on terrycloth, but your stitches can sink into your seams. Use a longer stitch length and it should look better. Alternatively, you can use a water-soluble stabilizer on the top of your fabric while you sew to prevent the sinking.
Finish all edges on terrycloth with a serger or bind the raw edges with bias tape or twill tape. Terrycloth frays a lot and creates a big mess of lint, so be prepared. Your edges need to be secured well.
Also Read: How to Embroider on Towels: 8 Tips for Success
If buttonholes are part of your project, make sample buttonholes on scraps of fabric first. Terrycloth is very finicky with buttonholes. That water-soluble topper I was talking about can help A LOT! Be sure your buttons have a shank as thick as the fabric layers at the buttonhole.
What sewing projects have you done with terrycloth? I’d love to see pictures. Leave them in the comments below.
Share this post on Pinterest