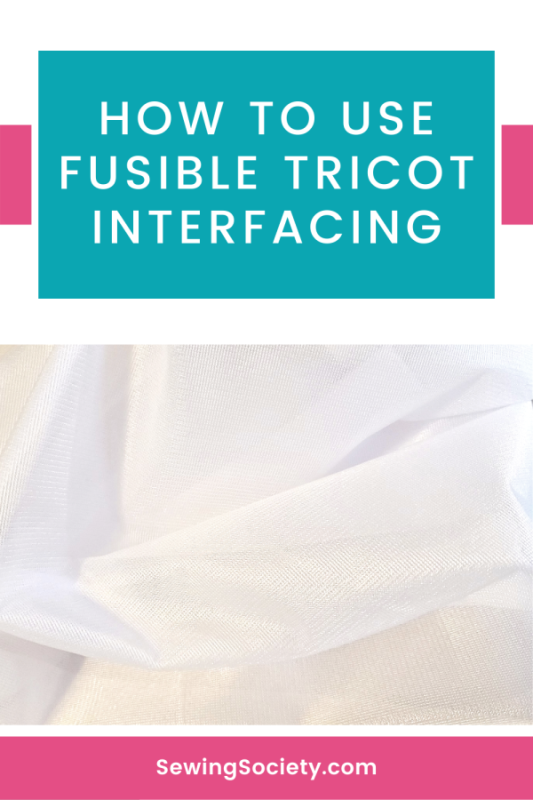
Lots of sewing patterns require you to use interfacing. It provides stability to collars, front facings, hems, and parts of bodices, hoods, and sleeves. Tricot interfacing is my favorite!
Tricot interfacing is so versatile. It is traditionally used to stabilize knit fabrics because of its stretch, but it can also be used with woven fabrics.
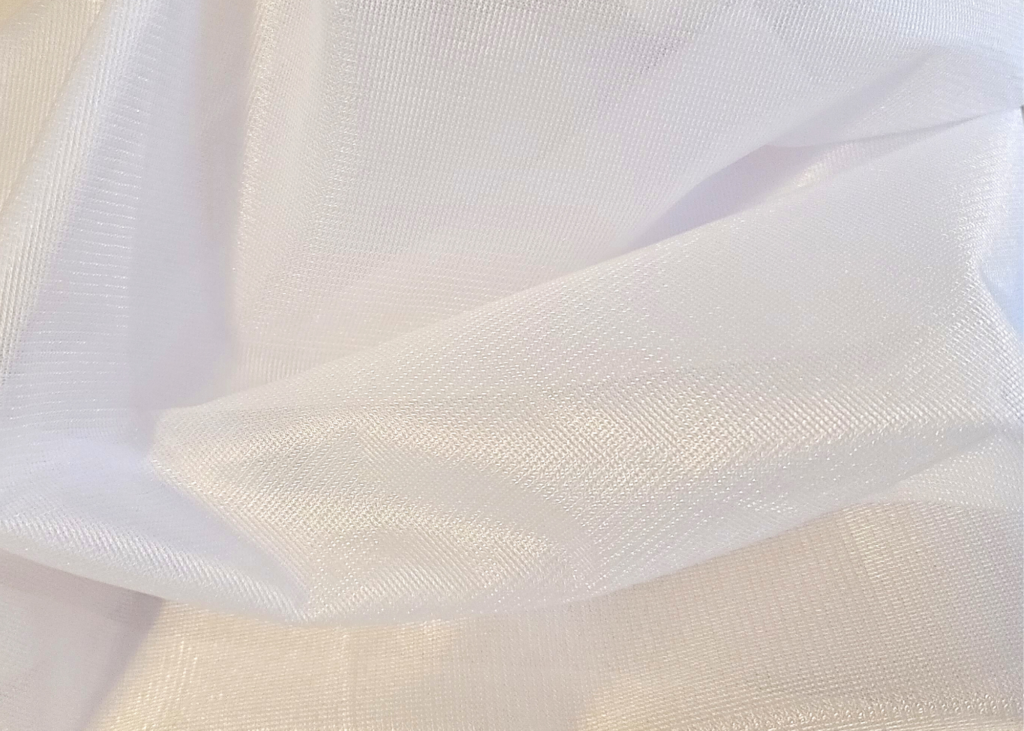
If you’ve never used tricot interfacing before, you’re going to love it. The non-fusible side is super smooth, making it comfortable against your skin. It also provides support, shape, and body without adding a lot of bulk to your garment.
The first step in most sewing patterns is to attach your interfacing to the wrong side of your fabric. When your garment is finished, your interfacing will actually be hidden by the lining, but it’s a step you don’t want to skip.
General Directions
Applying fusible tricot interfacing to your fabric is not difficult, but it’s always a good idea to test it on scraps before using it on your garment.
Here are the steps to follow:
- Step 1: Preshrink Your Interfacing. Tricot interfacing does not shrink much, but some brands do recommend that you preshrink interfacing by dipping it in warm water and letting it air dry. You can probably get away with skipping this step, but it’s up to you.
- Step 2: Cut According to the Grain. The most important thing to remember when working with tricot interfacing is that it has a grain. The lengthwise grain has less stretch, and you’ll want to line up your pattern pieces following the grainline before cutting. The stretch is supposed to go across your body.
- Step 3: Pin Your Interfacing to Your Fabric. Place the fusible side of your interfacing to the wrong side of your fabric and pin it in place.
- Step 4: Steam Baste the Edges. Using the tip of your iron, quickly apply heat to the edges of your interfacing. Then, remove the pins.
- Step 5: Cover with a Damp Press Cloth. Tricot interfacing is heat sensitive and can melt under high temperatures. To protect your garment, place a damp cloth between your iron and your fabric before ironing.
- Step 6: Set Your Iron to “Wool” and Press Firmly for 10 Seconds. Continue this process along the entire piece of interfacing until it is bonded to your fabric.
You’ll be surprised at how big of a difference interfacing makes when you’re sewing garments. Not only does it make your garments drape better and retain their shape, but it makes your projects easier to sew.
I recommend that you also apply some tricot interfacing behind any grommets or buttonholes. They will look better with the extra stability.
If you haven’t subscribed to SewingSociety.com yet, I’d appreciate a follow!
Share this post on Pinterest!