Learn to Sew, Fabric GuidesJul 26
The Fabric Guide Every Beginner Needs
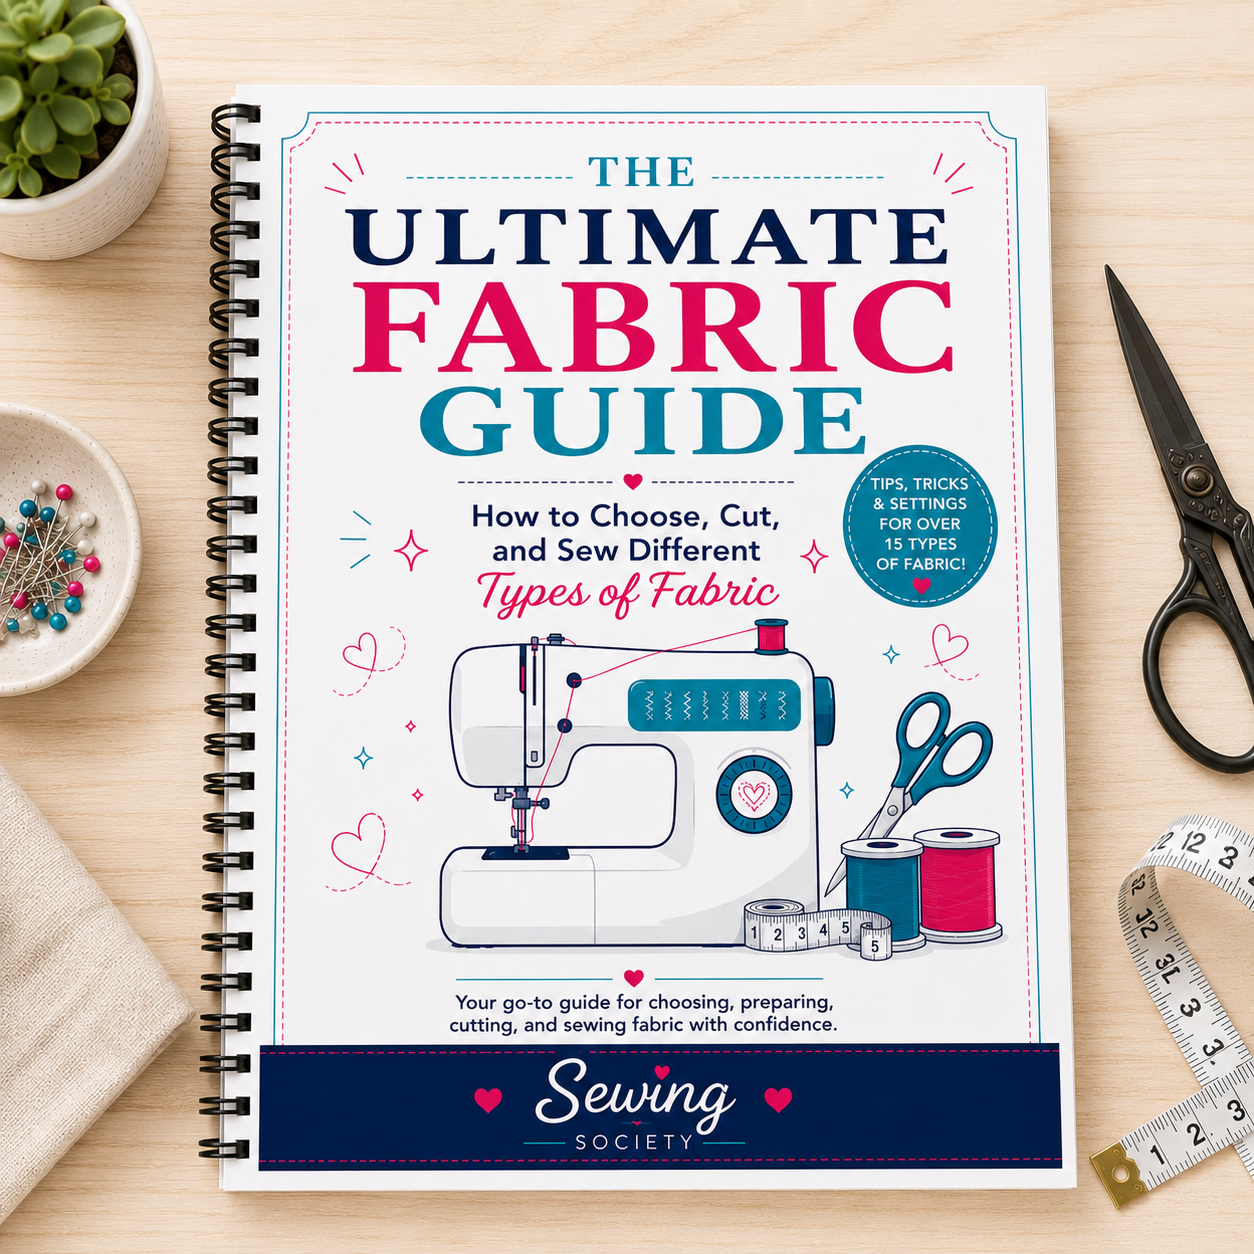
Choosing fabric is one of the most intimidating parts of learning to sew, and even perfect stitches can't save a project made with the wrong material. The Ultimate Fabric Guide breaks down grainline, drape, stretch, and every common fabric type you'll encounter, with practical advice on needles, thread, and technique so you can shop and sew with confidence.