Sewing Terminology, Learn to Sew, Sewing Tips & HacksJul 12
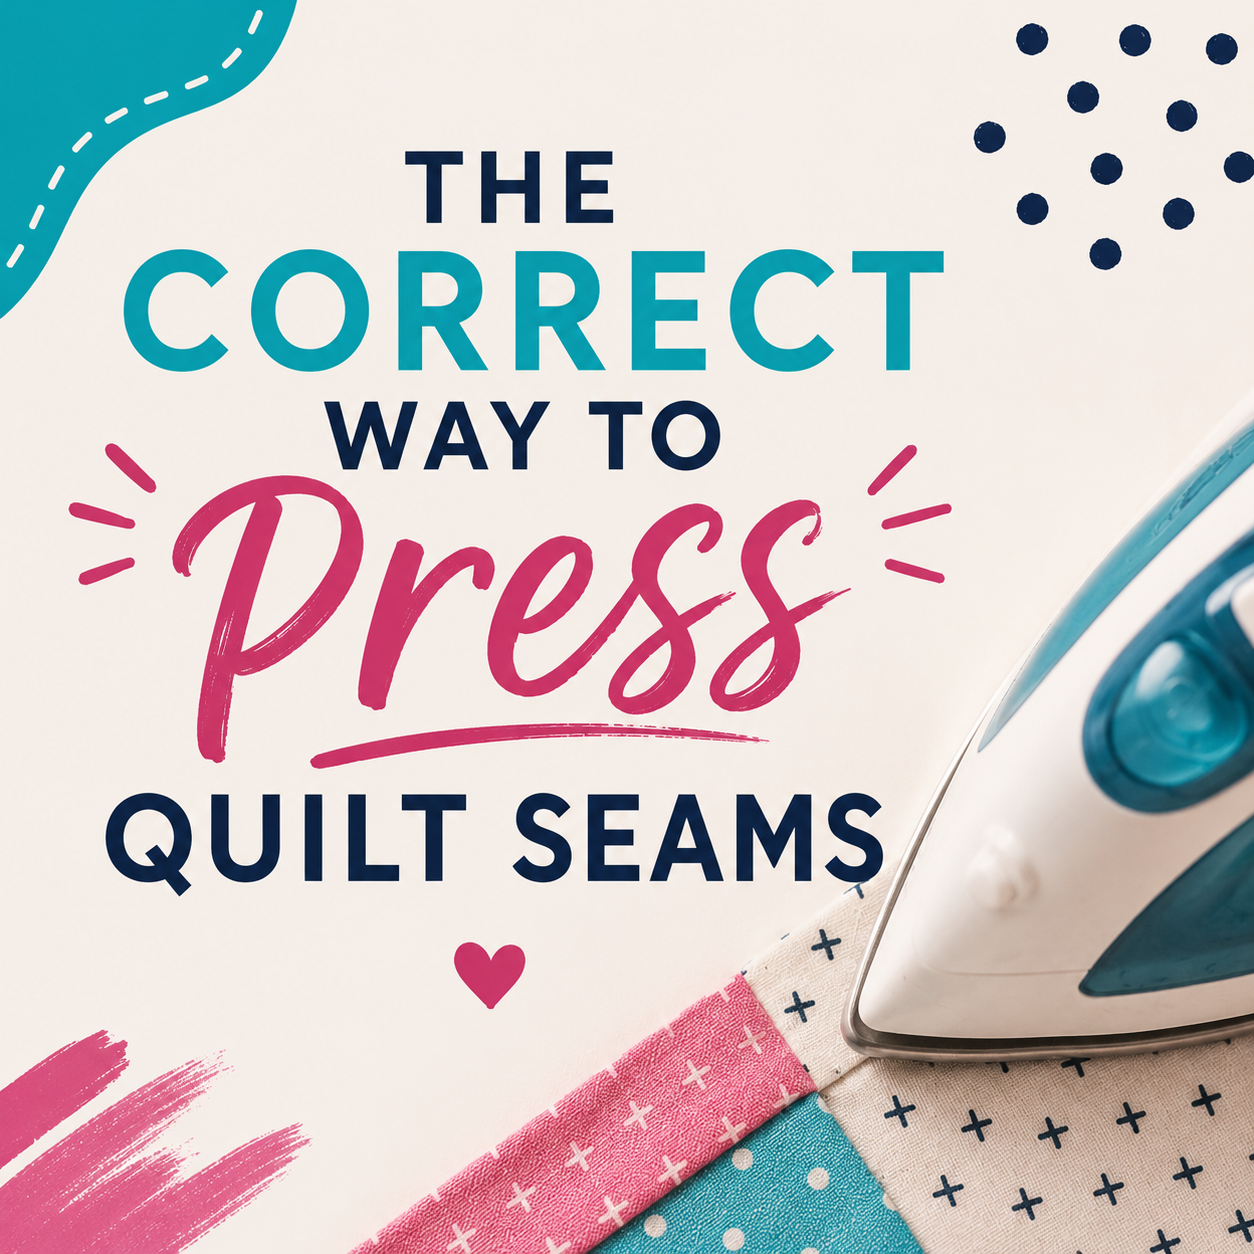
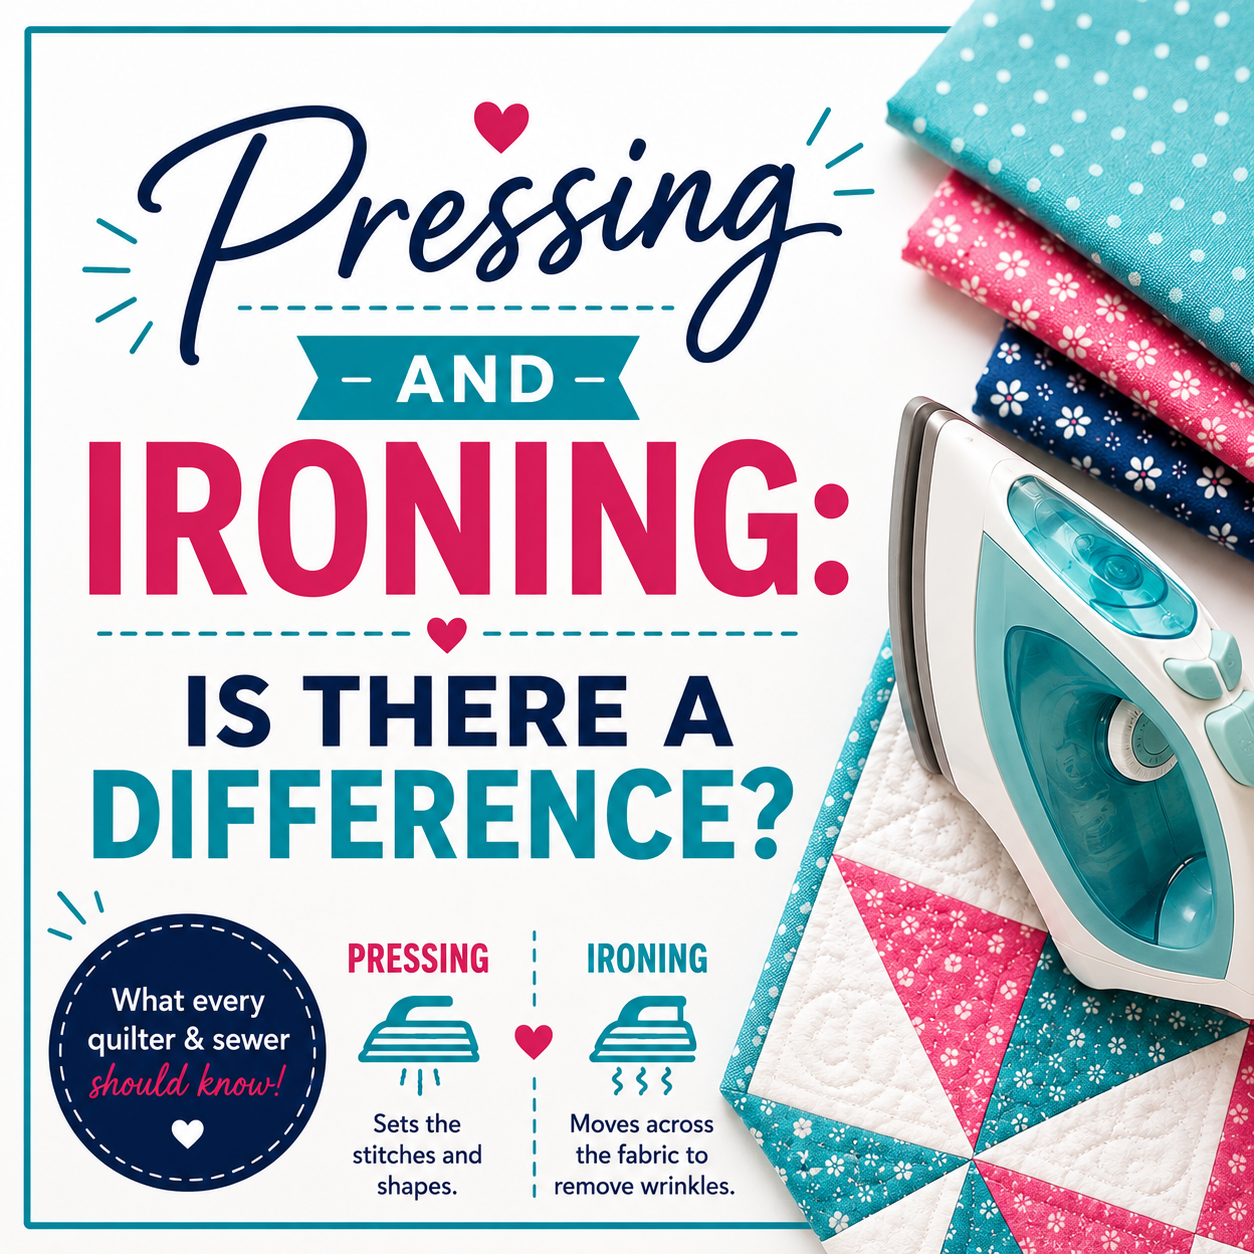
Pressing and Ironing: Is There a Difference?
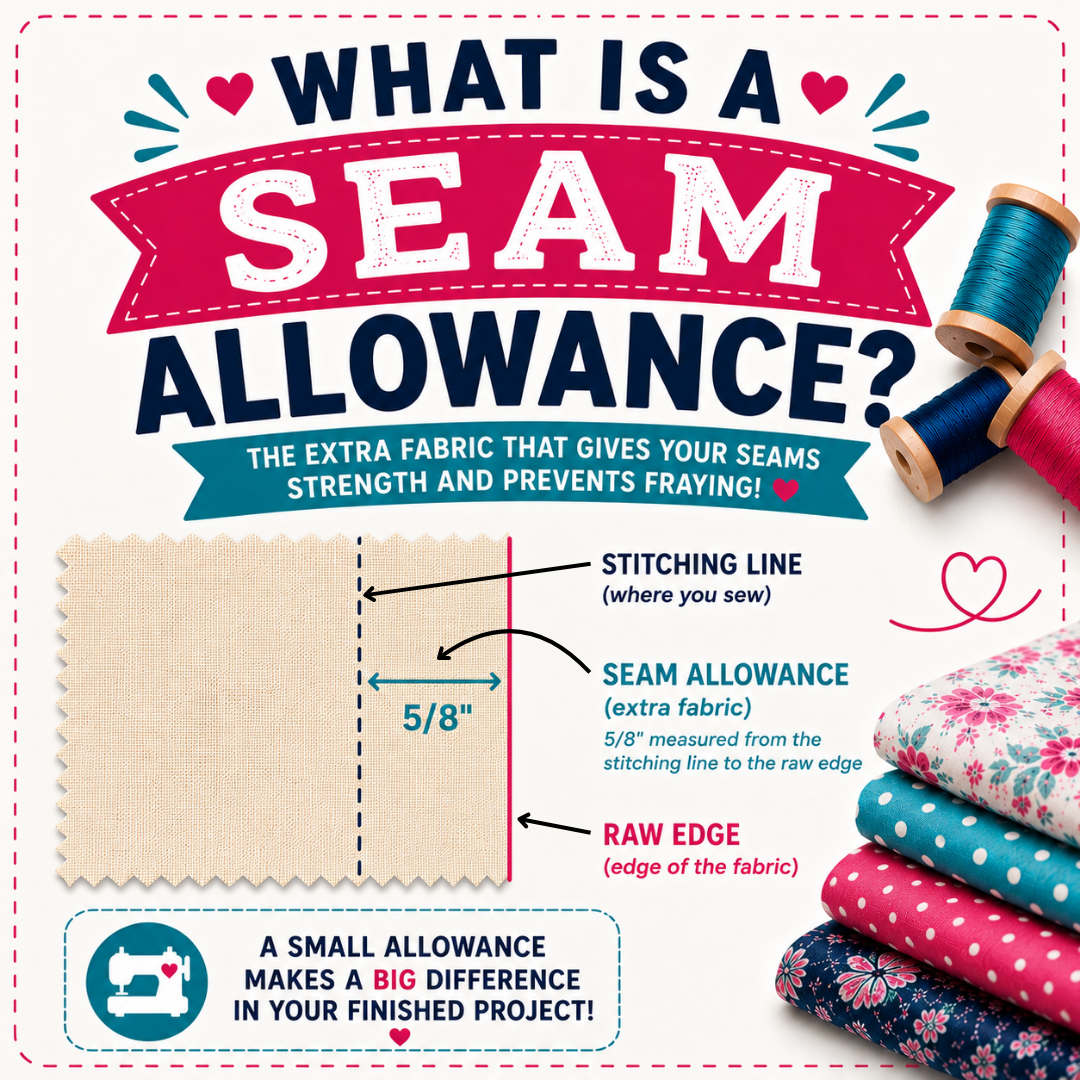
Pressing and ironing aren't the same thing, and mixing them up is one of the most common mistakes new quilters make. Here's the real difference, and why it matters for your seams, points, and finished projects.