Sewing MachinesJul 14
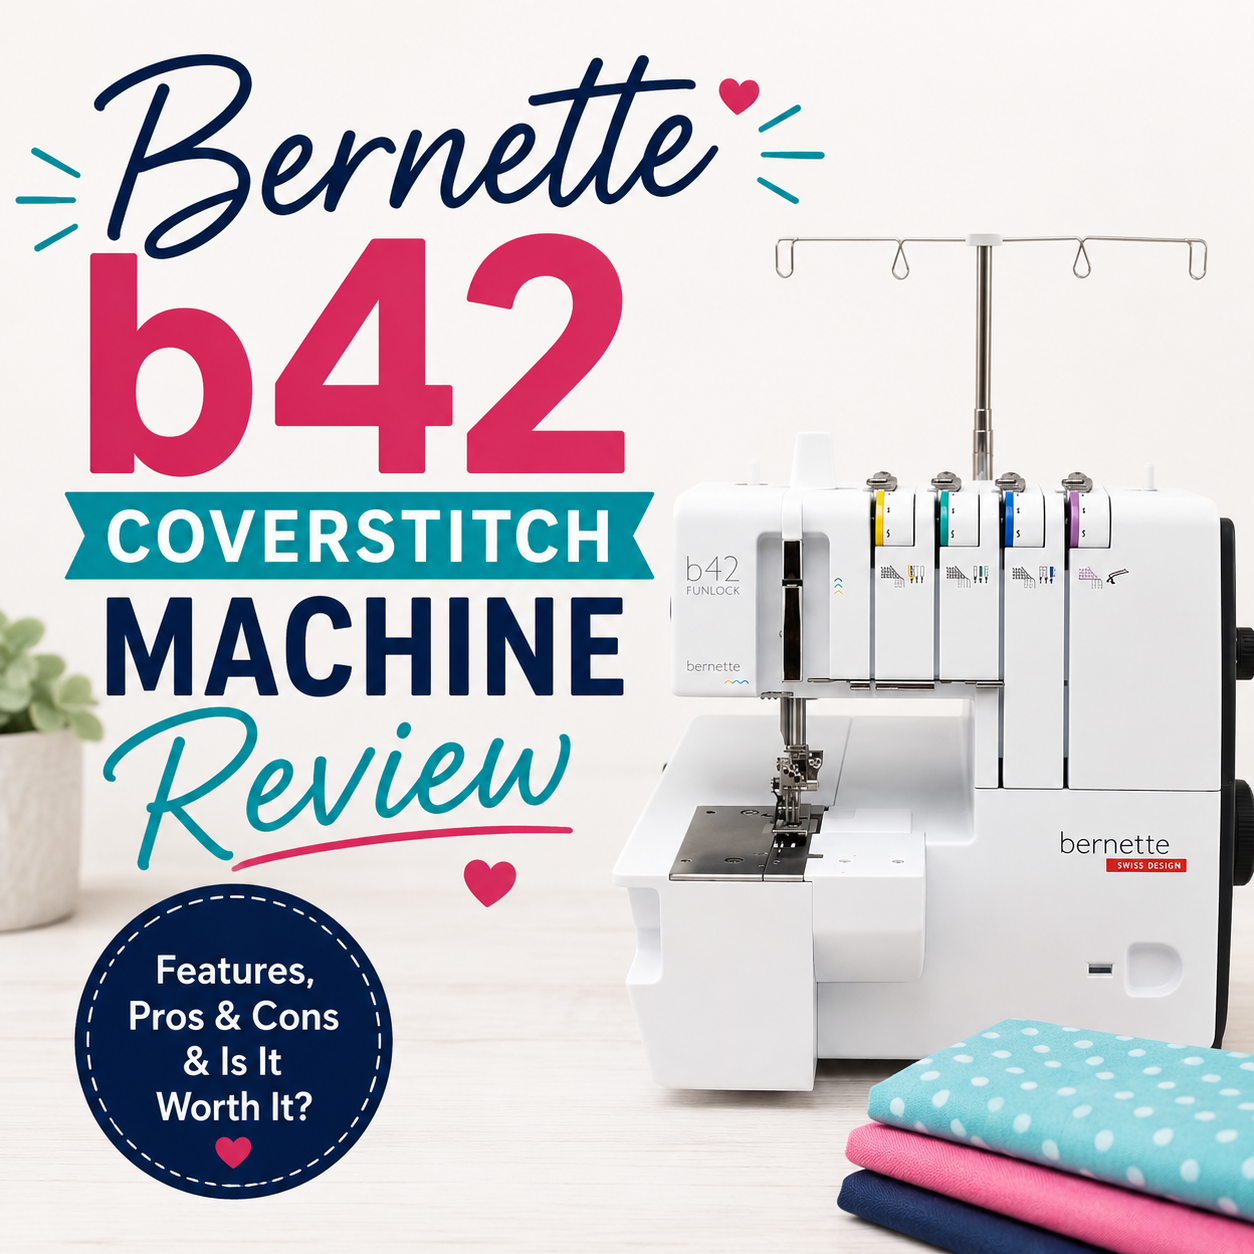
Bernette b42 Coverstitch Machine Review
A coverstitch machine changes how your knit hems and seams look, and the Bernette b42 delivers professional results with minimal effort. Here's a full review, plus what to look for if you're shopping for one yourself.